In this excercise I am tasked with demonstrating my understanding of the Zone system whilst showing I can take light readings.
In an earlier course I was asked to look at histograms from within the camera. I thought it may be useful to repeat this exercise but take light readings. So I took two photos separated by an hour. I looked for 10 different points within the photo then took light readings from each. I left the ISO at 100 to keep things simple.
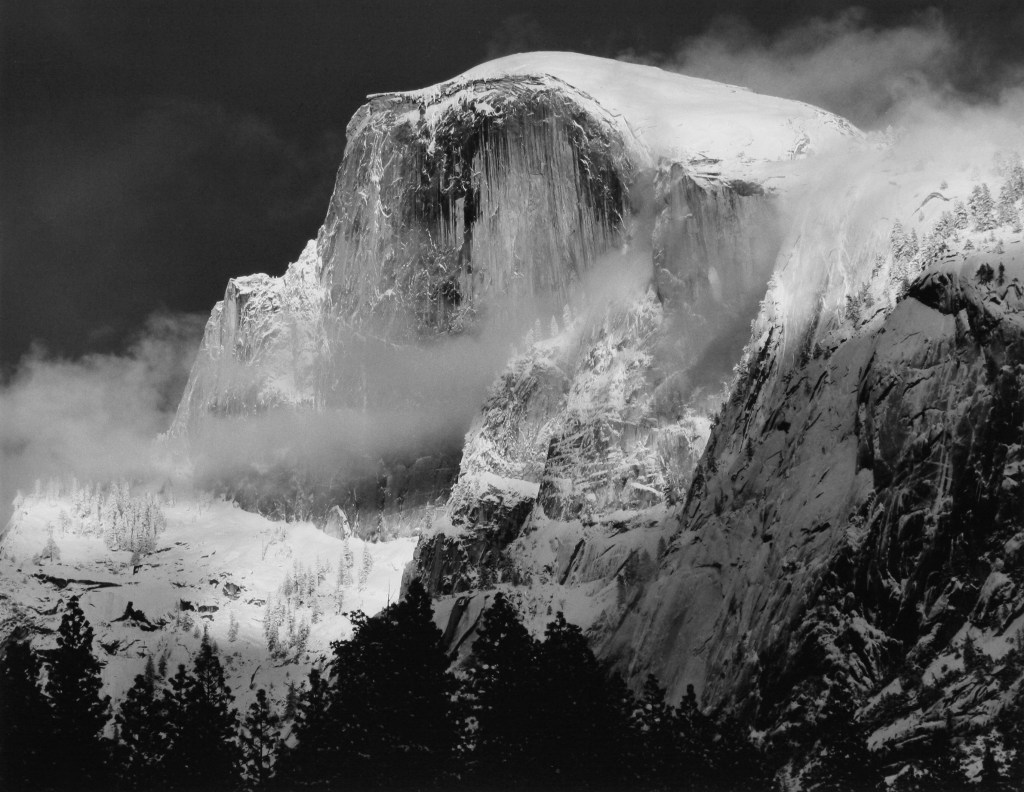
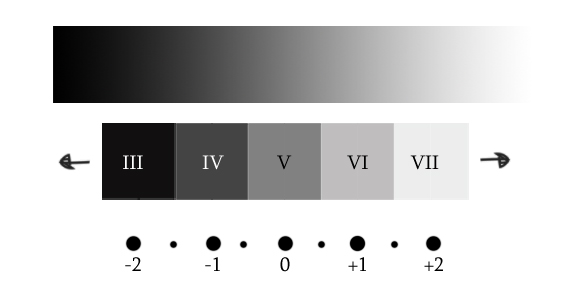
Ansel Adams used 10 zones to capture his images. So the darkest black would be zone 1 and the lightest zone 10. The light in the bottom and the top of this scale are too distant from one another. So he aimed for exposure between zone 3 and zone 7. The aim of work in the digital is to get good exposure where nothing is over exposed or blown out or under exposed too dark. Plus getting the colour as it looks in the scene. Here in one of Adams photos called Half Dome he shows what can be achieved..
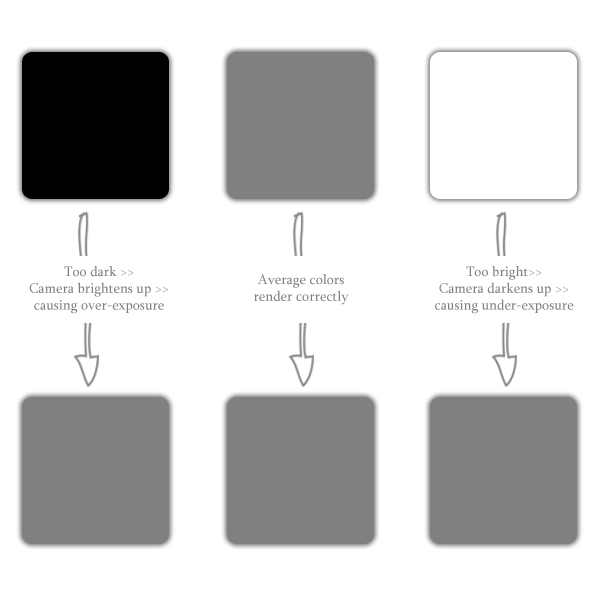
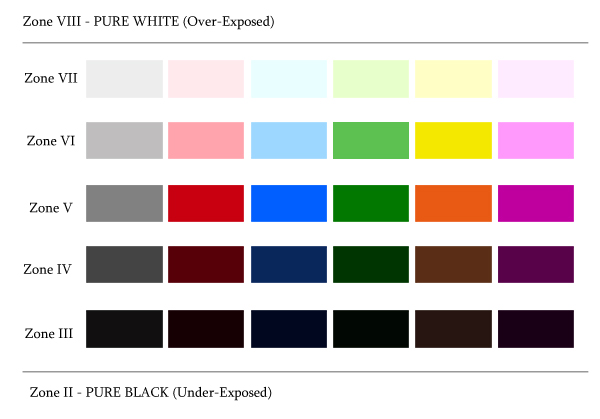
Our cameras use electronics to meter and expose for mid gray which for most people and most shots works just fine. However if we want to take our photography up a notch we need to think around the average reflectance of 18% our cameras are set to. Using the table below we can override our cameras to over or under expose to get the affects we desire.
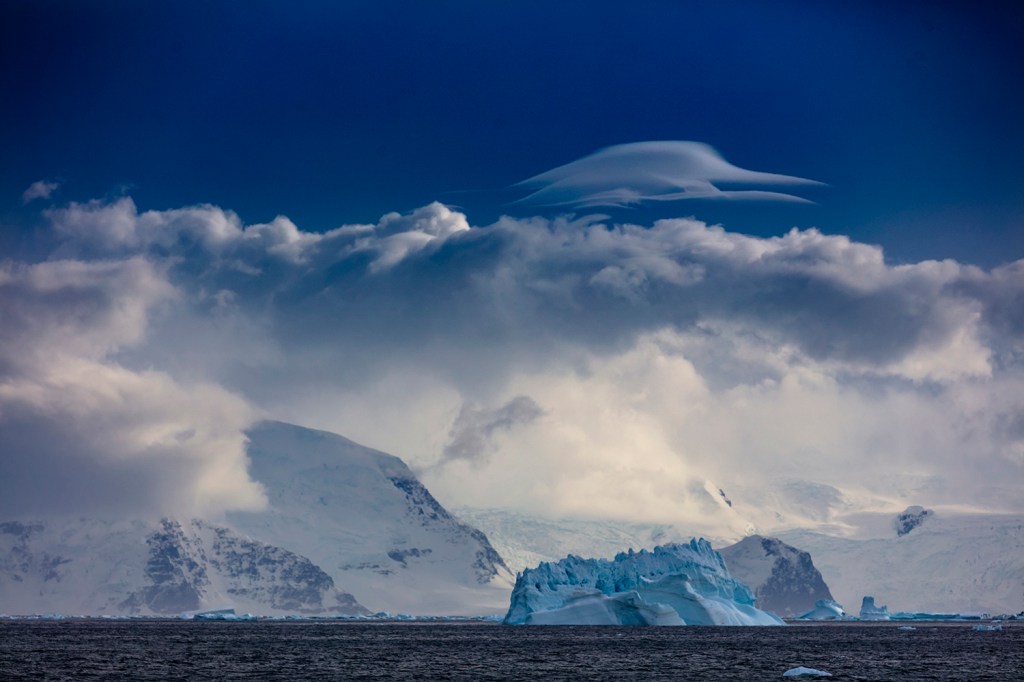
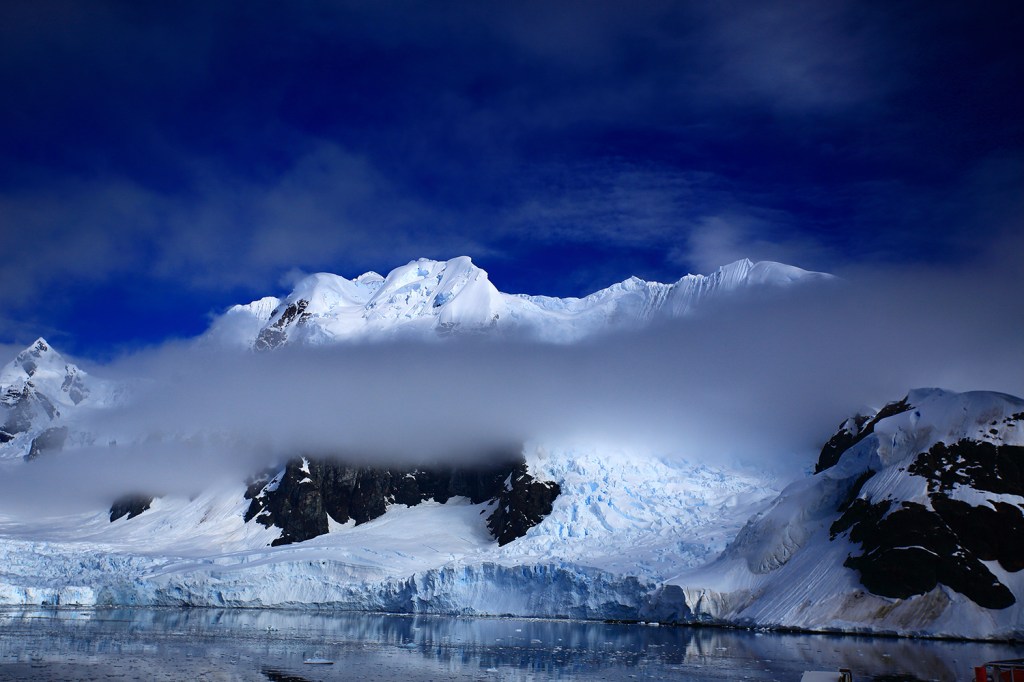
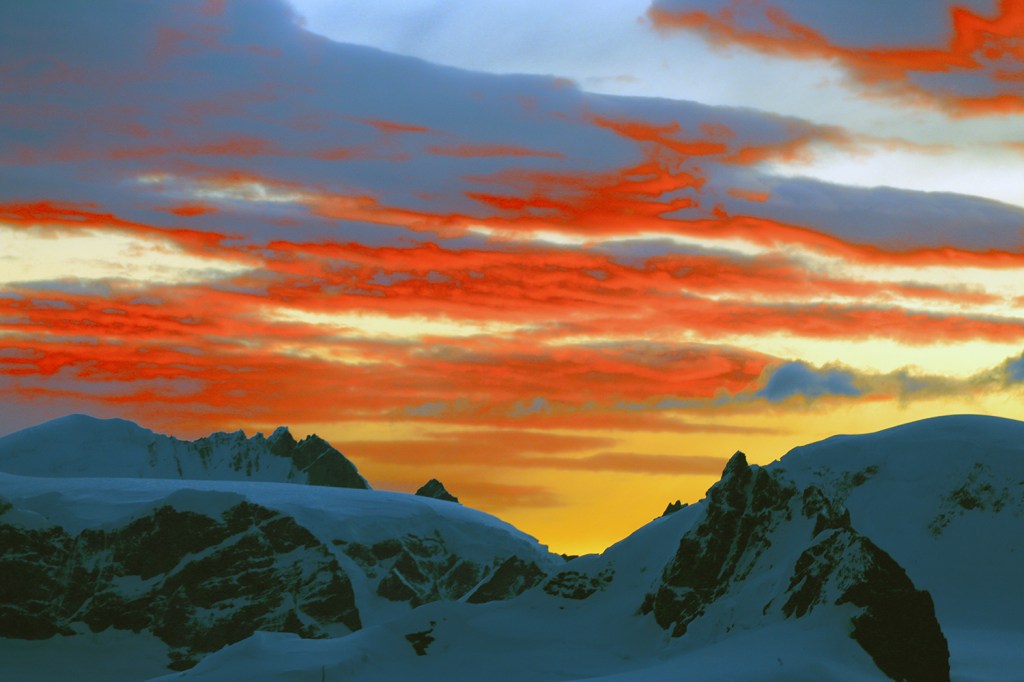
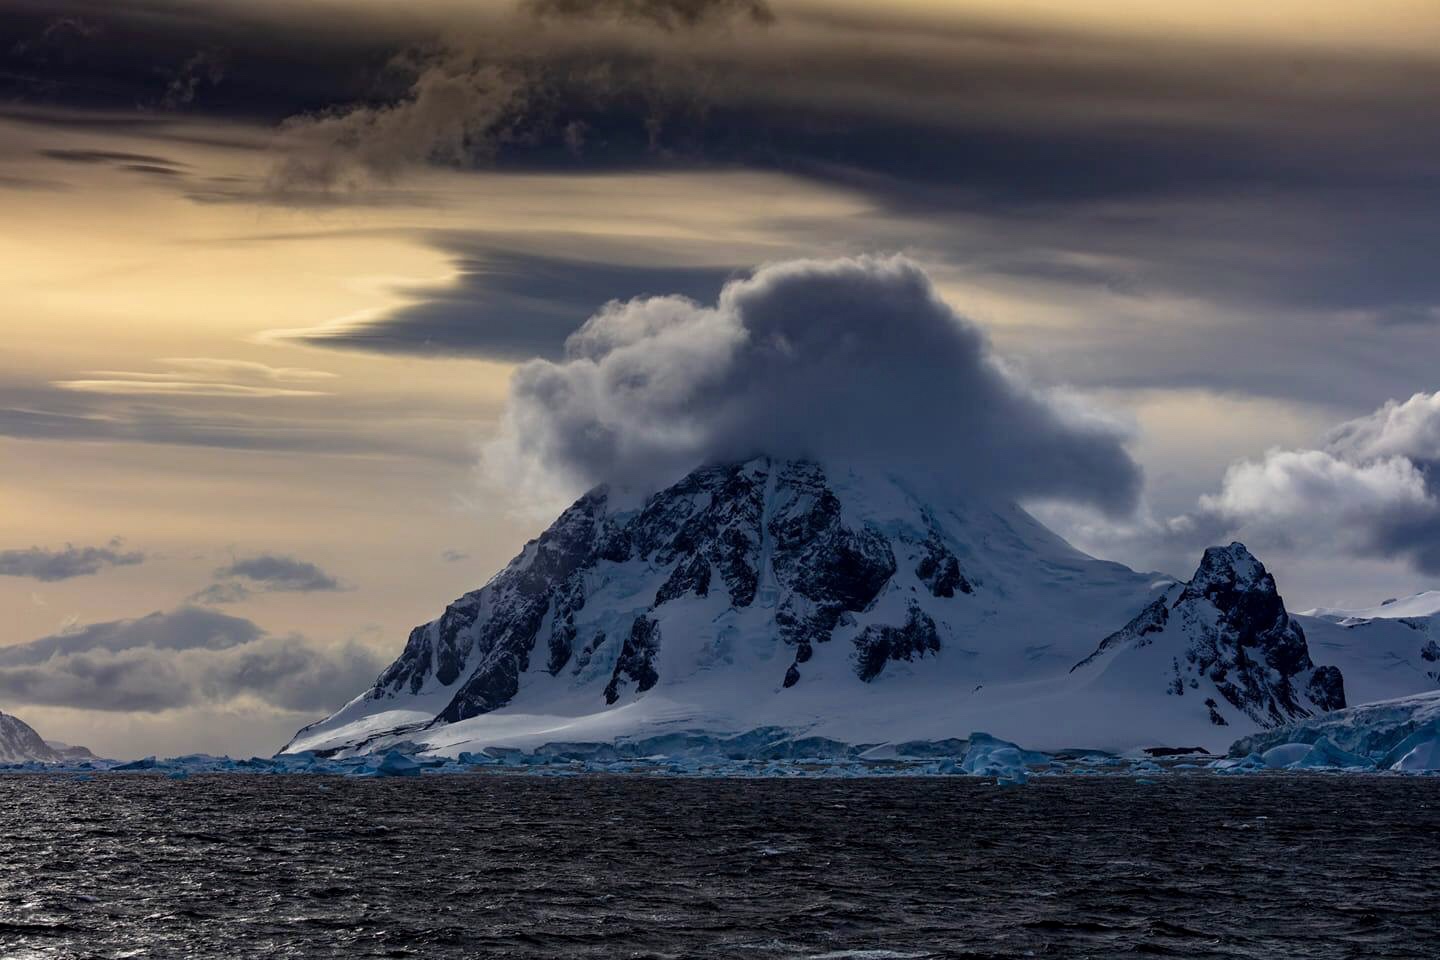
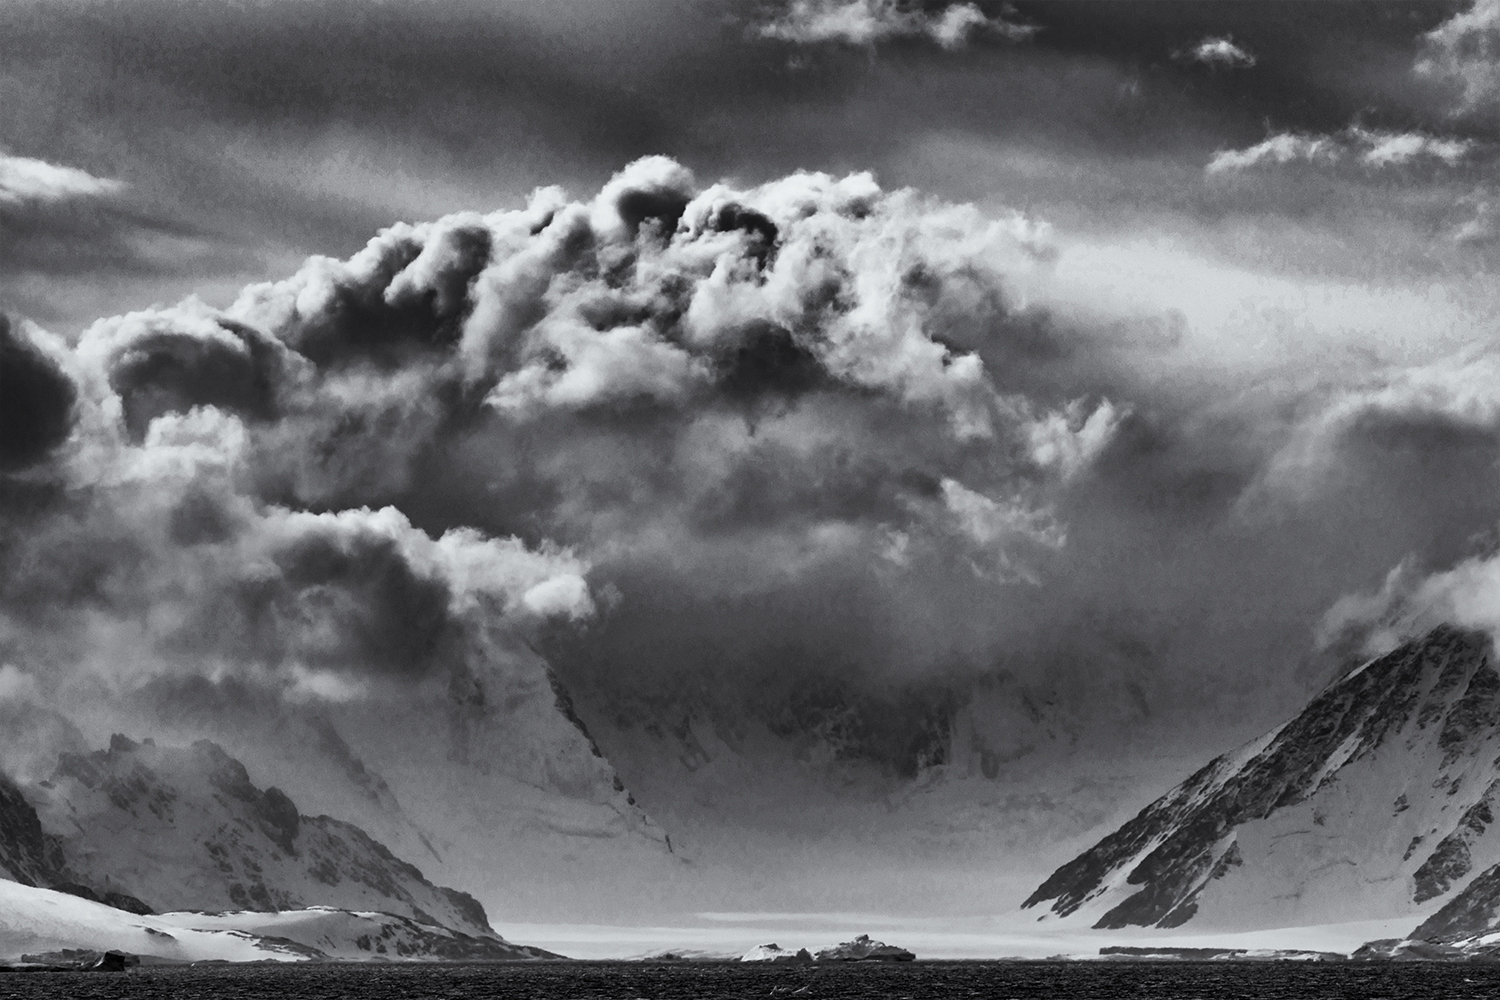
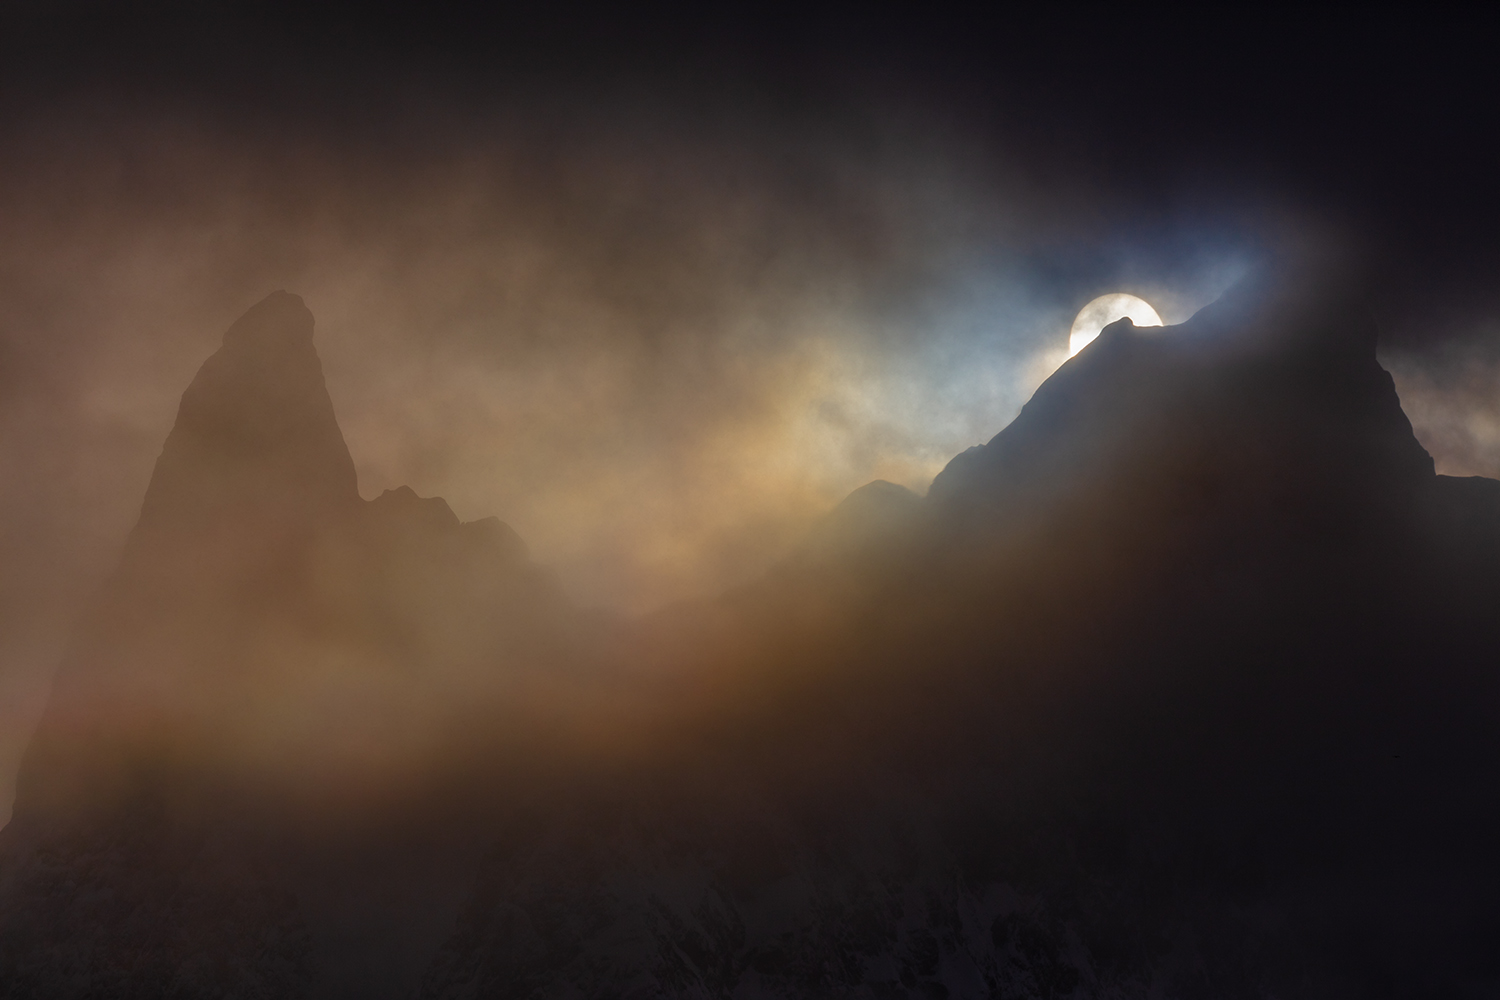
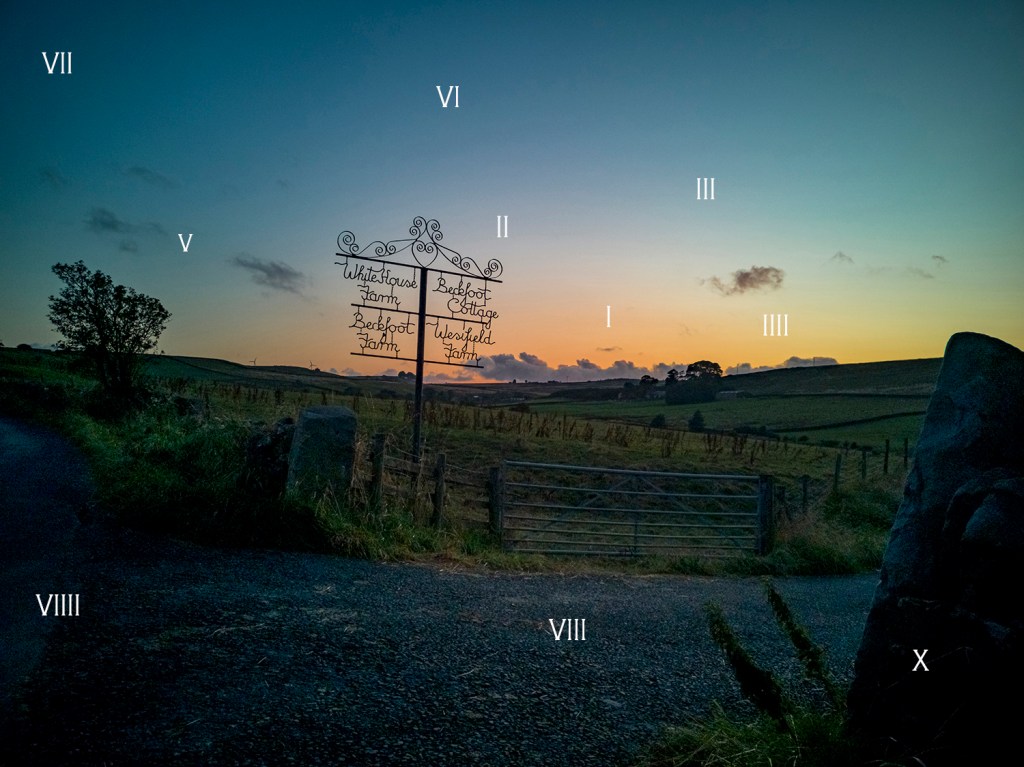
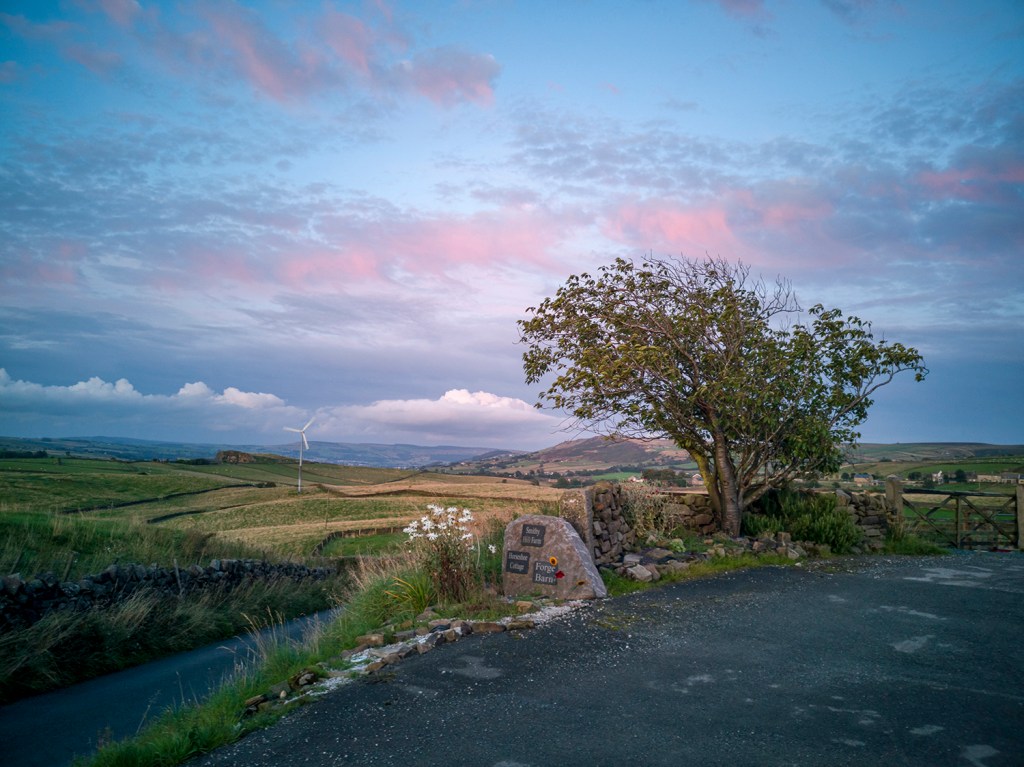
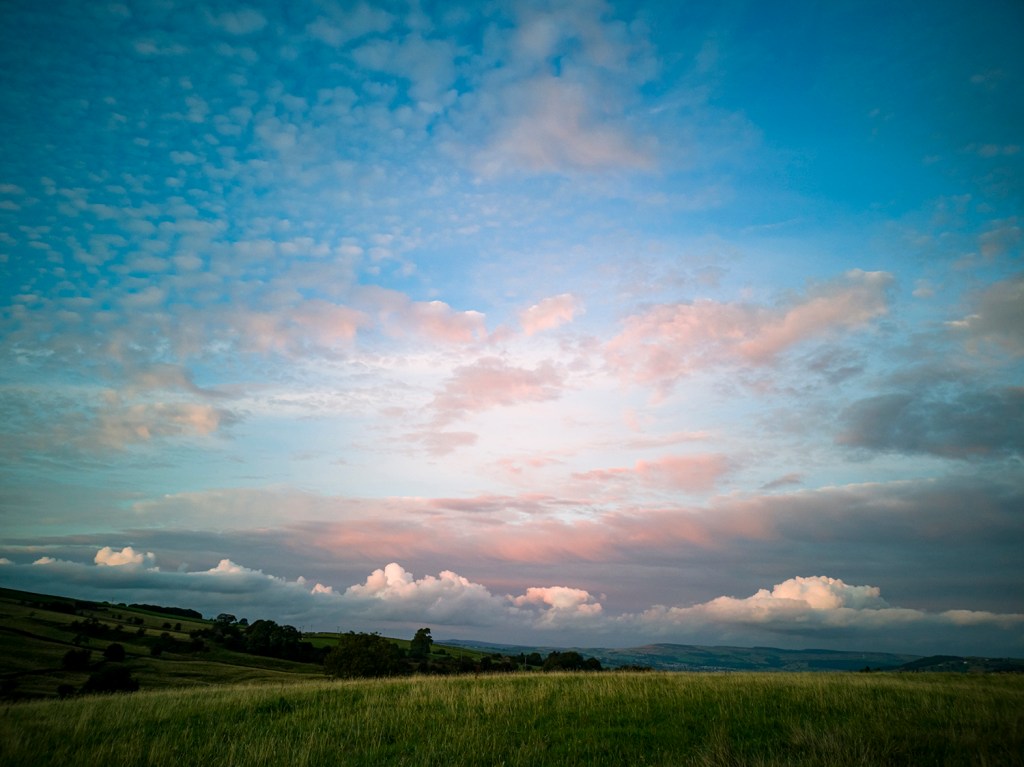
Below is one of my final three showing how I set up the 10 zones in my head based on light and colour. You may not agree with it that doesn’t matter what matters is you are thinking deeper about your shots. You will see an change and the zone systems will get quicker and easier with practise I am sure.
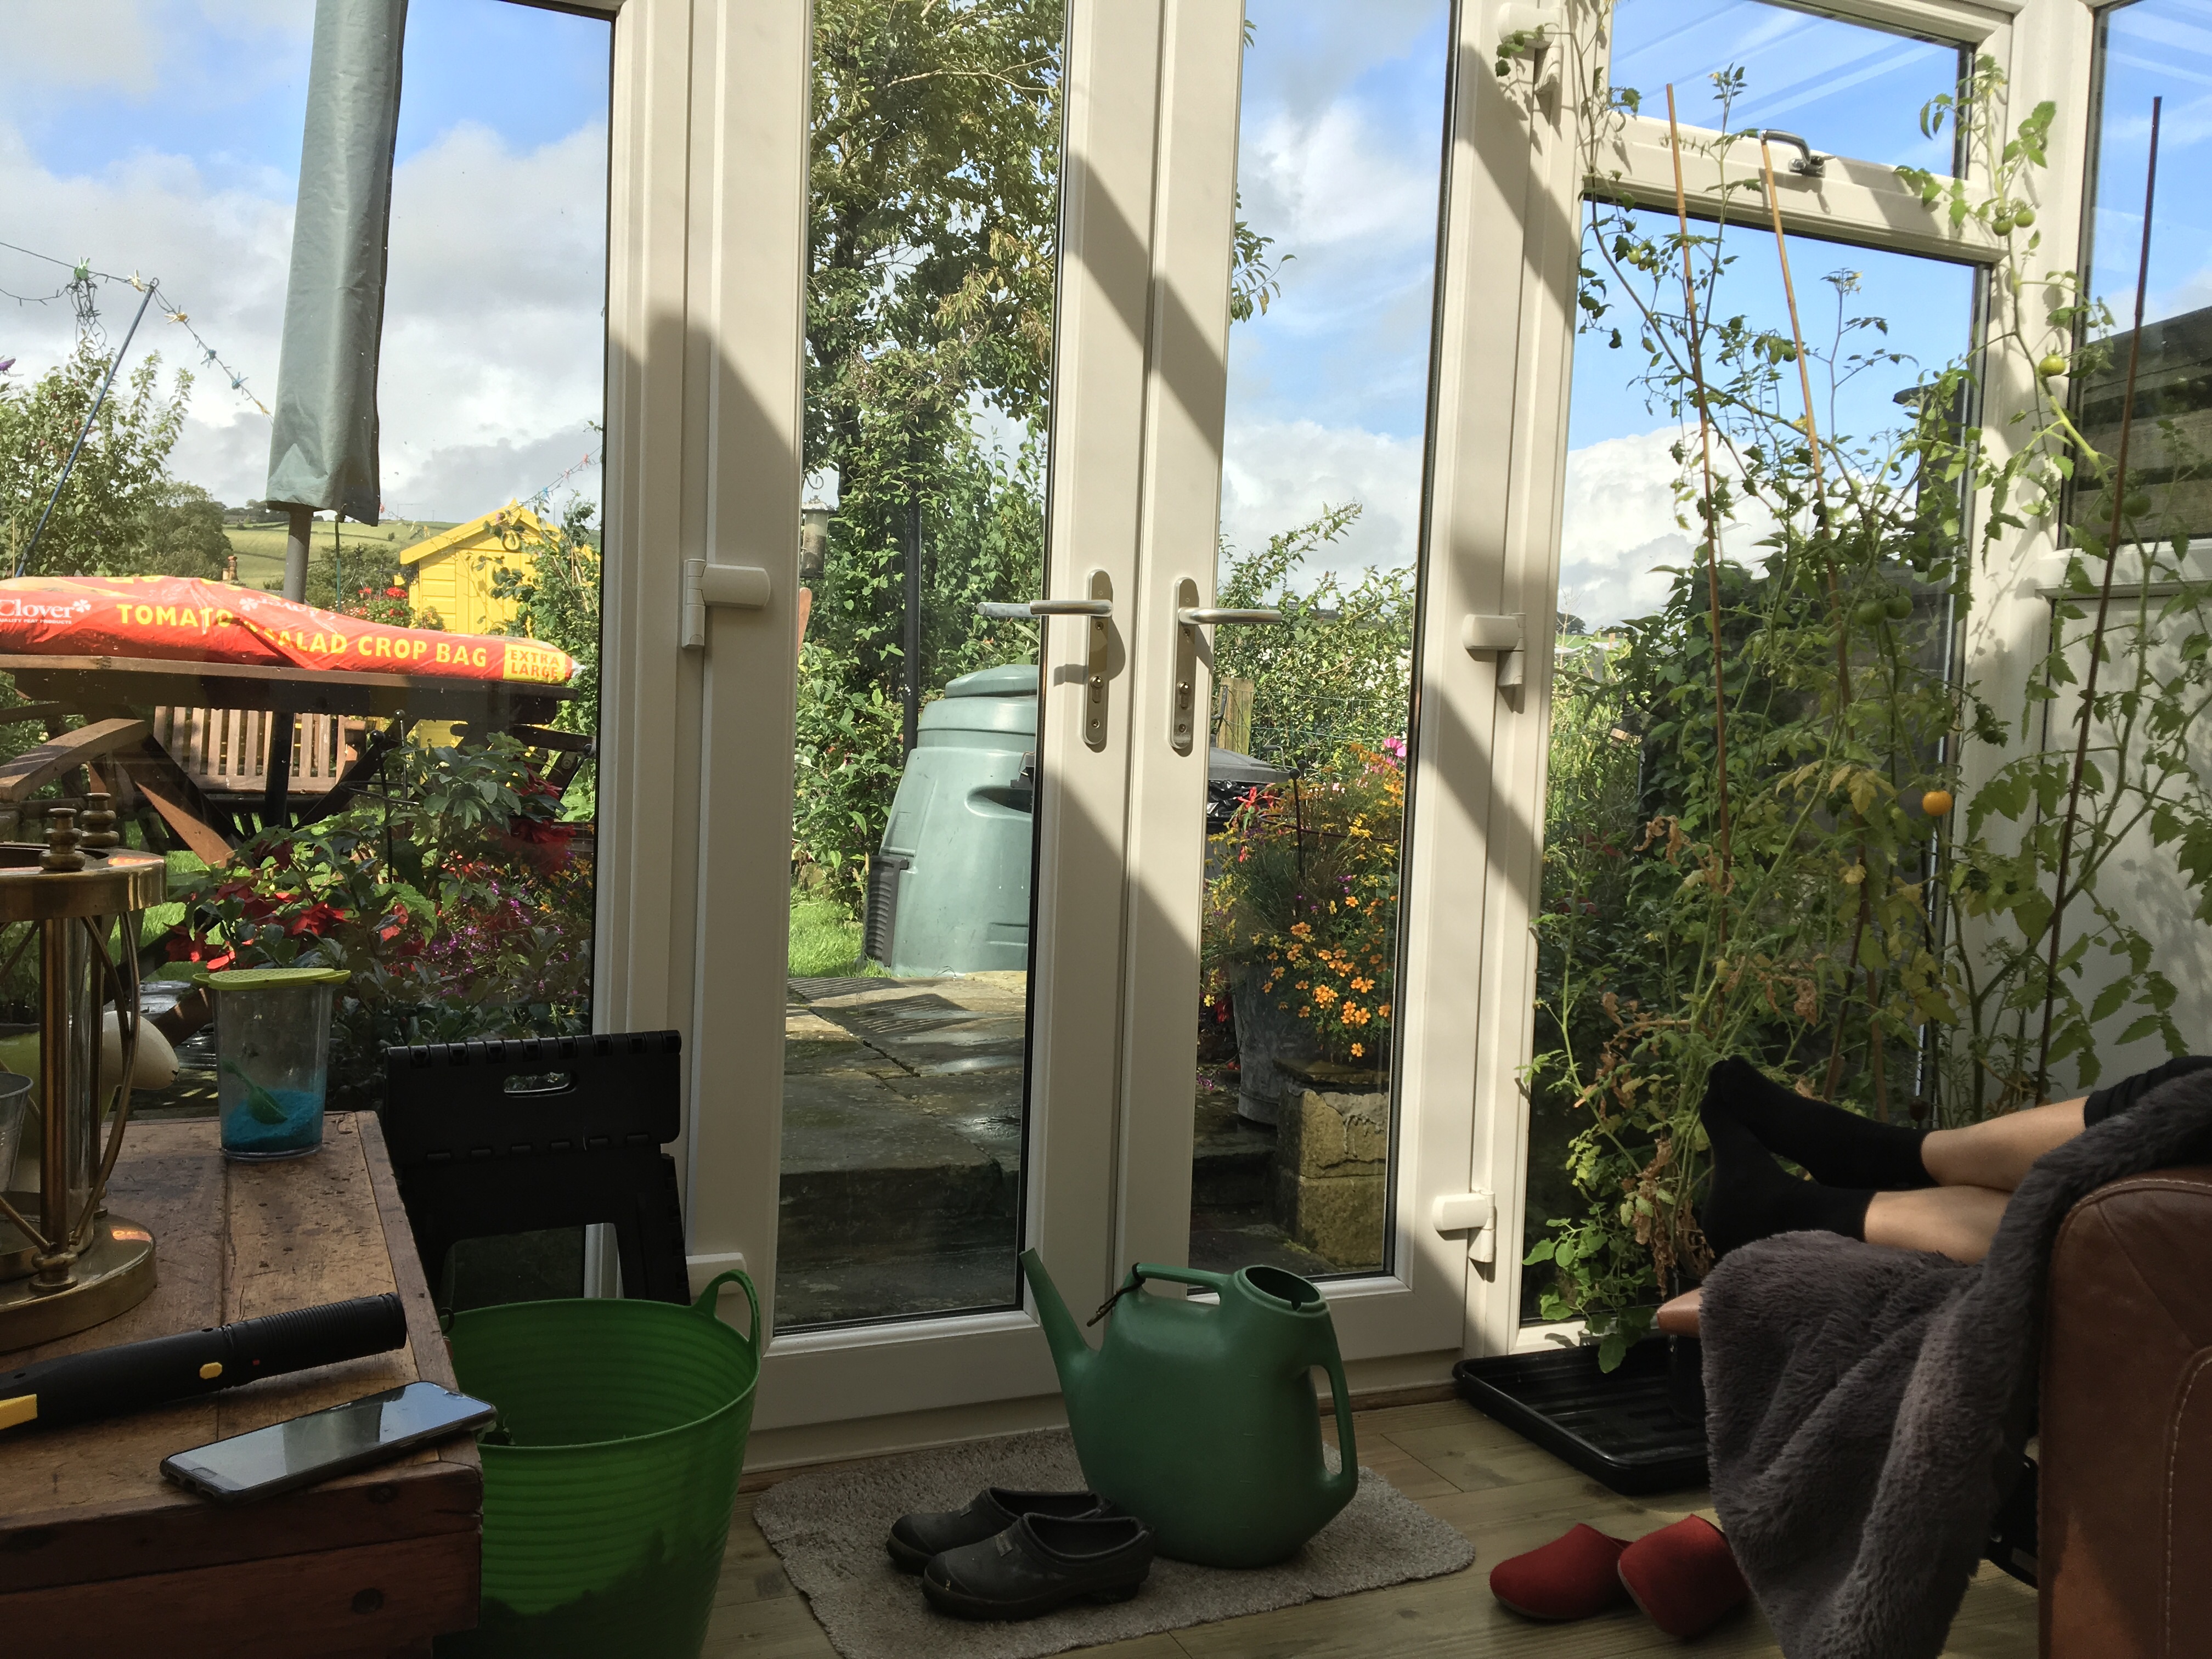
Below I show the two photos along with readings I took.i have shown them in a spreadsheet as this enabled me to understand the facts shown. I took Lumens figures too and the difference in illumination in one hour is quite staggering.

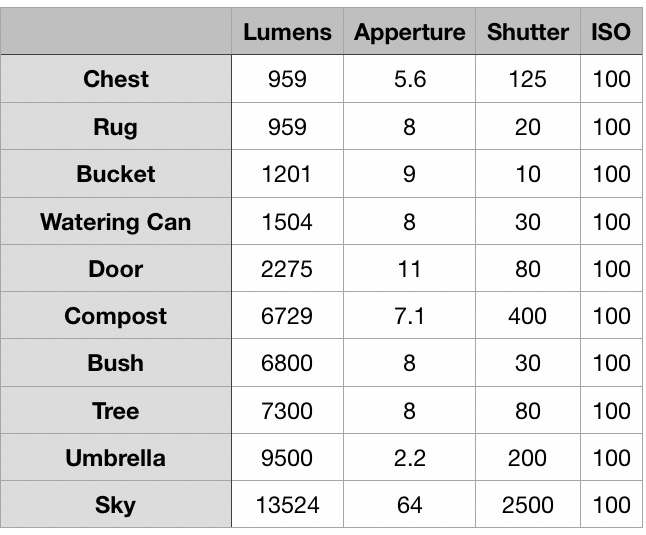
Looking at the figures if I set my camera for a well exposed sky I would lose lots of detail in the room. If I set the camera based on the readings of the chest I would let the sky whiteout. Neither would be good. I would get a better photo if I looked around the middle settings so set the camera at F8 for 1/200ths of a second.

The first thing I noticed completing the second shot was The was lumens figure had shot up with the light. Colour will be brighter and therefore much easier to capture. However easier to lose detail if the camera is set up wrong. I would be setting at around F6 with a shutter speed of around 1/450th second.
These settings would give nearly the best exposure for across the shot. But once you start to think as an artist you see the zone system would allow you to make different parts of the scene the subject. Out in the landscape with more space this could really help to capture great exposures.
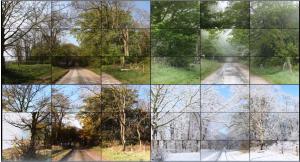
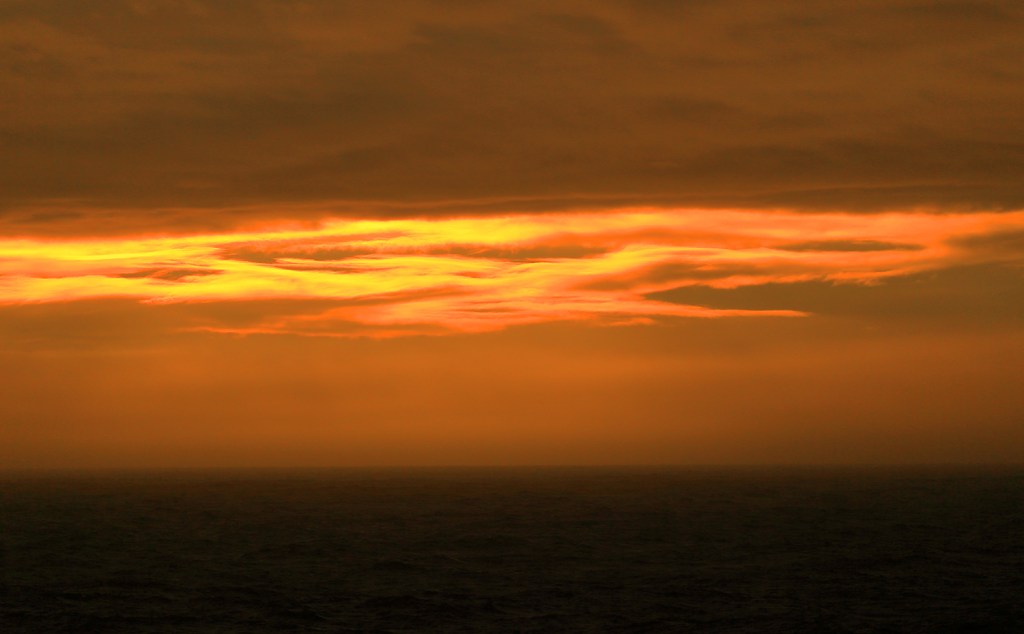
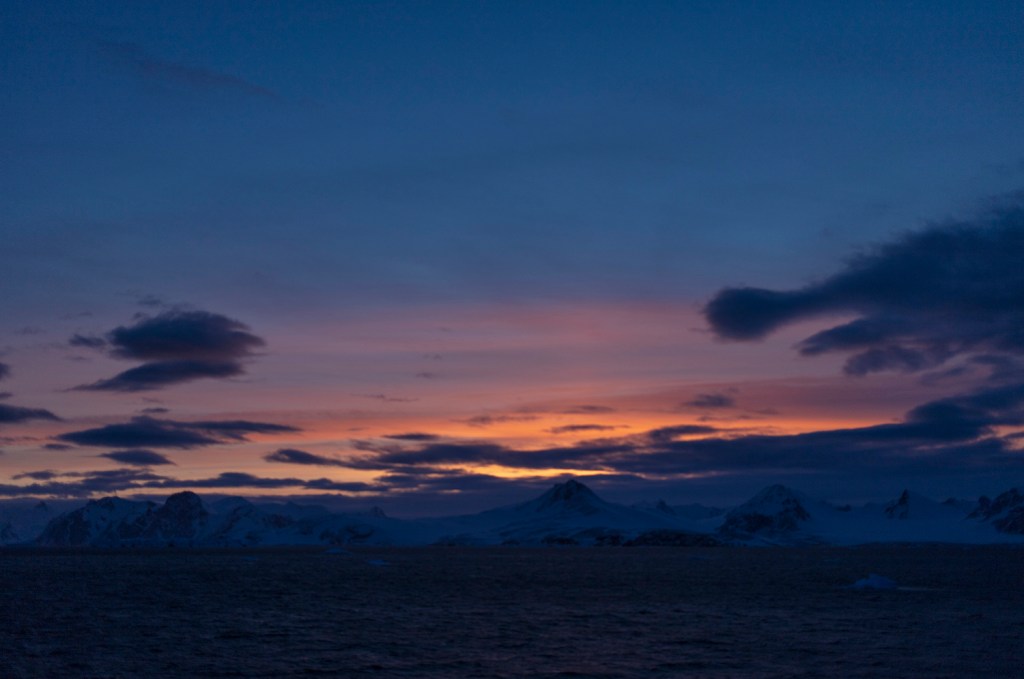
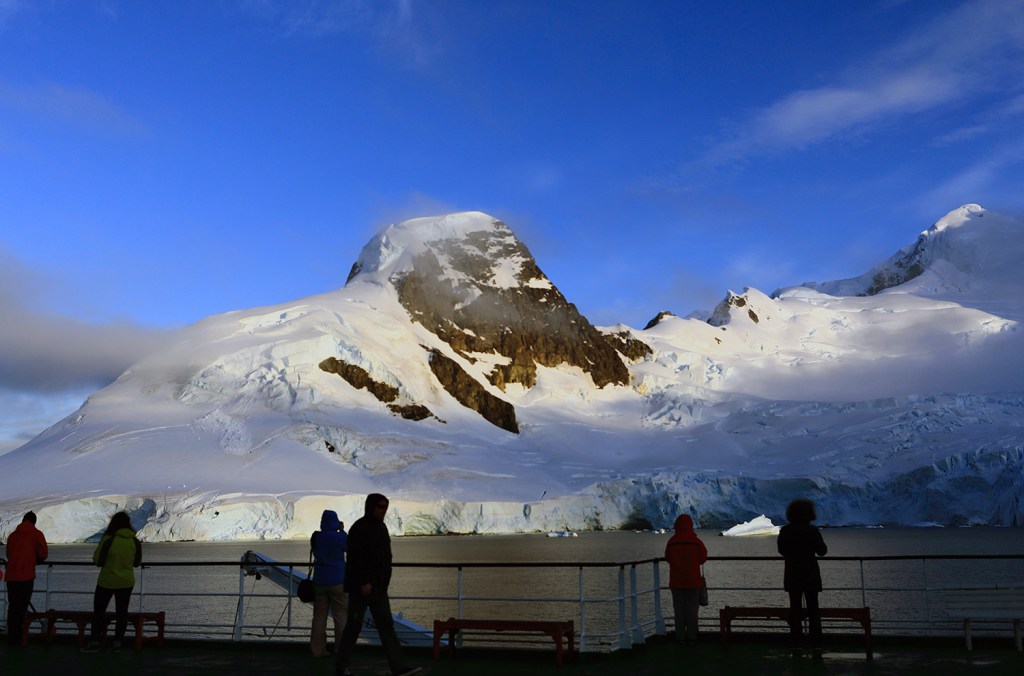
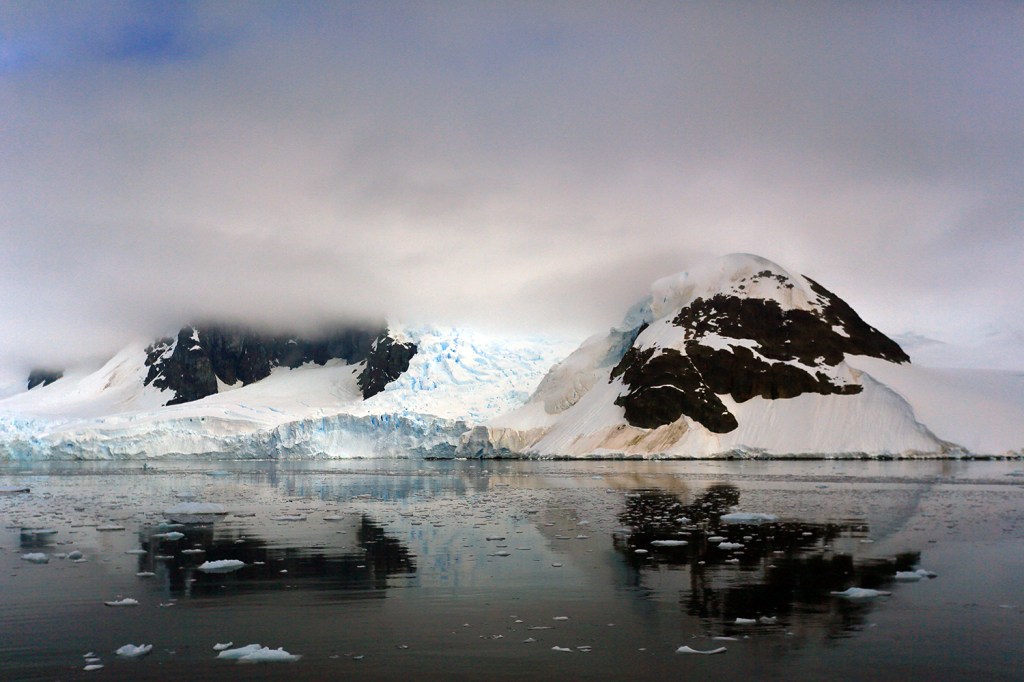
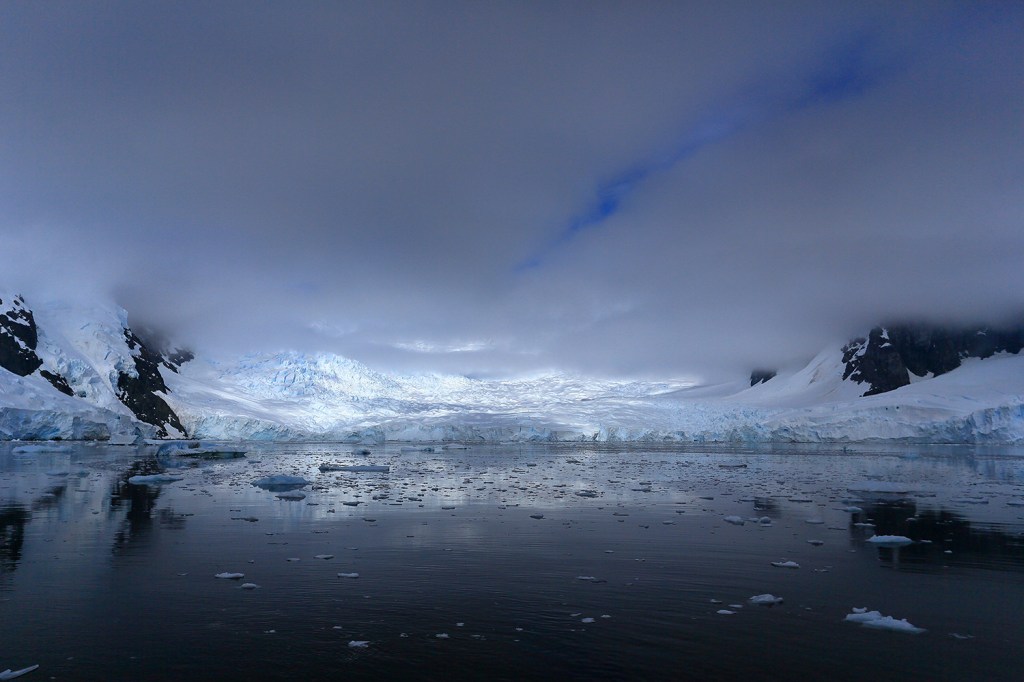
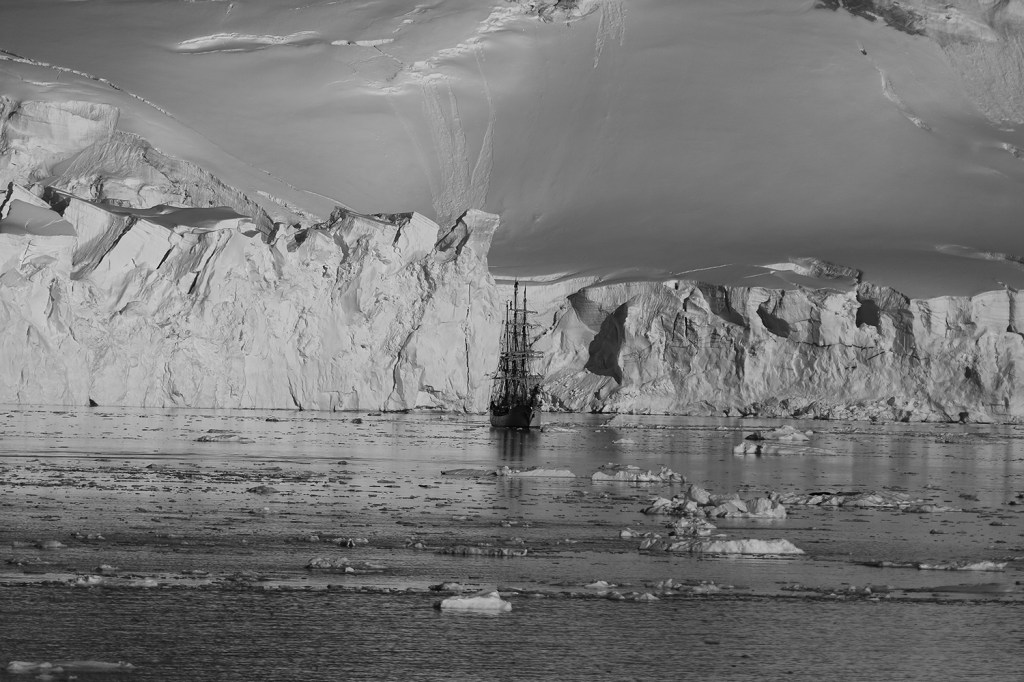
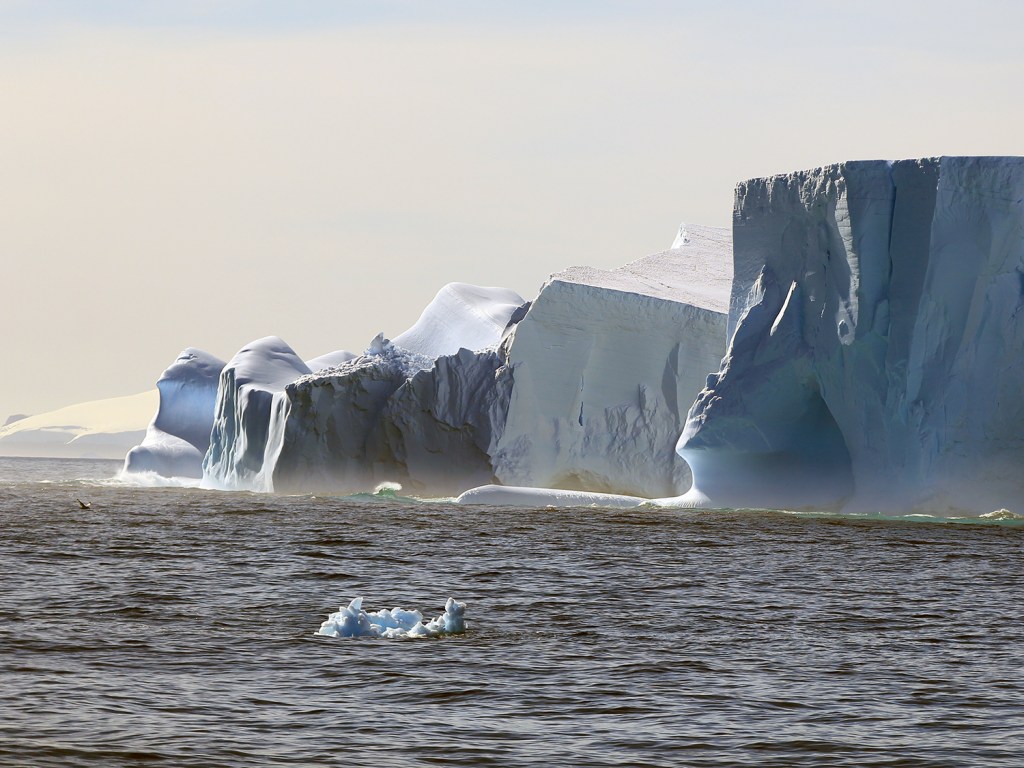
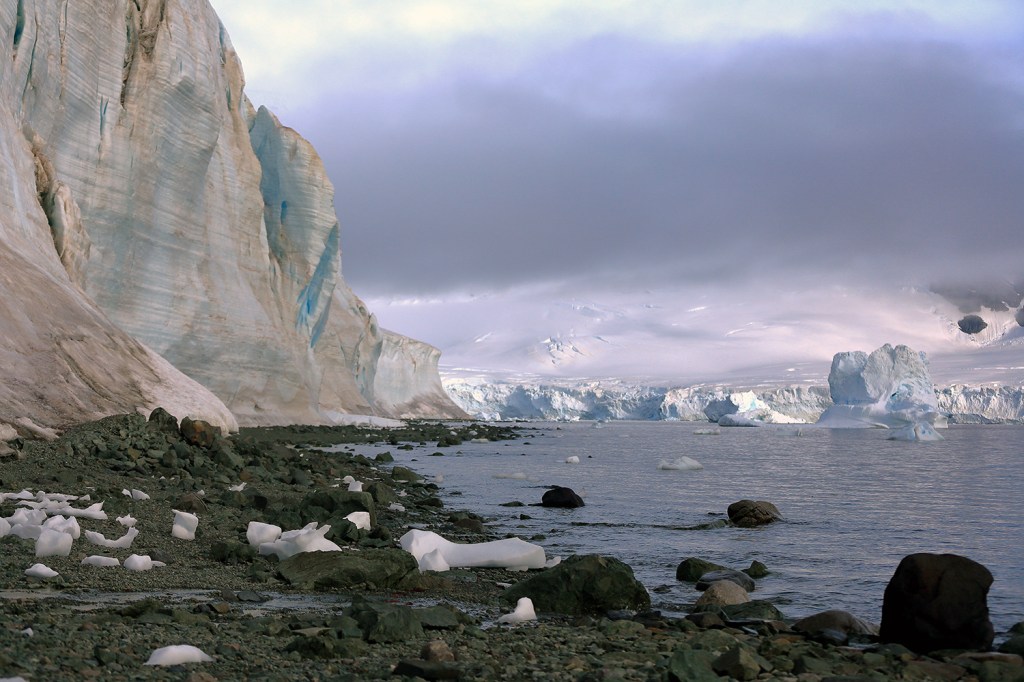
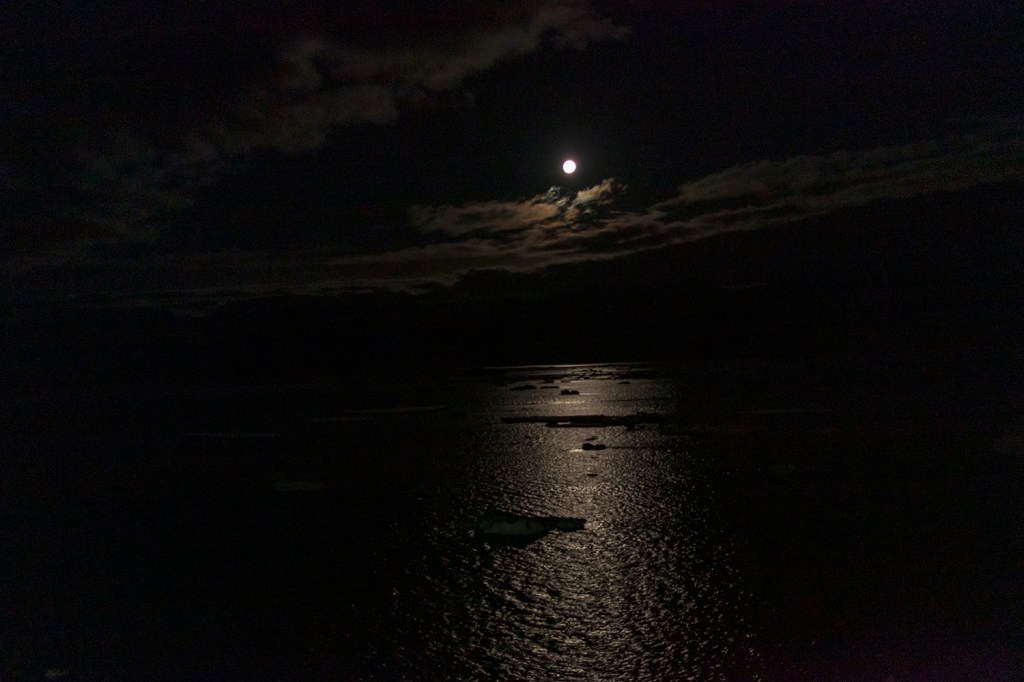
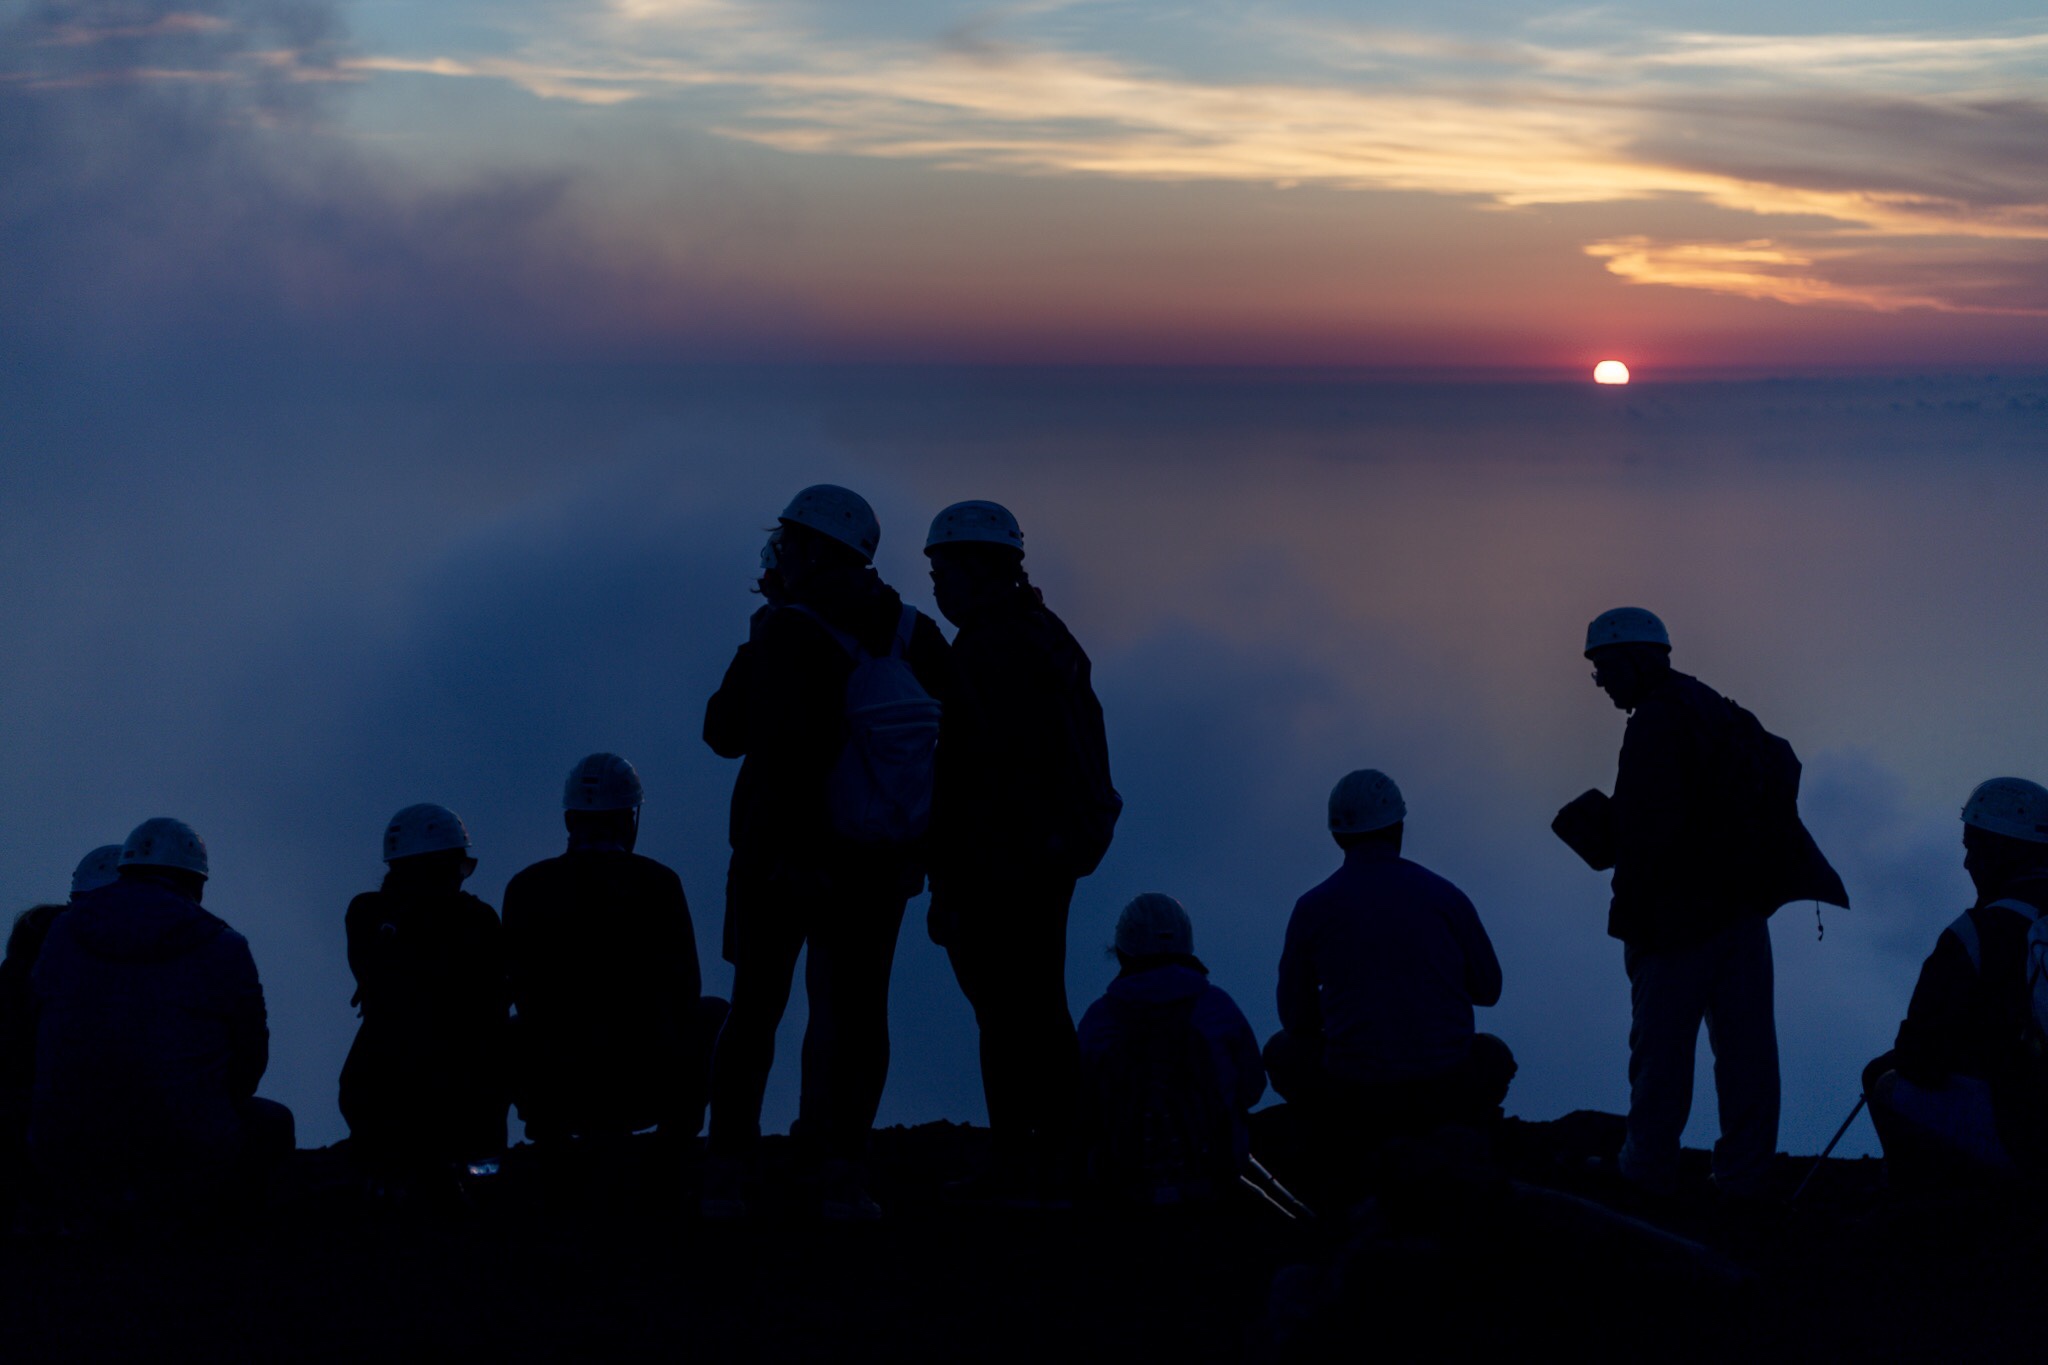
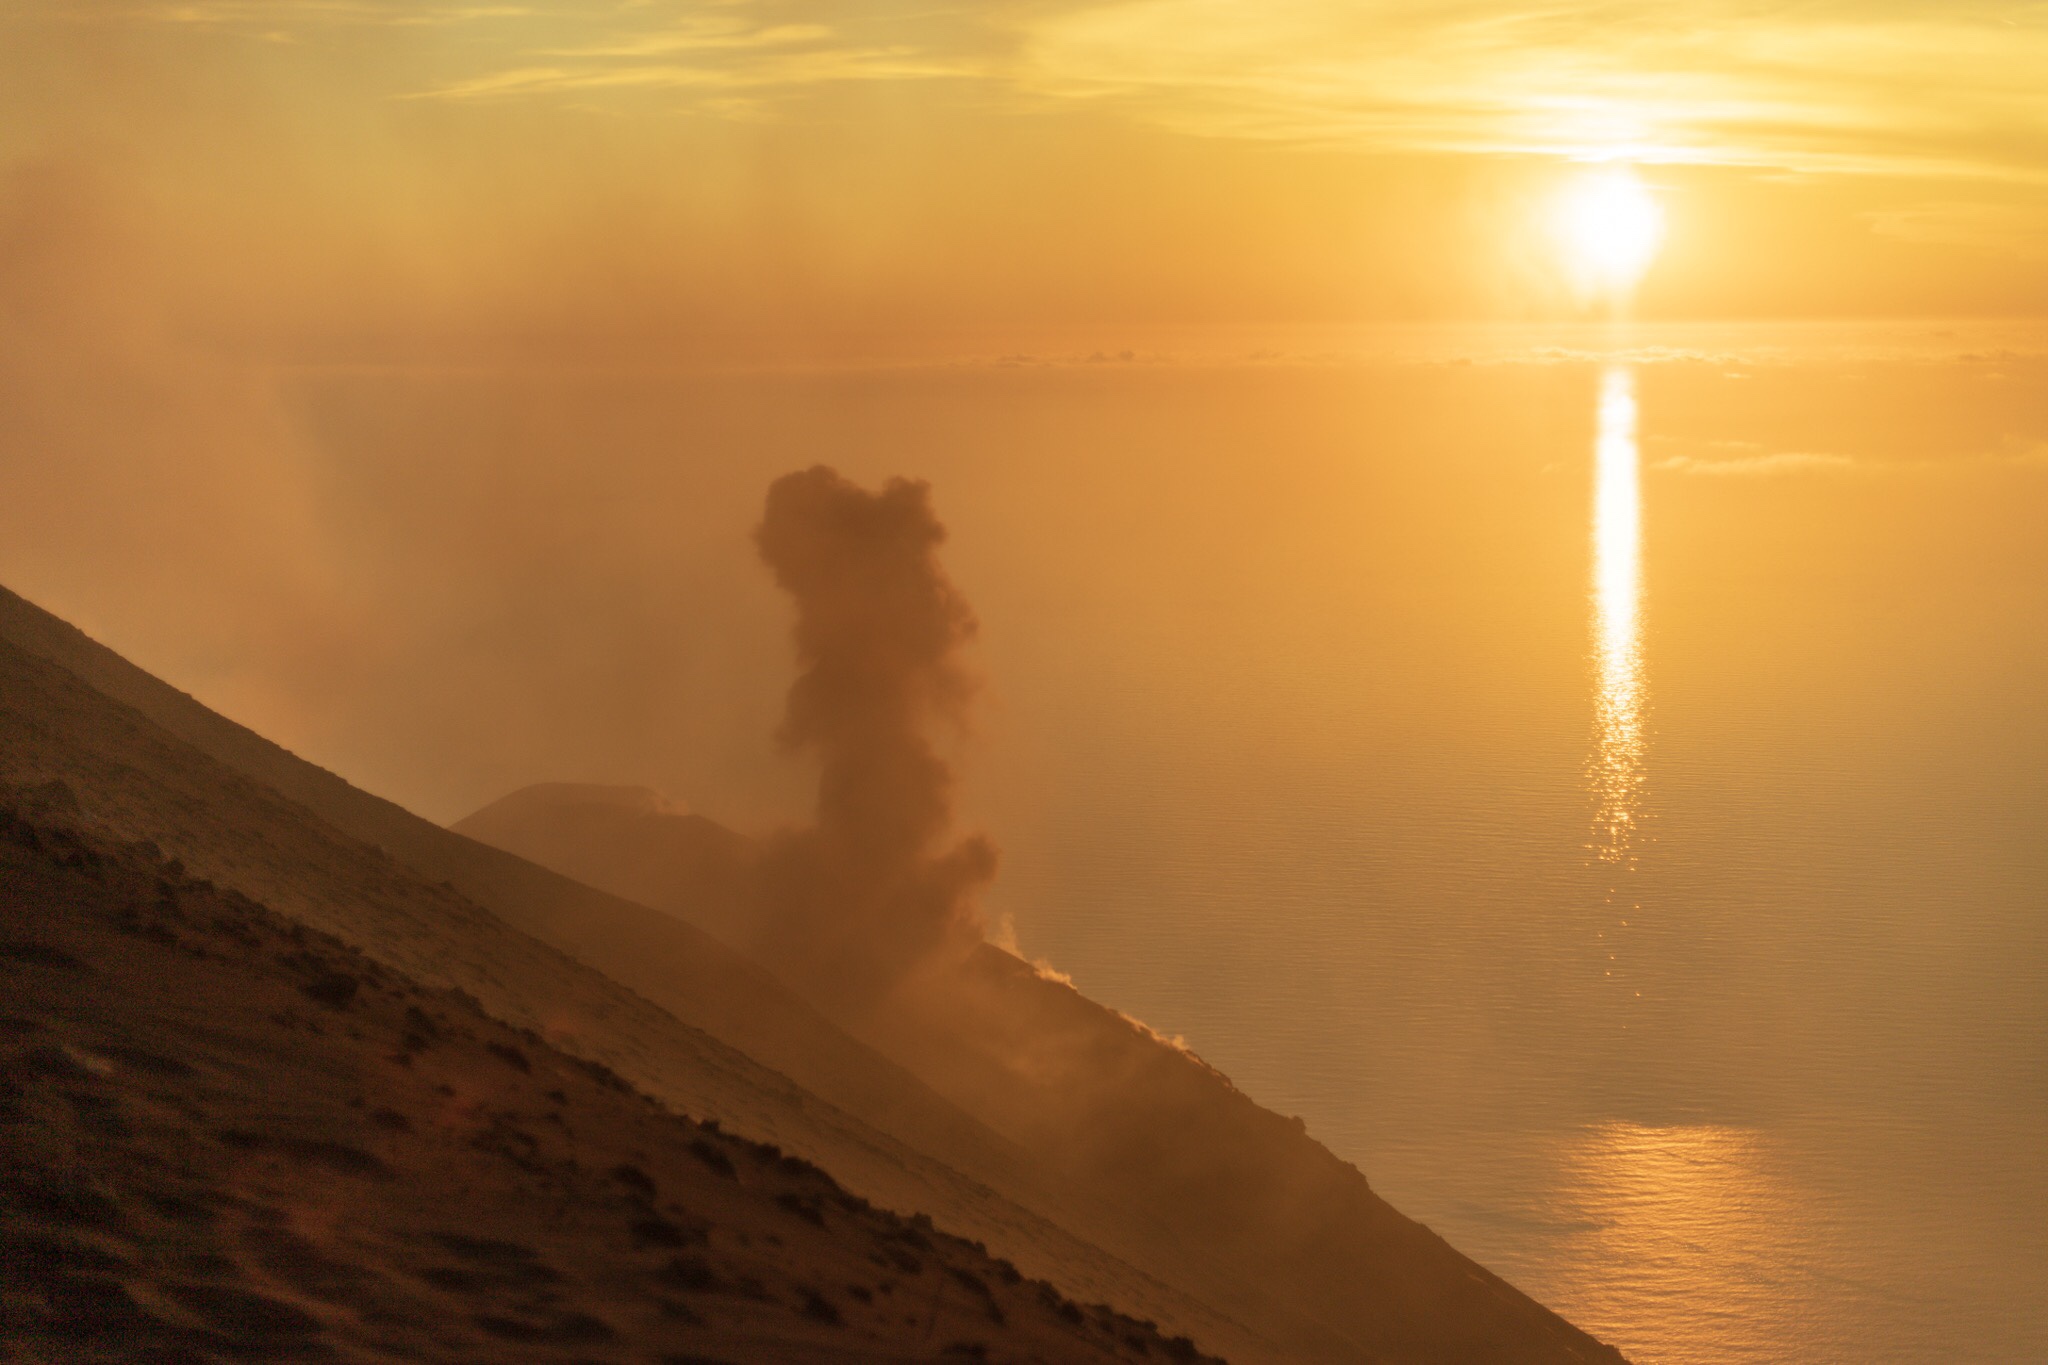
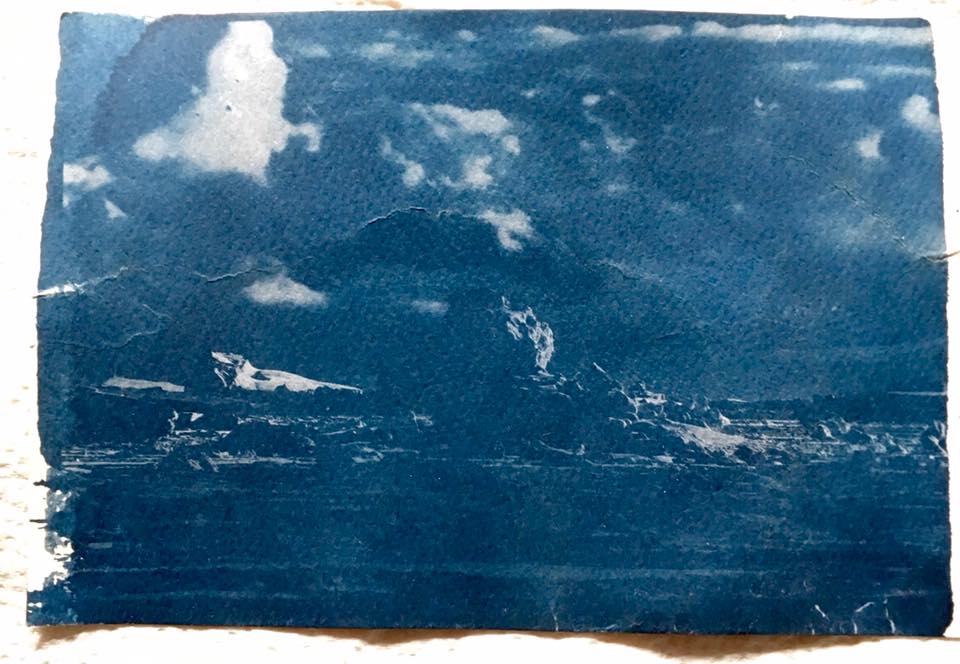
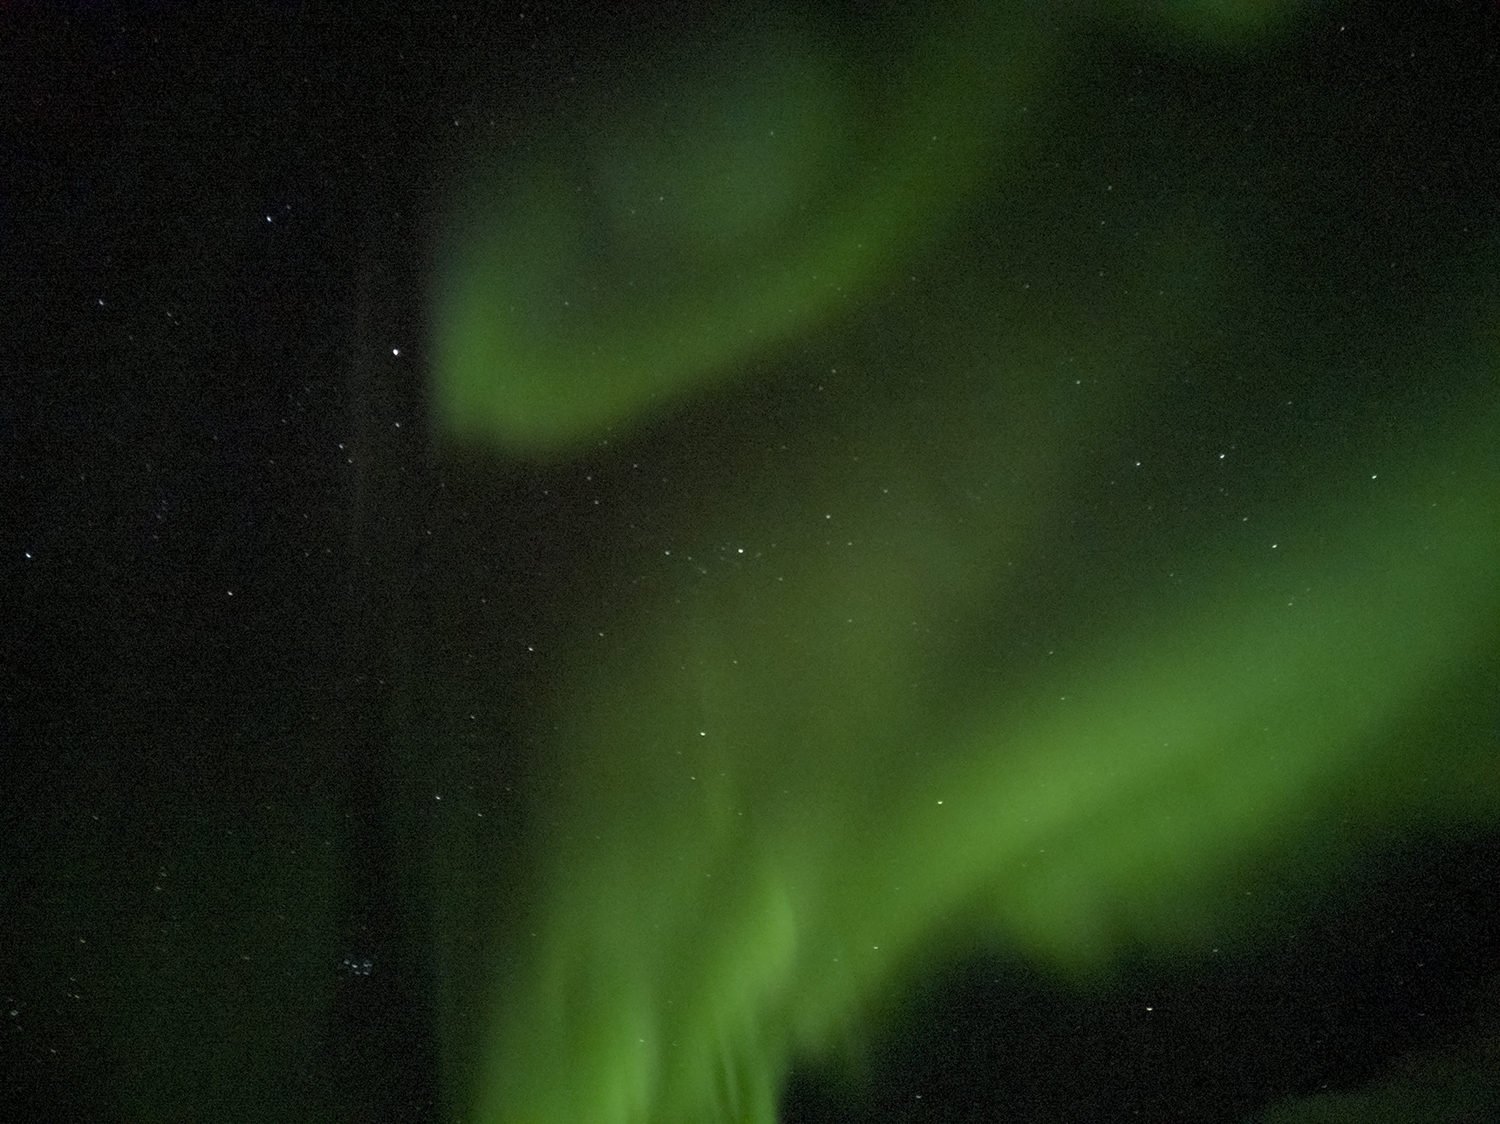
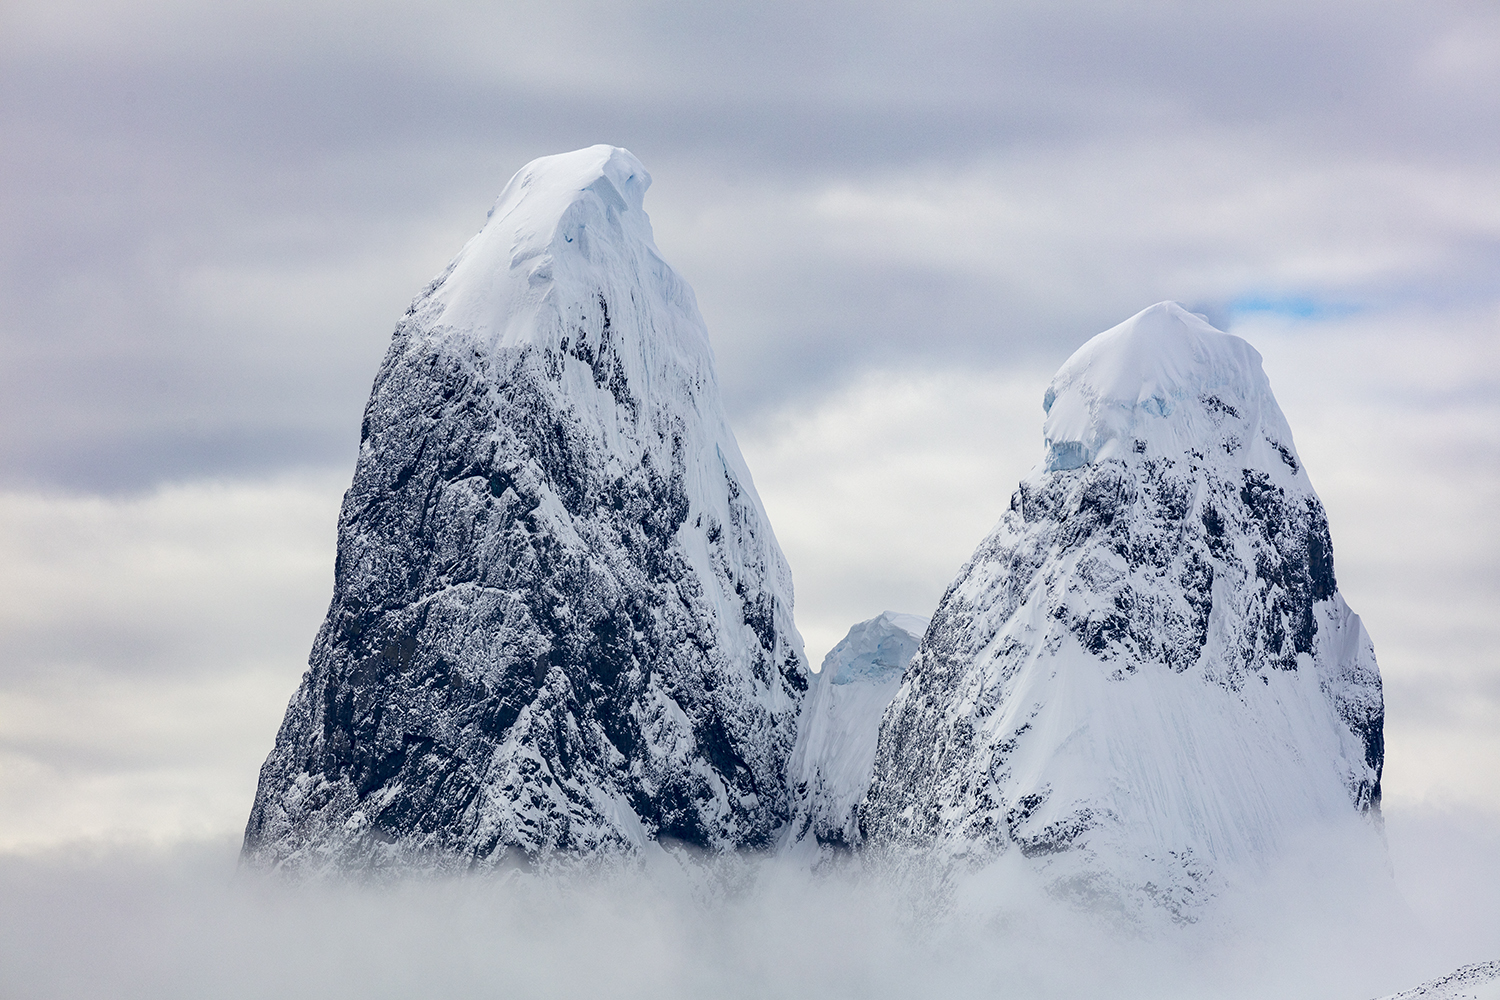
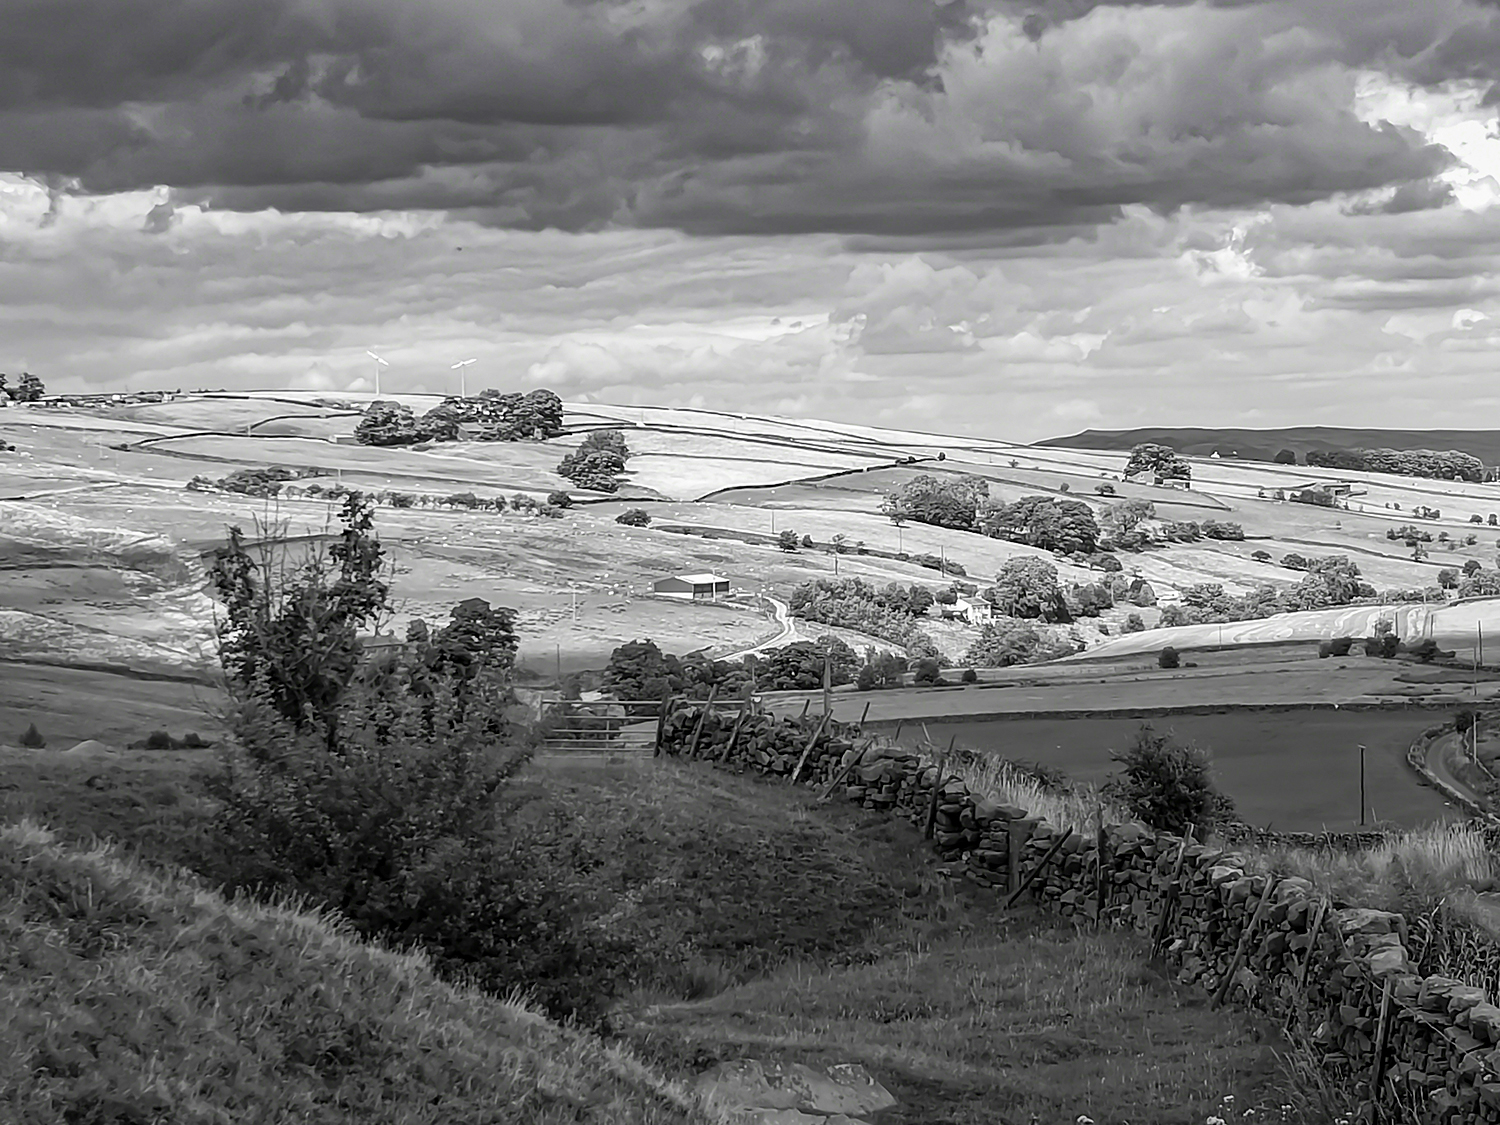
Below are three of my first attempts at using the zone system. The light was difficult as there was a mix of light sky and dark ground so I used my camera to take some light readings. Then I set the camera for the mid tones which meant I had to have the camera open at F1.8 the hard part was getting detail whilst capturing the colour in the sky.

References
Adams, Ansel. Great Dome in Winter. 1938. Silver Gelatin. https://shop.anseladams.com/collections/ansel-adams-exclusives2/products/half-dome-merced-river-winter-3?variant=31415622008899.
Eftaiha, Diana. “Understanding & Using Ansel Adam’s Zone System.” Envatotut+, March 20, 2013. https://photography.tutsplus.com/tutorials/understanding-using-ansel-adams-zone-system–photo-5607.