My tutor suggested Japanese Stab Binding the book. I will be honest this technique was something I had never even heard of. However I like a challenge so accepted it with a little trepidation.
During my feedback of Assignment 4 my tutor discussed my approach to Assignment 5. As it was going to be impossible to send in prints of my photographs due to CoVid19 and the lock down he set me the challenge of completing a photobook. The goal of this book would be me taking control of the whole process. From inception through taking the images and finally producing the book.
After the conversation, I quickly logged onto Google researching what would be involved, on first reading filled the process filled me with dread. There seemed to be many skills that would stretch me to the limit. I liked the fact that I would learn a new skill and if applied efficiently I would produce something that should be tactile and pleasing to finish.
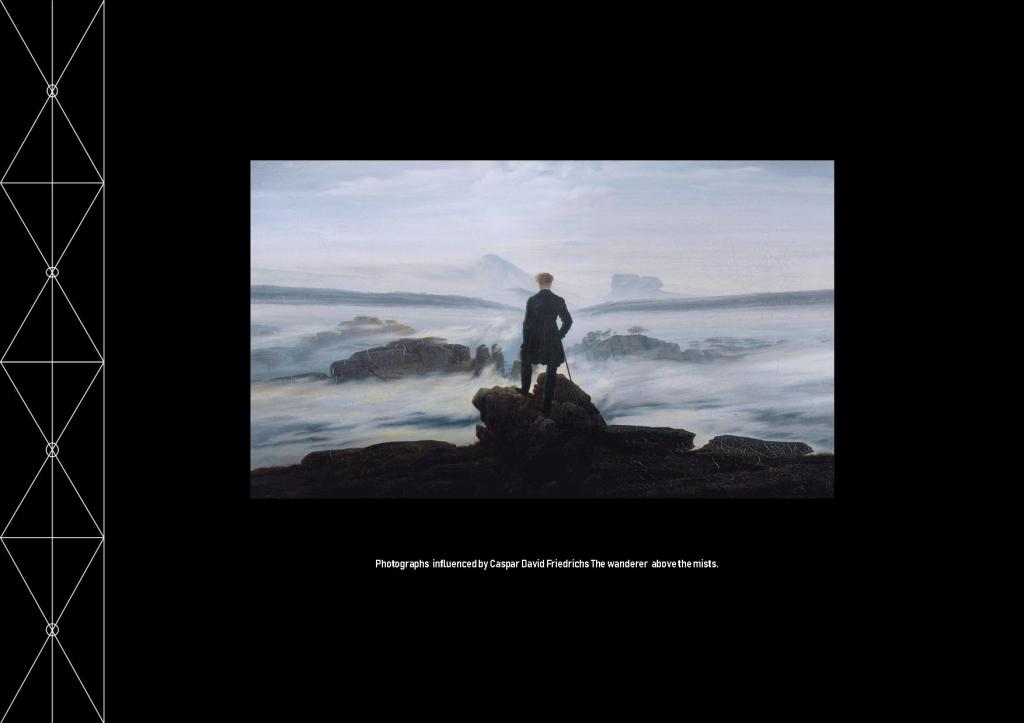
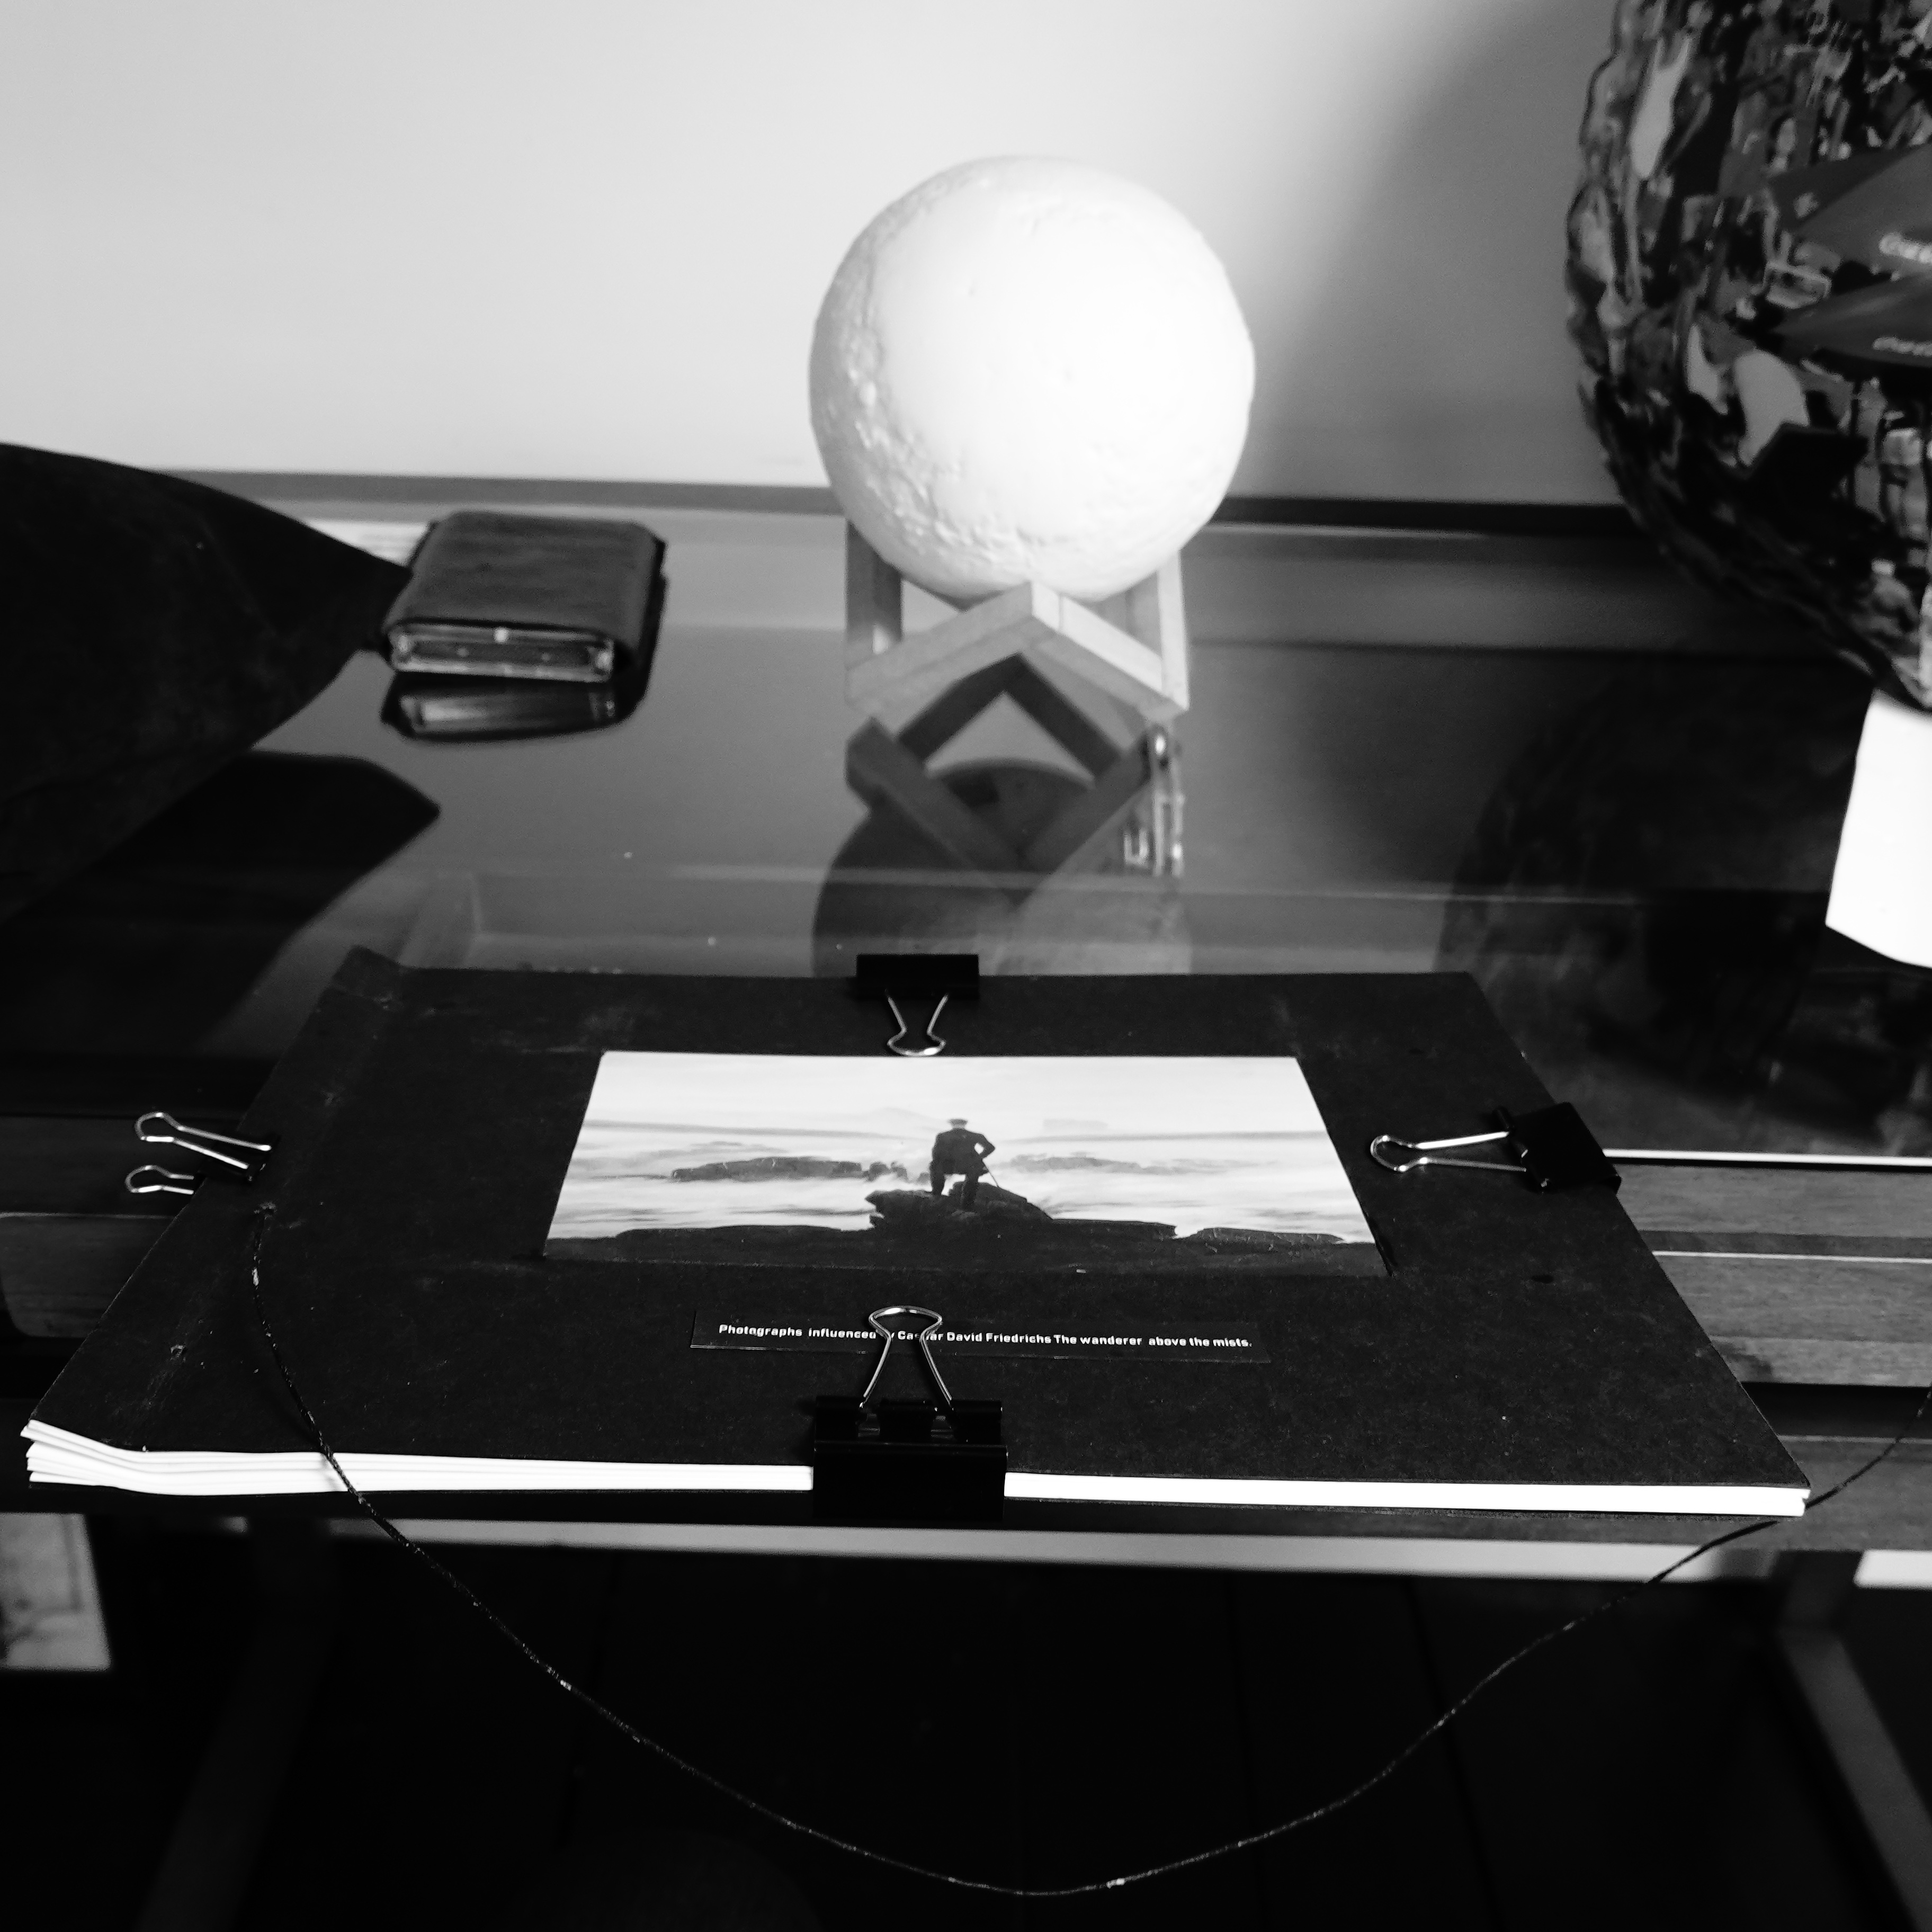
I considered what the outcome should be. I wanted the cover of the book to show the painting that had inspired this piece of work. I did not want to just stick the paper to the front cover, so researched creating a window in the cover to show it to its best advantage.
Next I considered the paper. Everything I read said not to use paper that is too thick and not to place too many pages in the book so it opens properly when the viewer looks at it. I wanted a decent quality print so decided to use 275g matte print paper and 250g black card for the cover.
I would need some tools so I read the list of tools on the website https://bookbindingtutorials.wordpress.com/2014/12/07/japanese-stab-binding-4-hole/
I tried to source the tools but the postage and packaging were prohibitive. Amazon came to the rescue with a bookbinding kit that included all the equipment I would need. I sourced the paper from a local art shop. I also purchased good quality paper glue from the art shop to construct the cover.
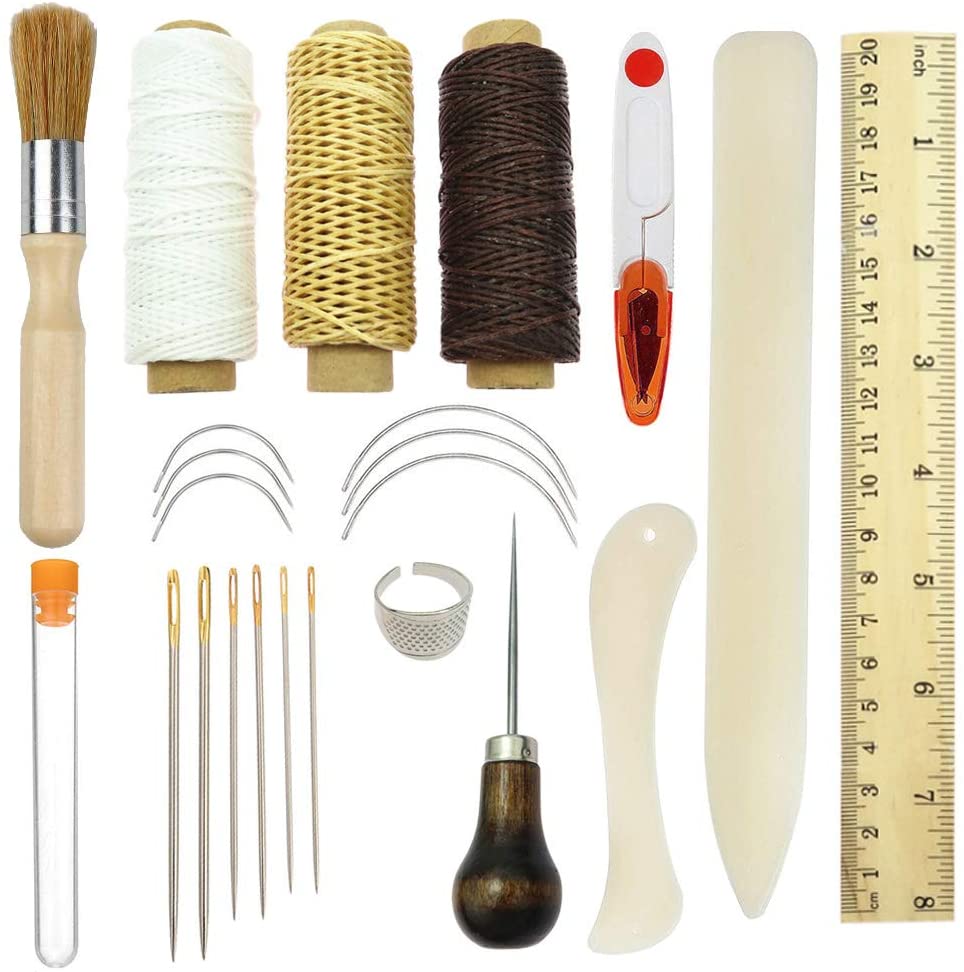
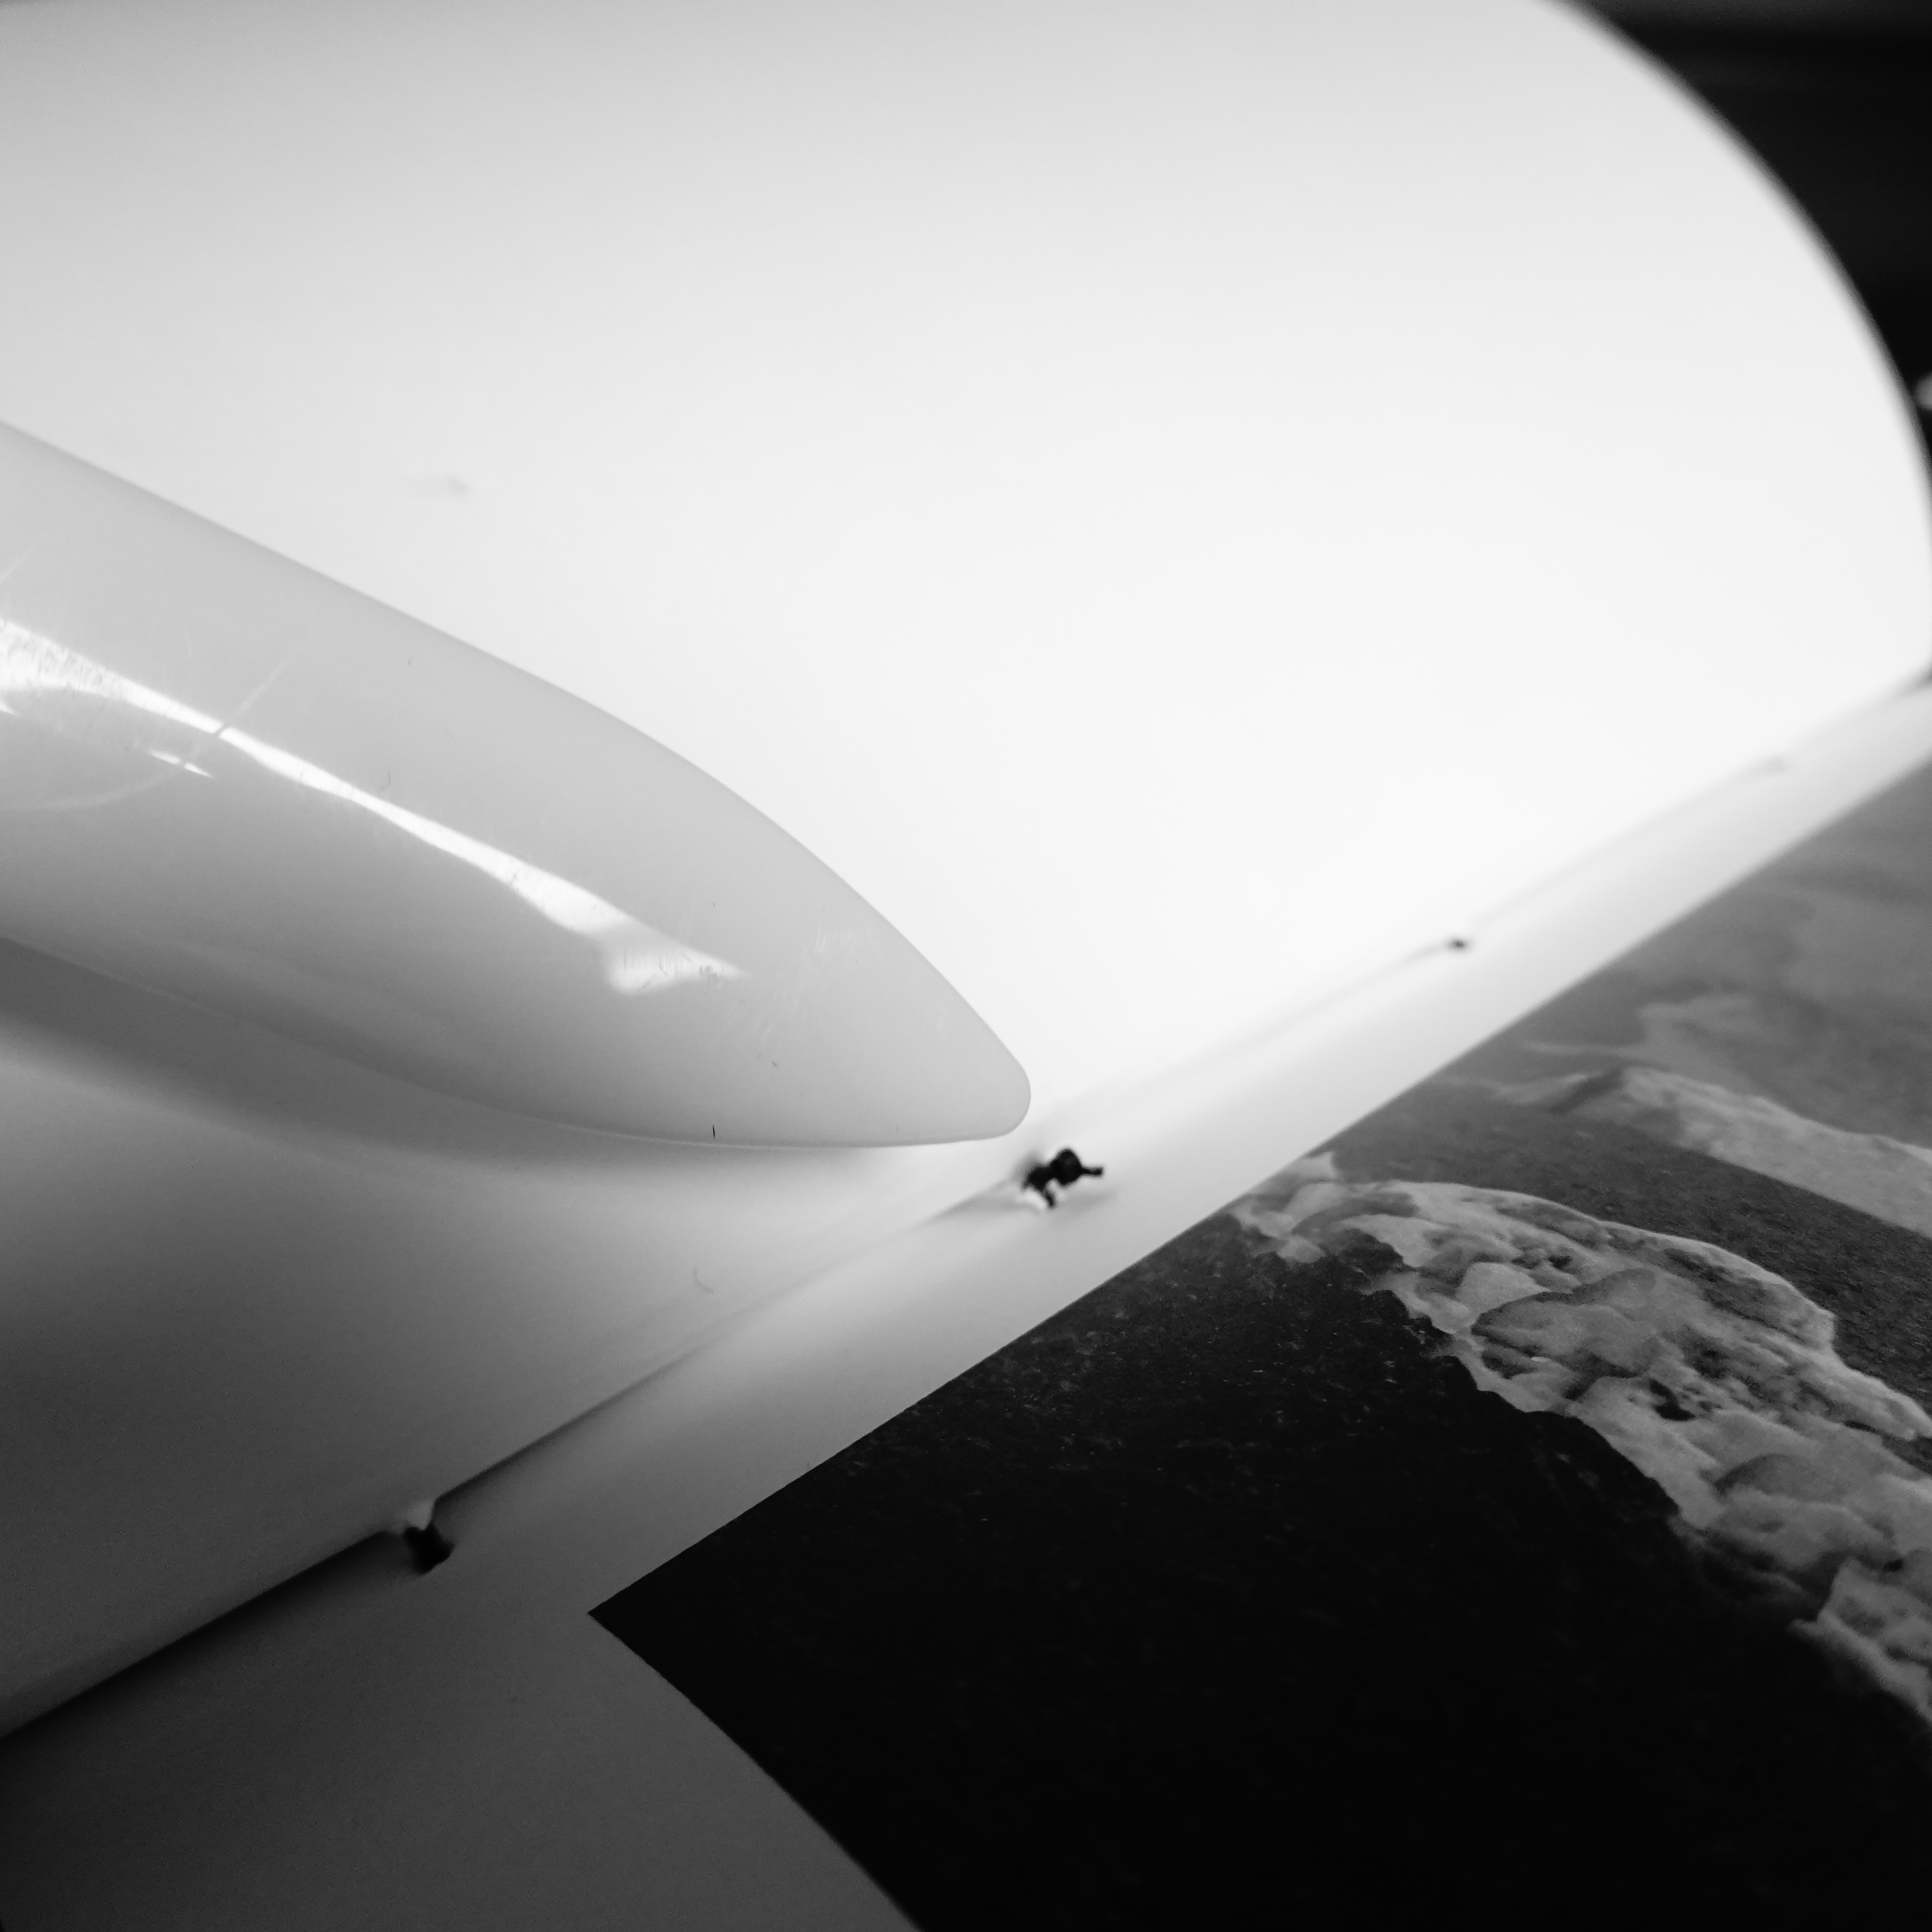
Whilst I waited for the tools to arrive I designed a stencil for A4 paper including the window for the cover. This involved measuring in publisher 1 1/2 inch border from the left edge. As I was producing a four hole bind I divided the edge into four sections. Then drawing two lines across the rectangles I placed the marks for the holes that would be punched later. when the tools arrived I printed this onto 300g photo paper. This stencil needs to be robust therefore I printed it on thicker paper to help it survive the process. This page will not go into the finished book.
I made the cover by using the stencil to mark the edges of the window on the black card. Then using a razor blade and being very careful I sliced the lines and cut the window in the cover. I trimmed the print of the painting ½ an inch bigger than the aperture I had just created. Using the glue I fixed the painting to the aperture. Then placed the second piece of Black card and glued that to the reverse being careful to align everything before pressing together. I left this under a weighted board overnight to fix it firmly into its position.
I printed the edited photos and set these aside until later, so they would be ready when the tools arrived.
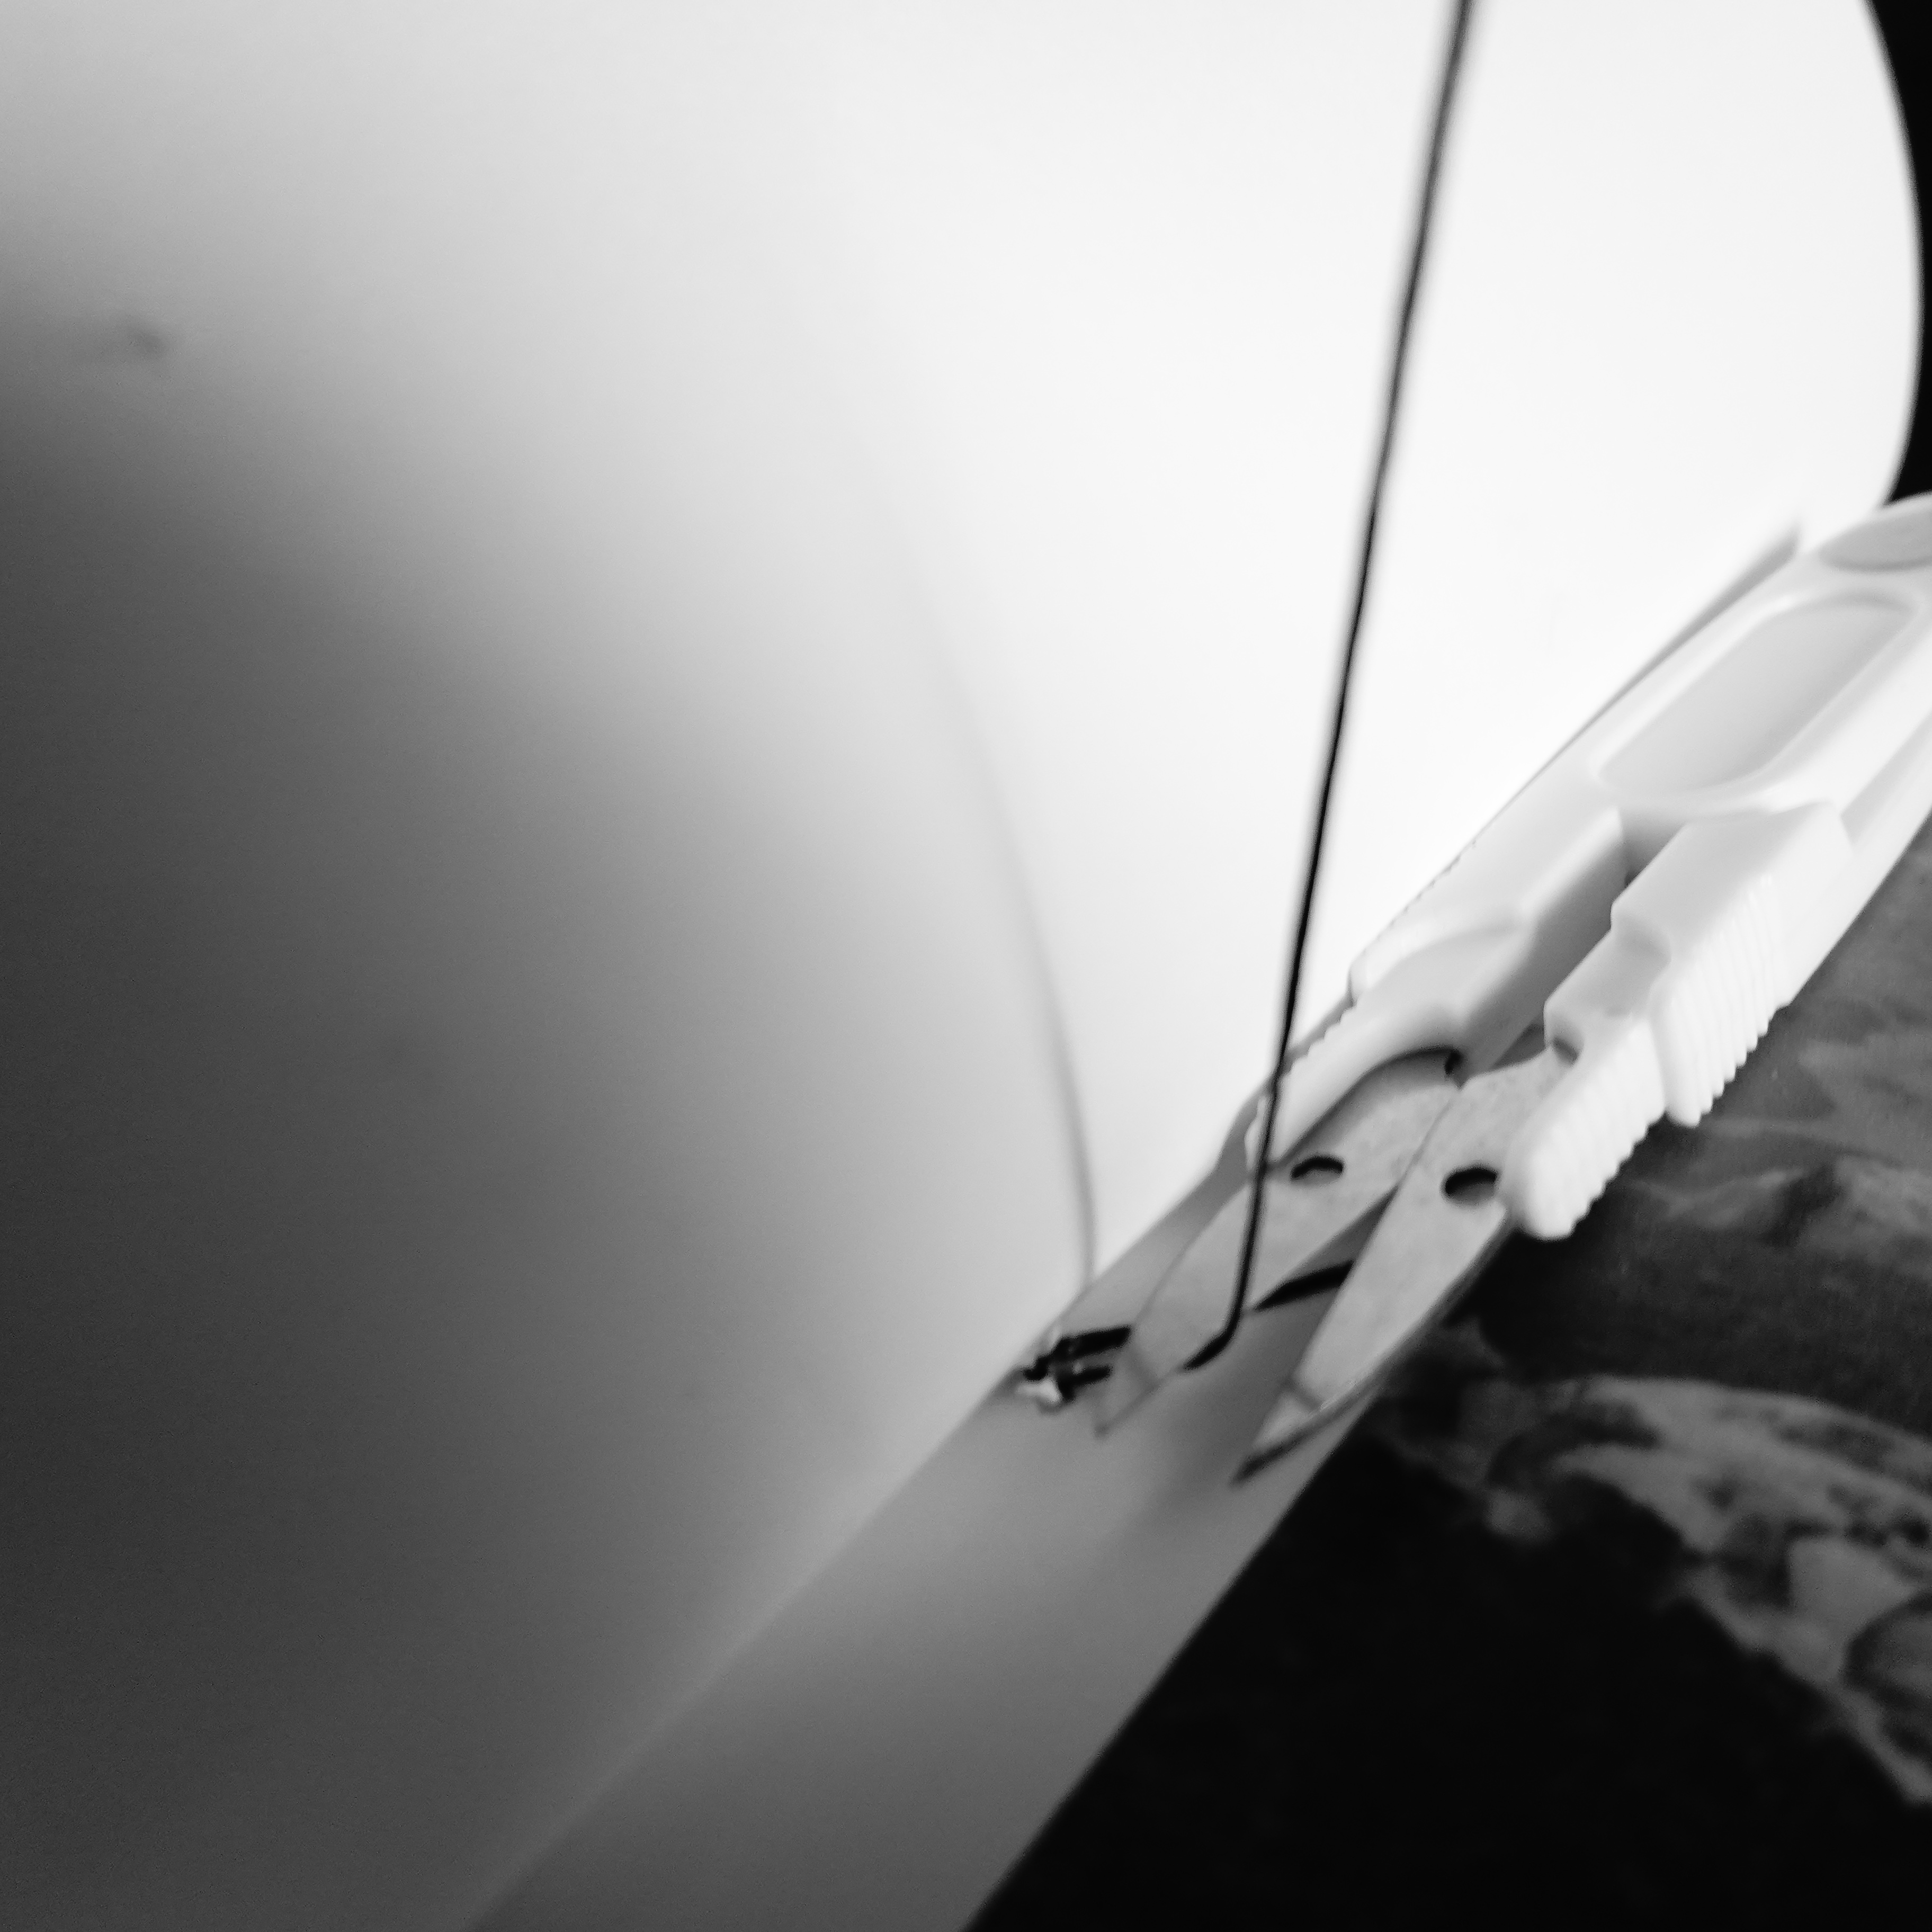
Finally, the box tools arrived and I set aside a morning to stitch the book together. Using the bulldog clips to hold the pages together I made the holes in 5 pages at a time. I had to punch four holes in each page. With the covers and the map, I had 20 pages so I had to repeat this process four times.
My tutor had given me a tip to use a drill to make the holes in the pile. I wasnt confident enough to drill on our dining table. I liked using the traditional method of making the holes with the awl.
When this process was complete I began stitching the pages together. I have read many pages describing how to make these stitches. I did not understand many of the described techniques. I found it easier to follow the diagrams I found on the website of Portsmouth University written by Jackie Batey, these were very clear and illustrated (Batey, 2014). Here is the link to the page for you to follow her methods.
https://bookbindingtutorials.wordpress.com/2014/12/07/japanese-stab-binding-4-hole/
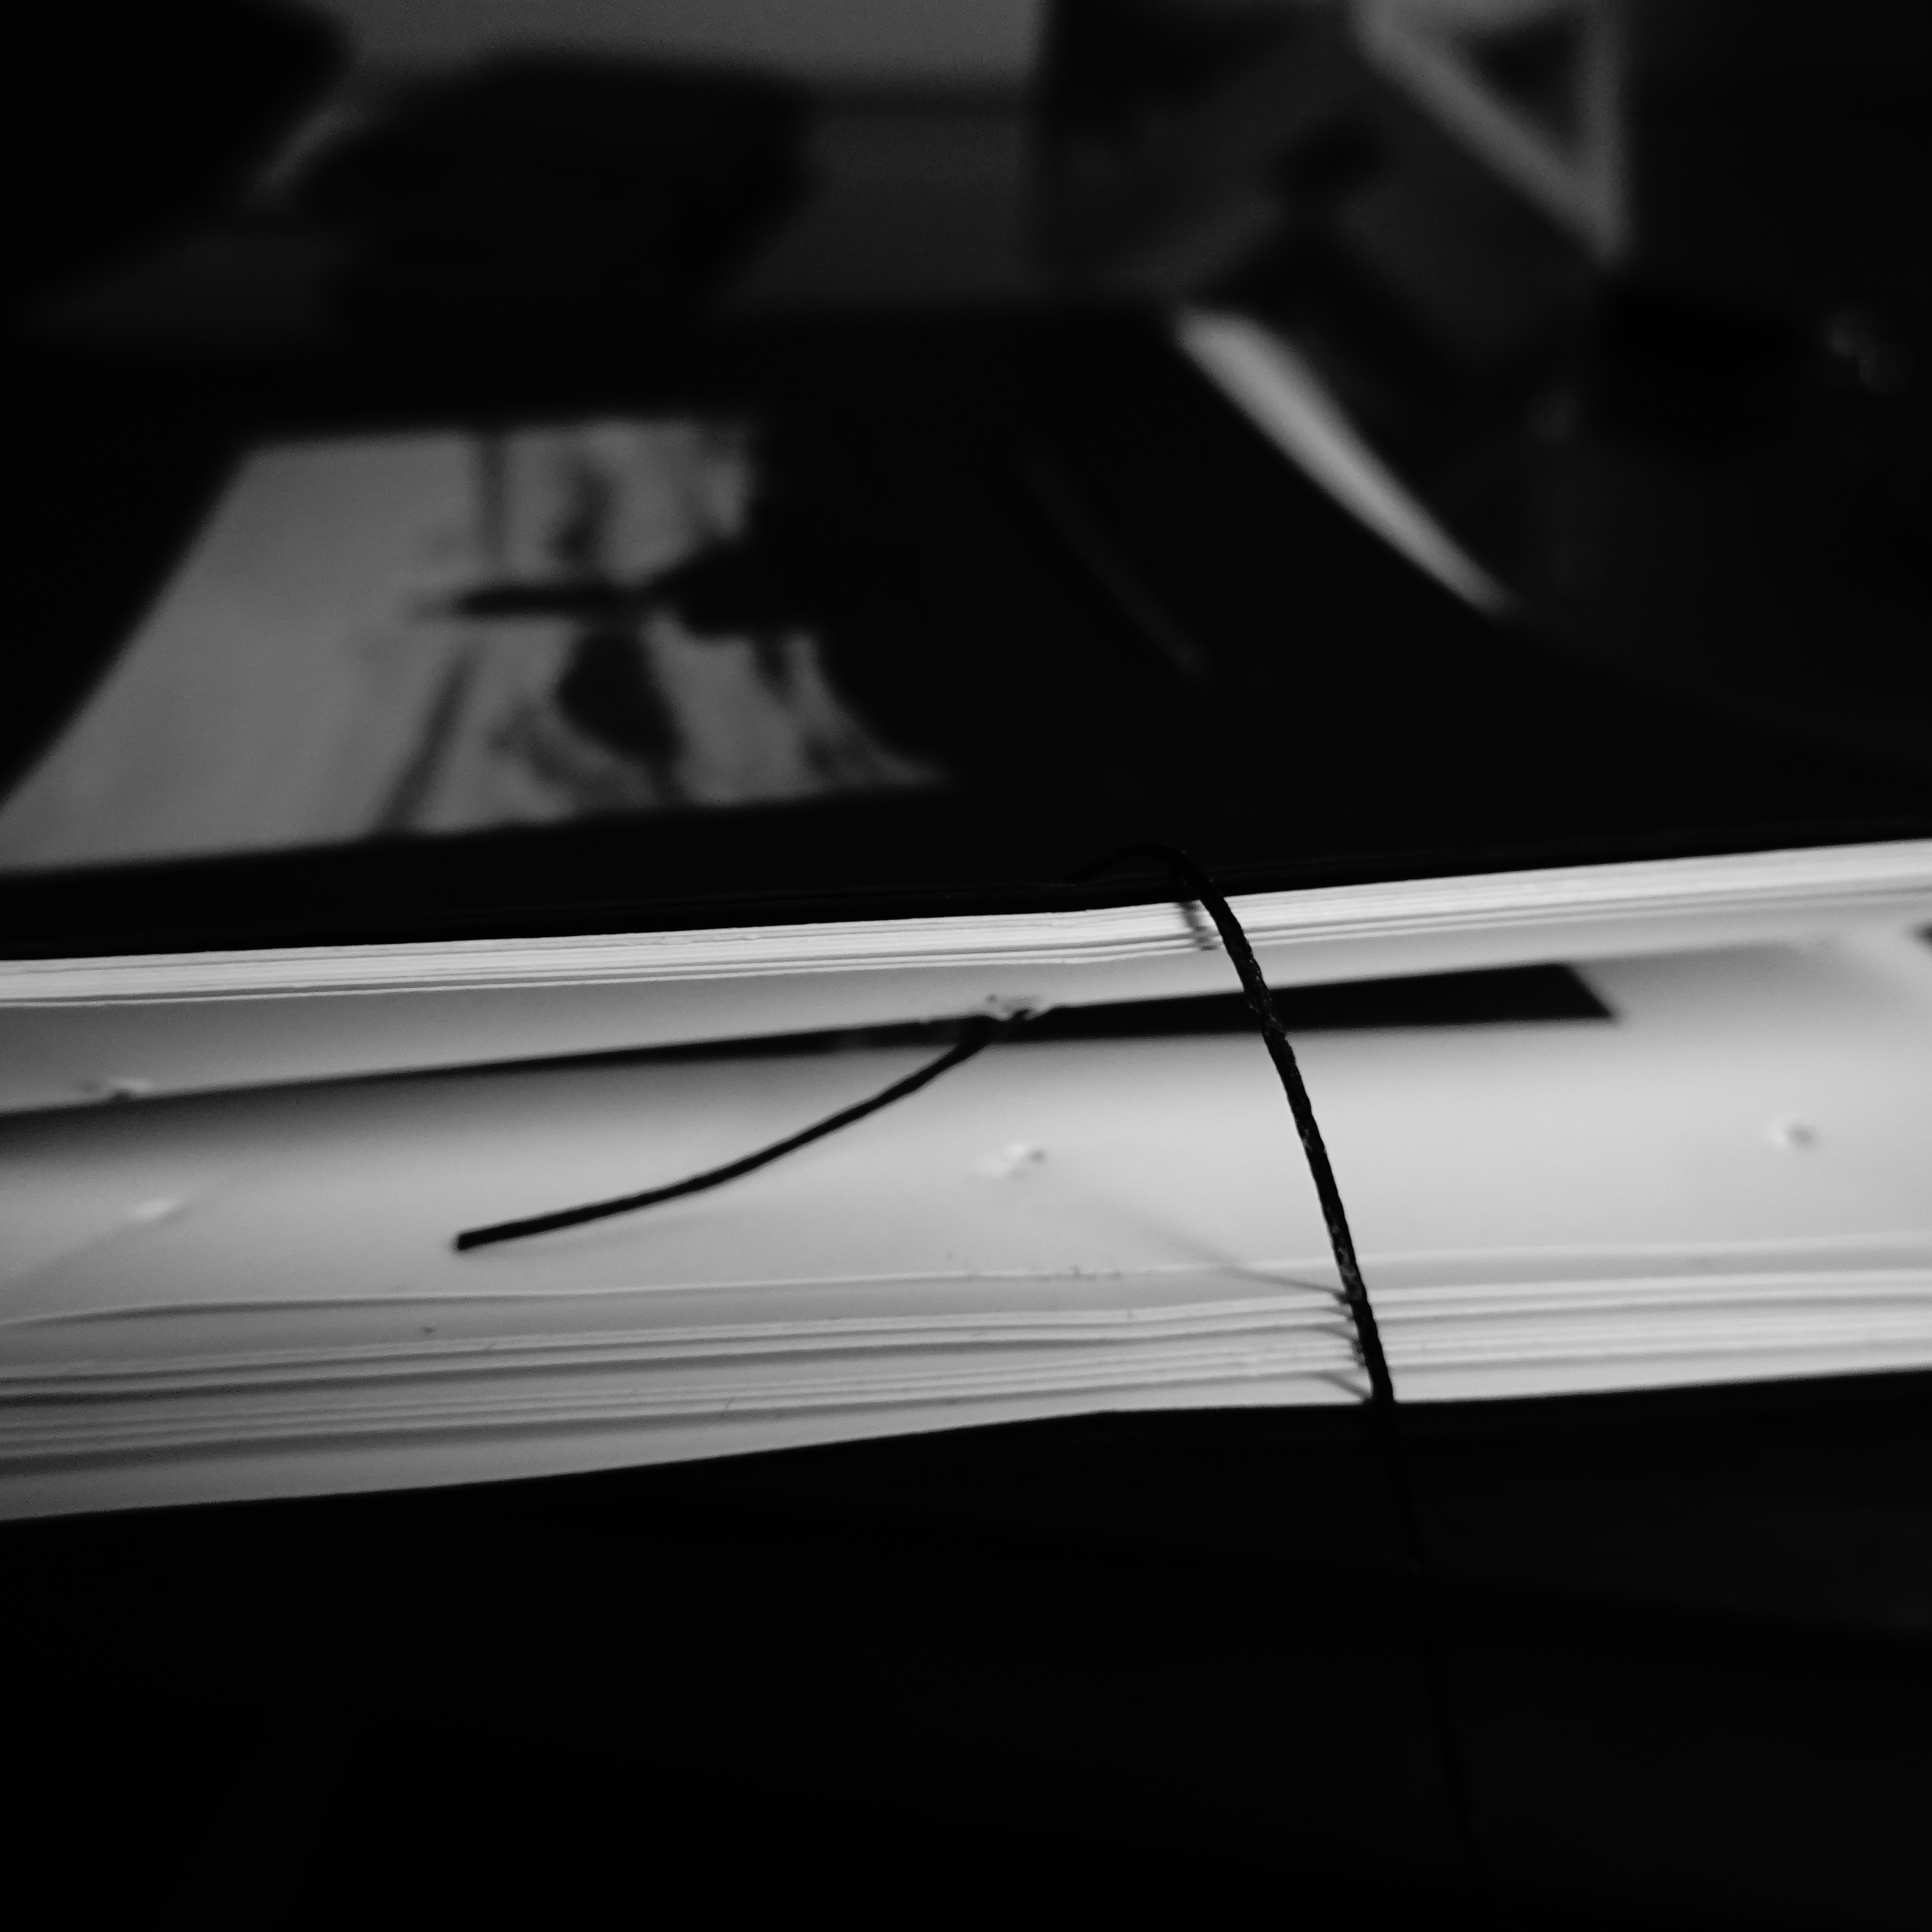
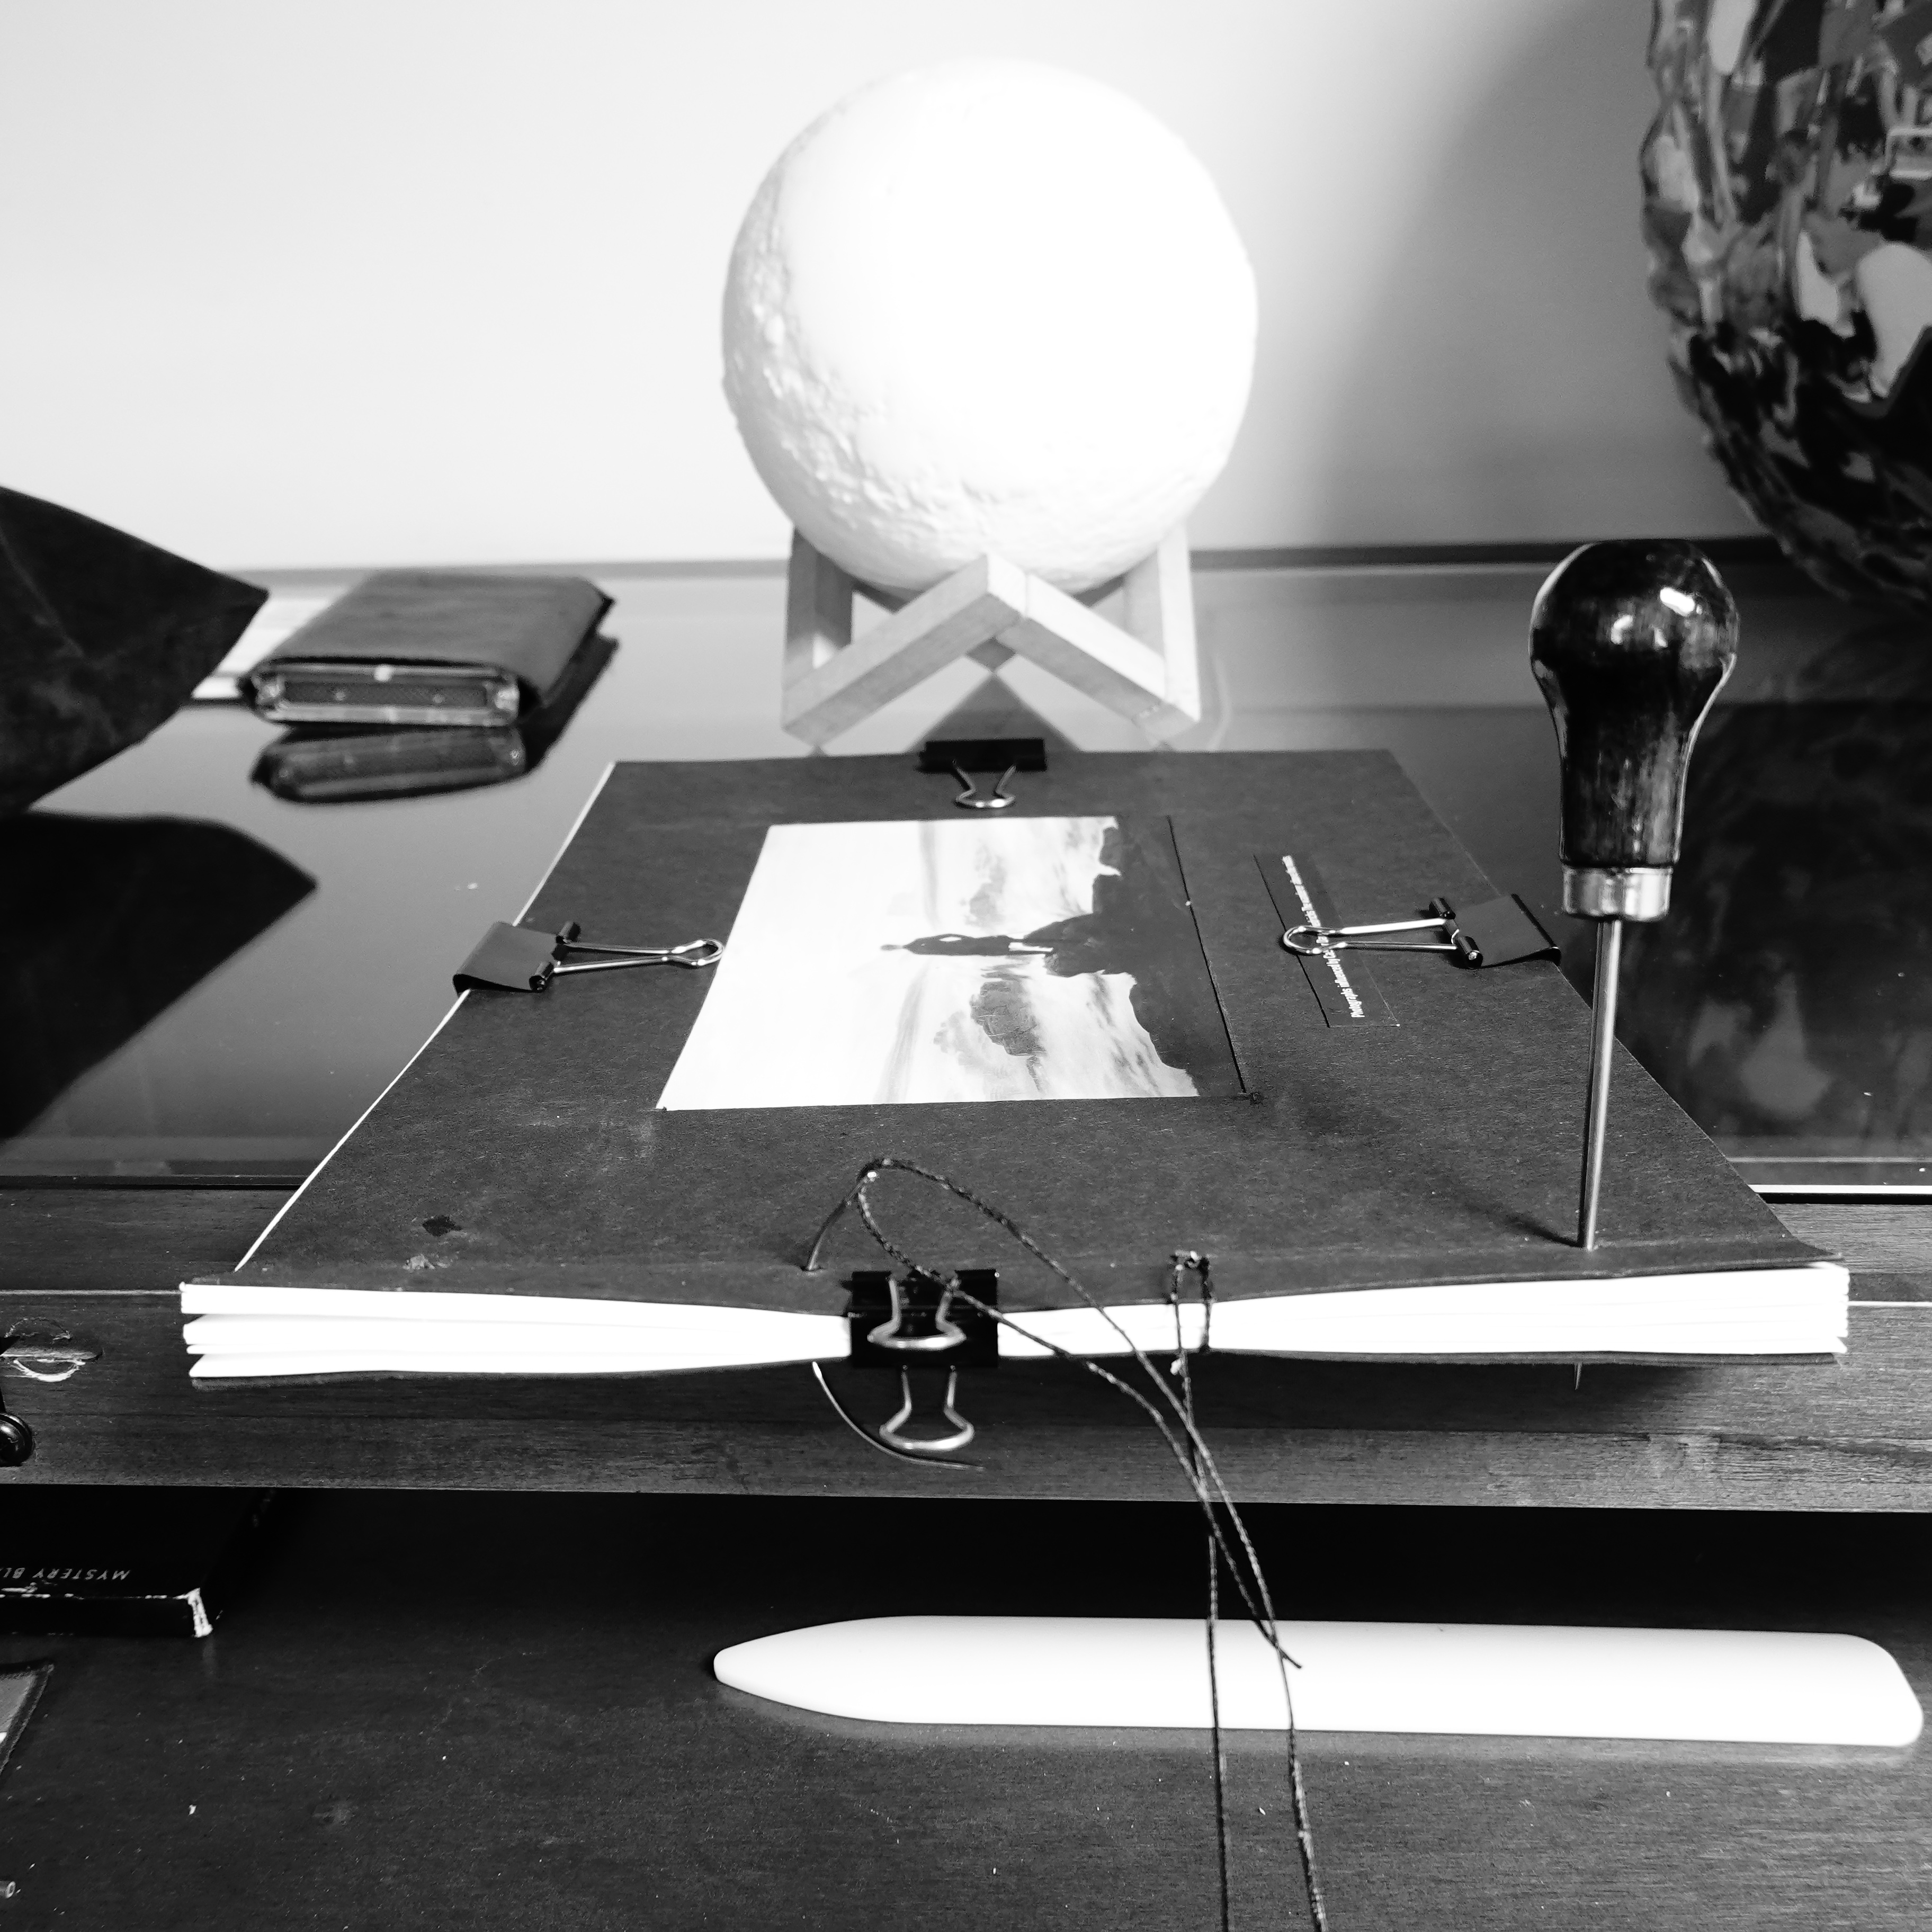
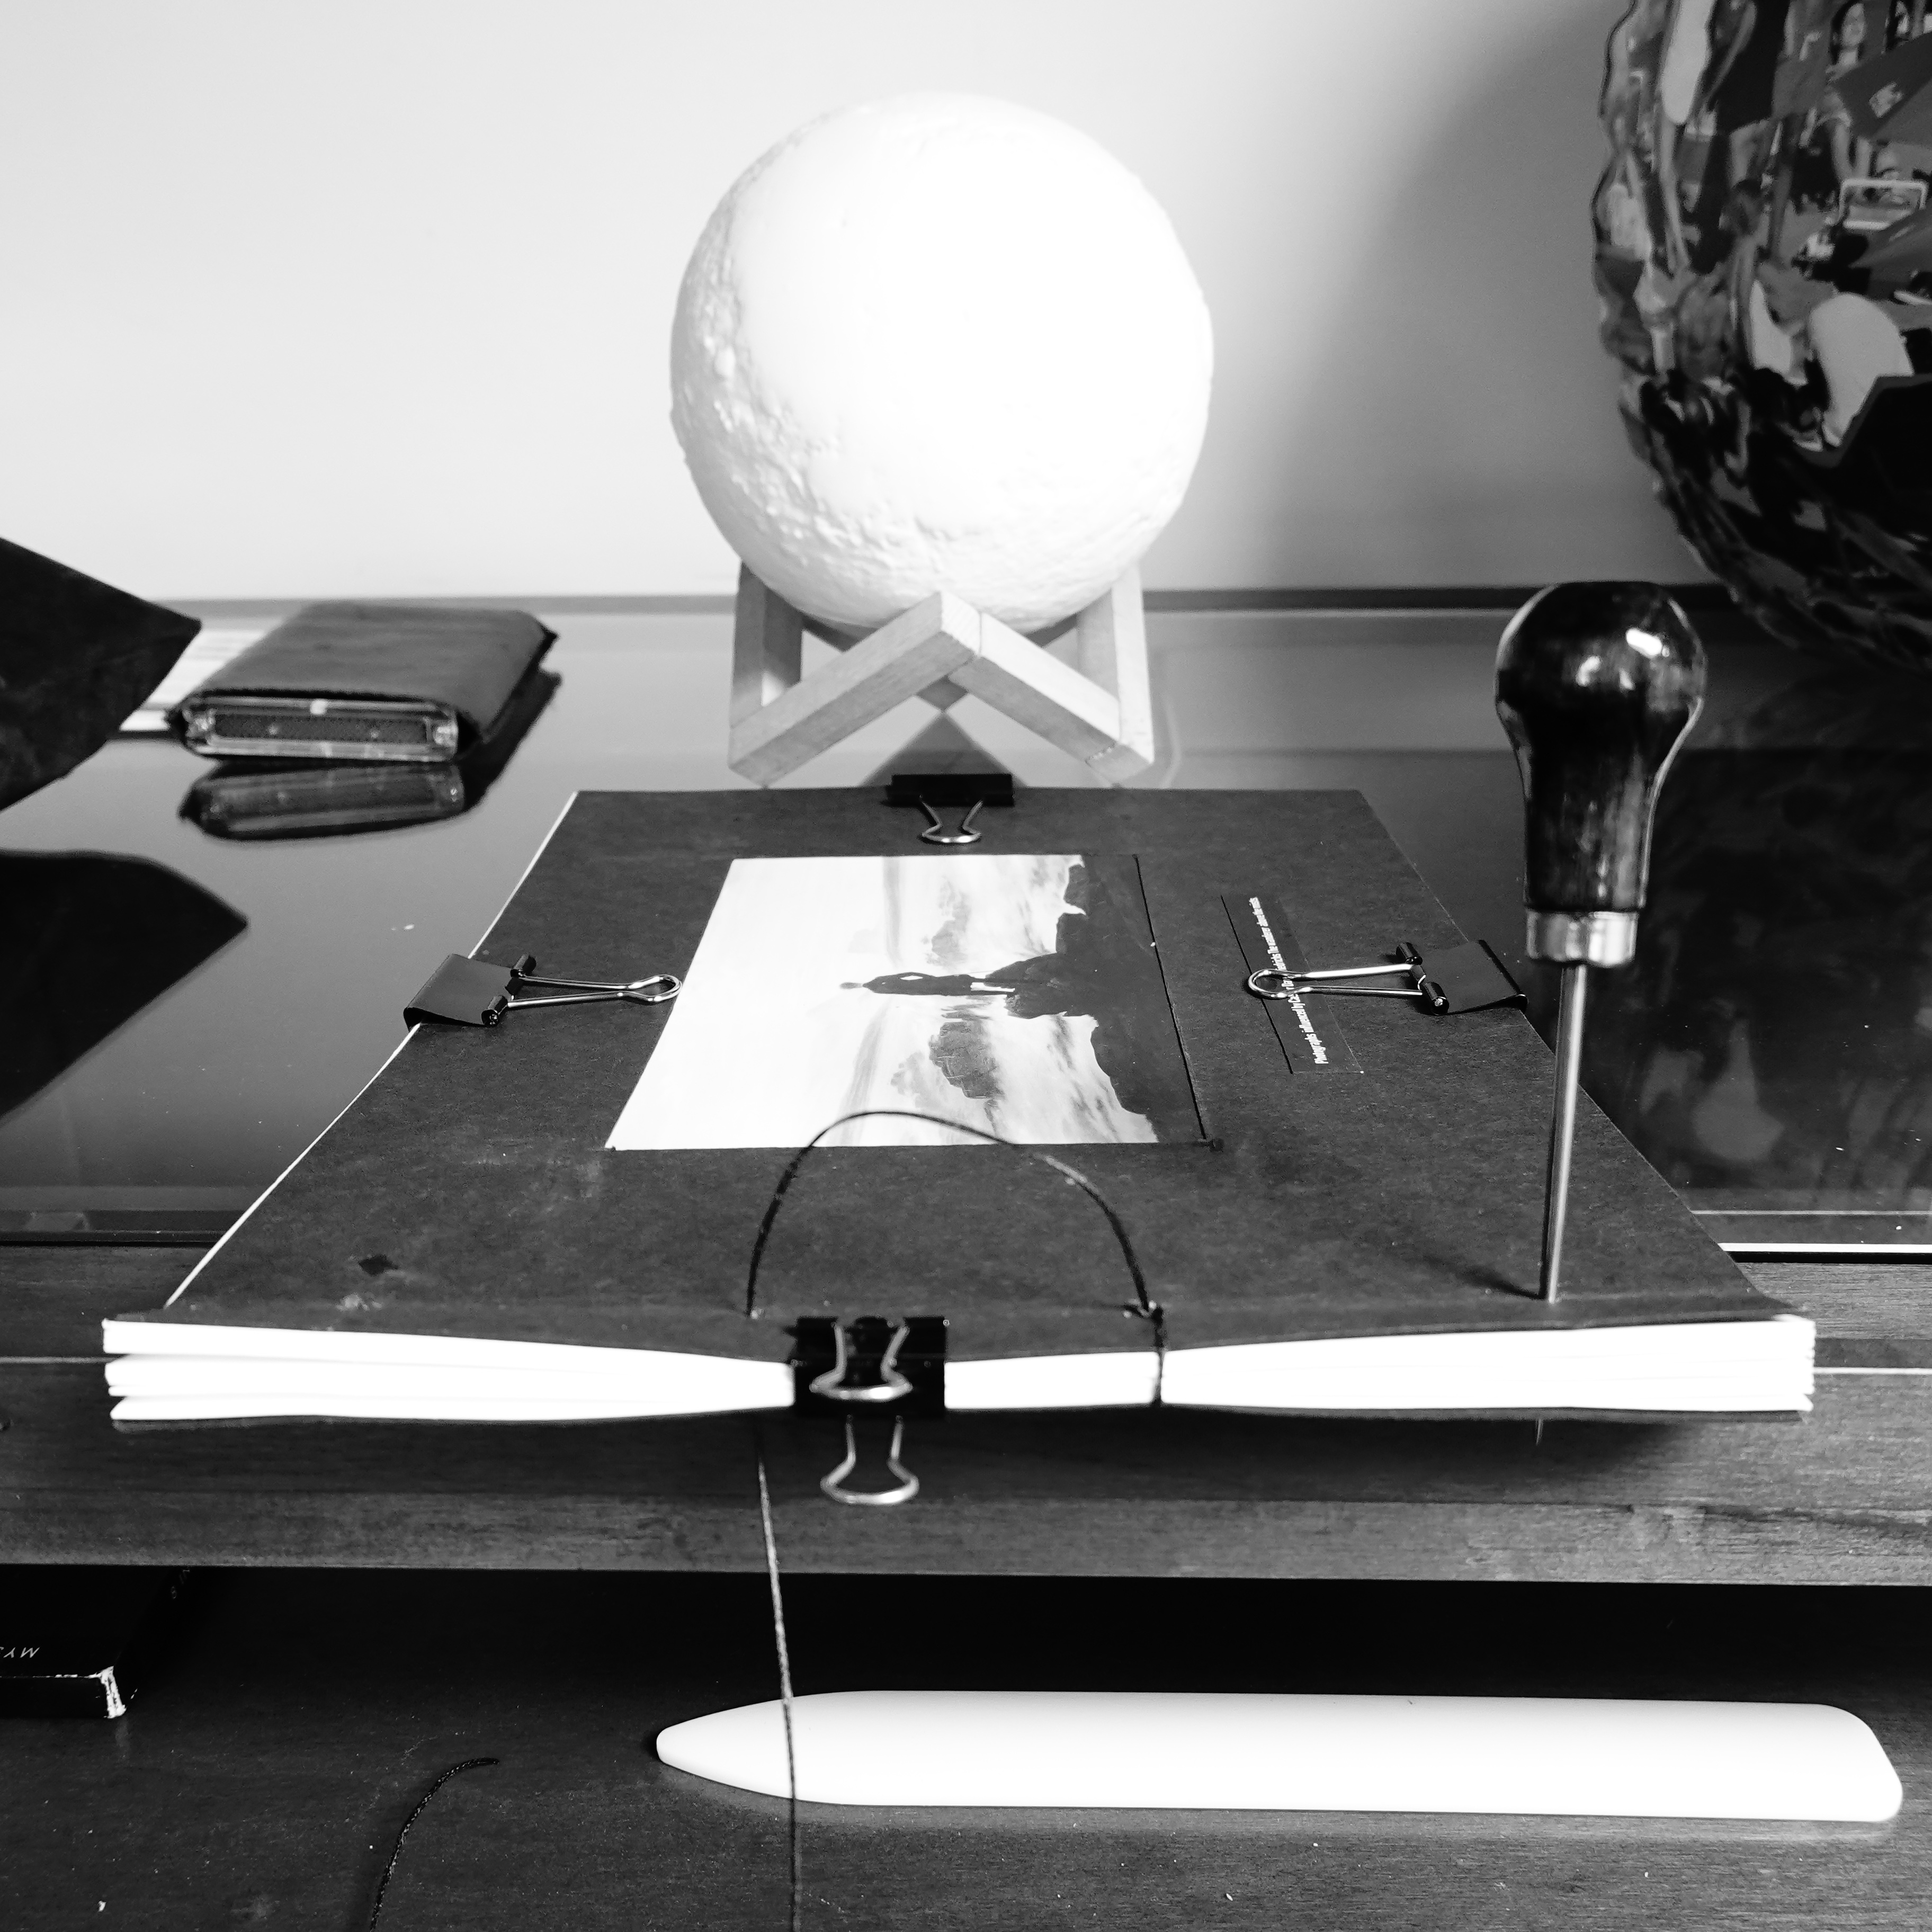
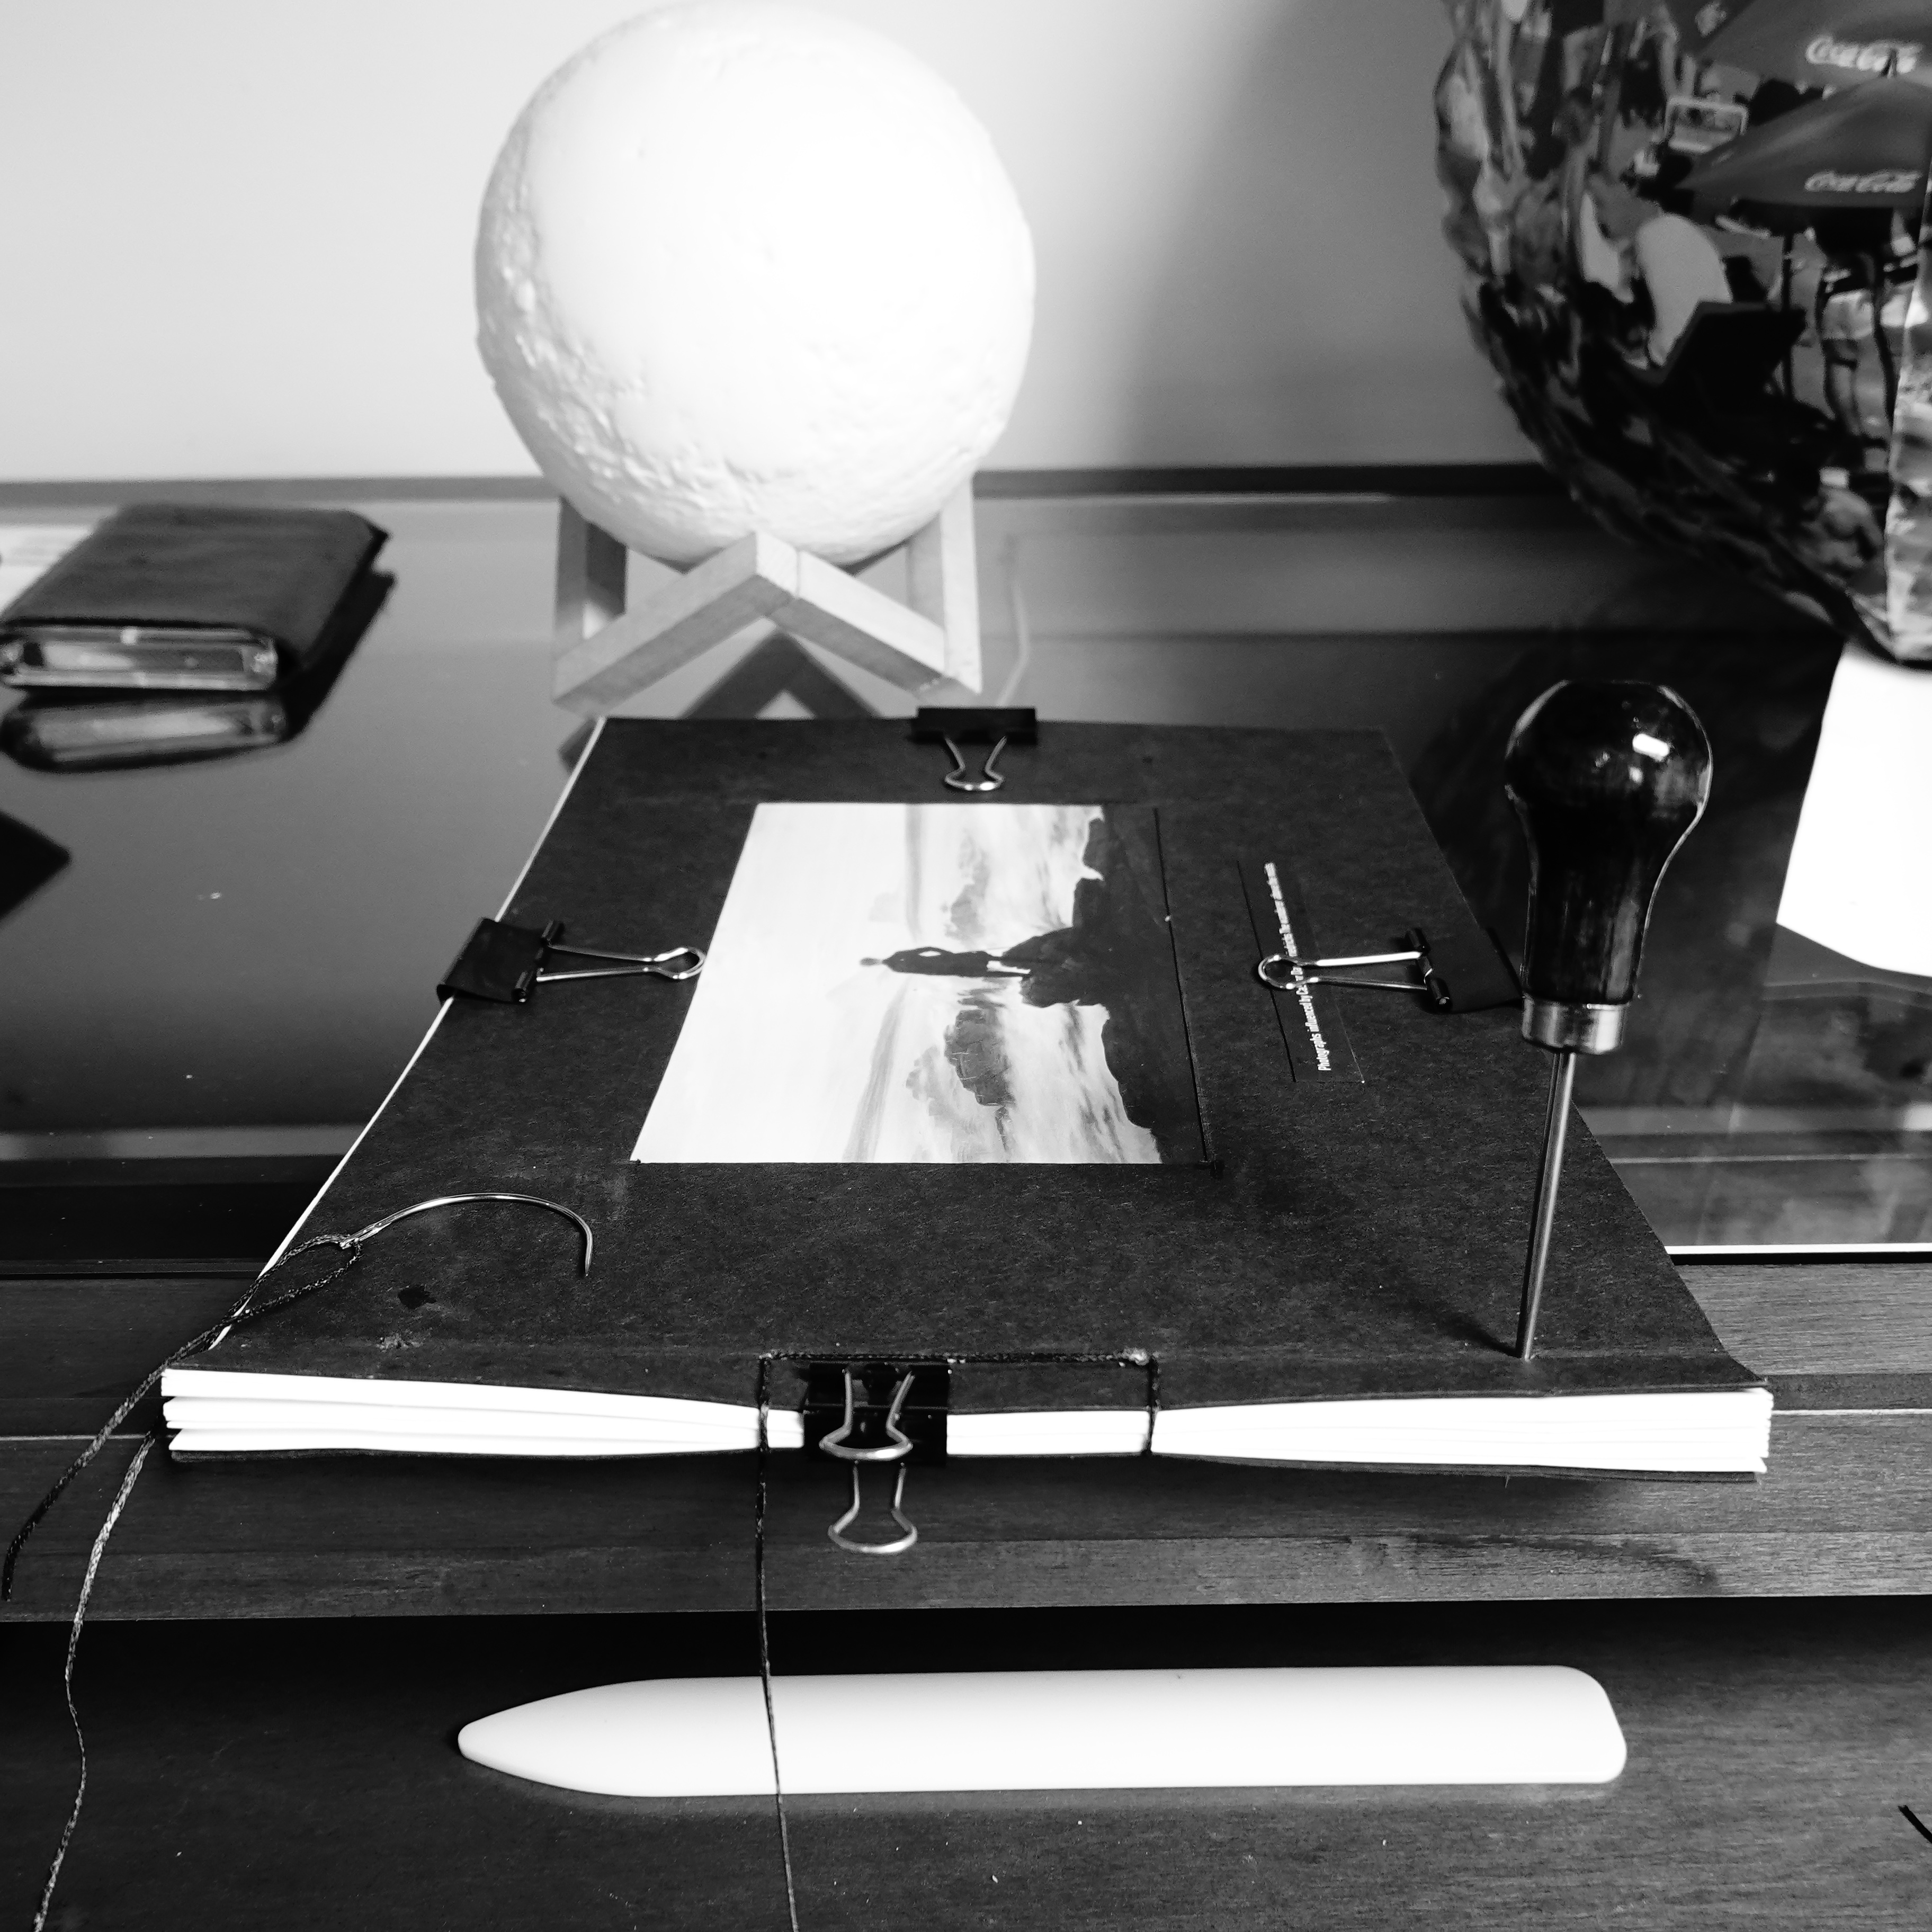
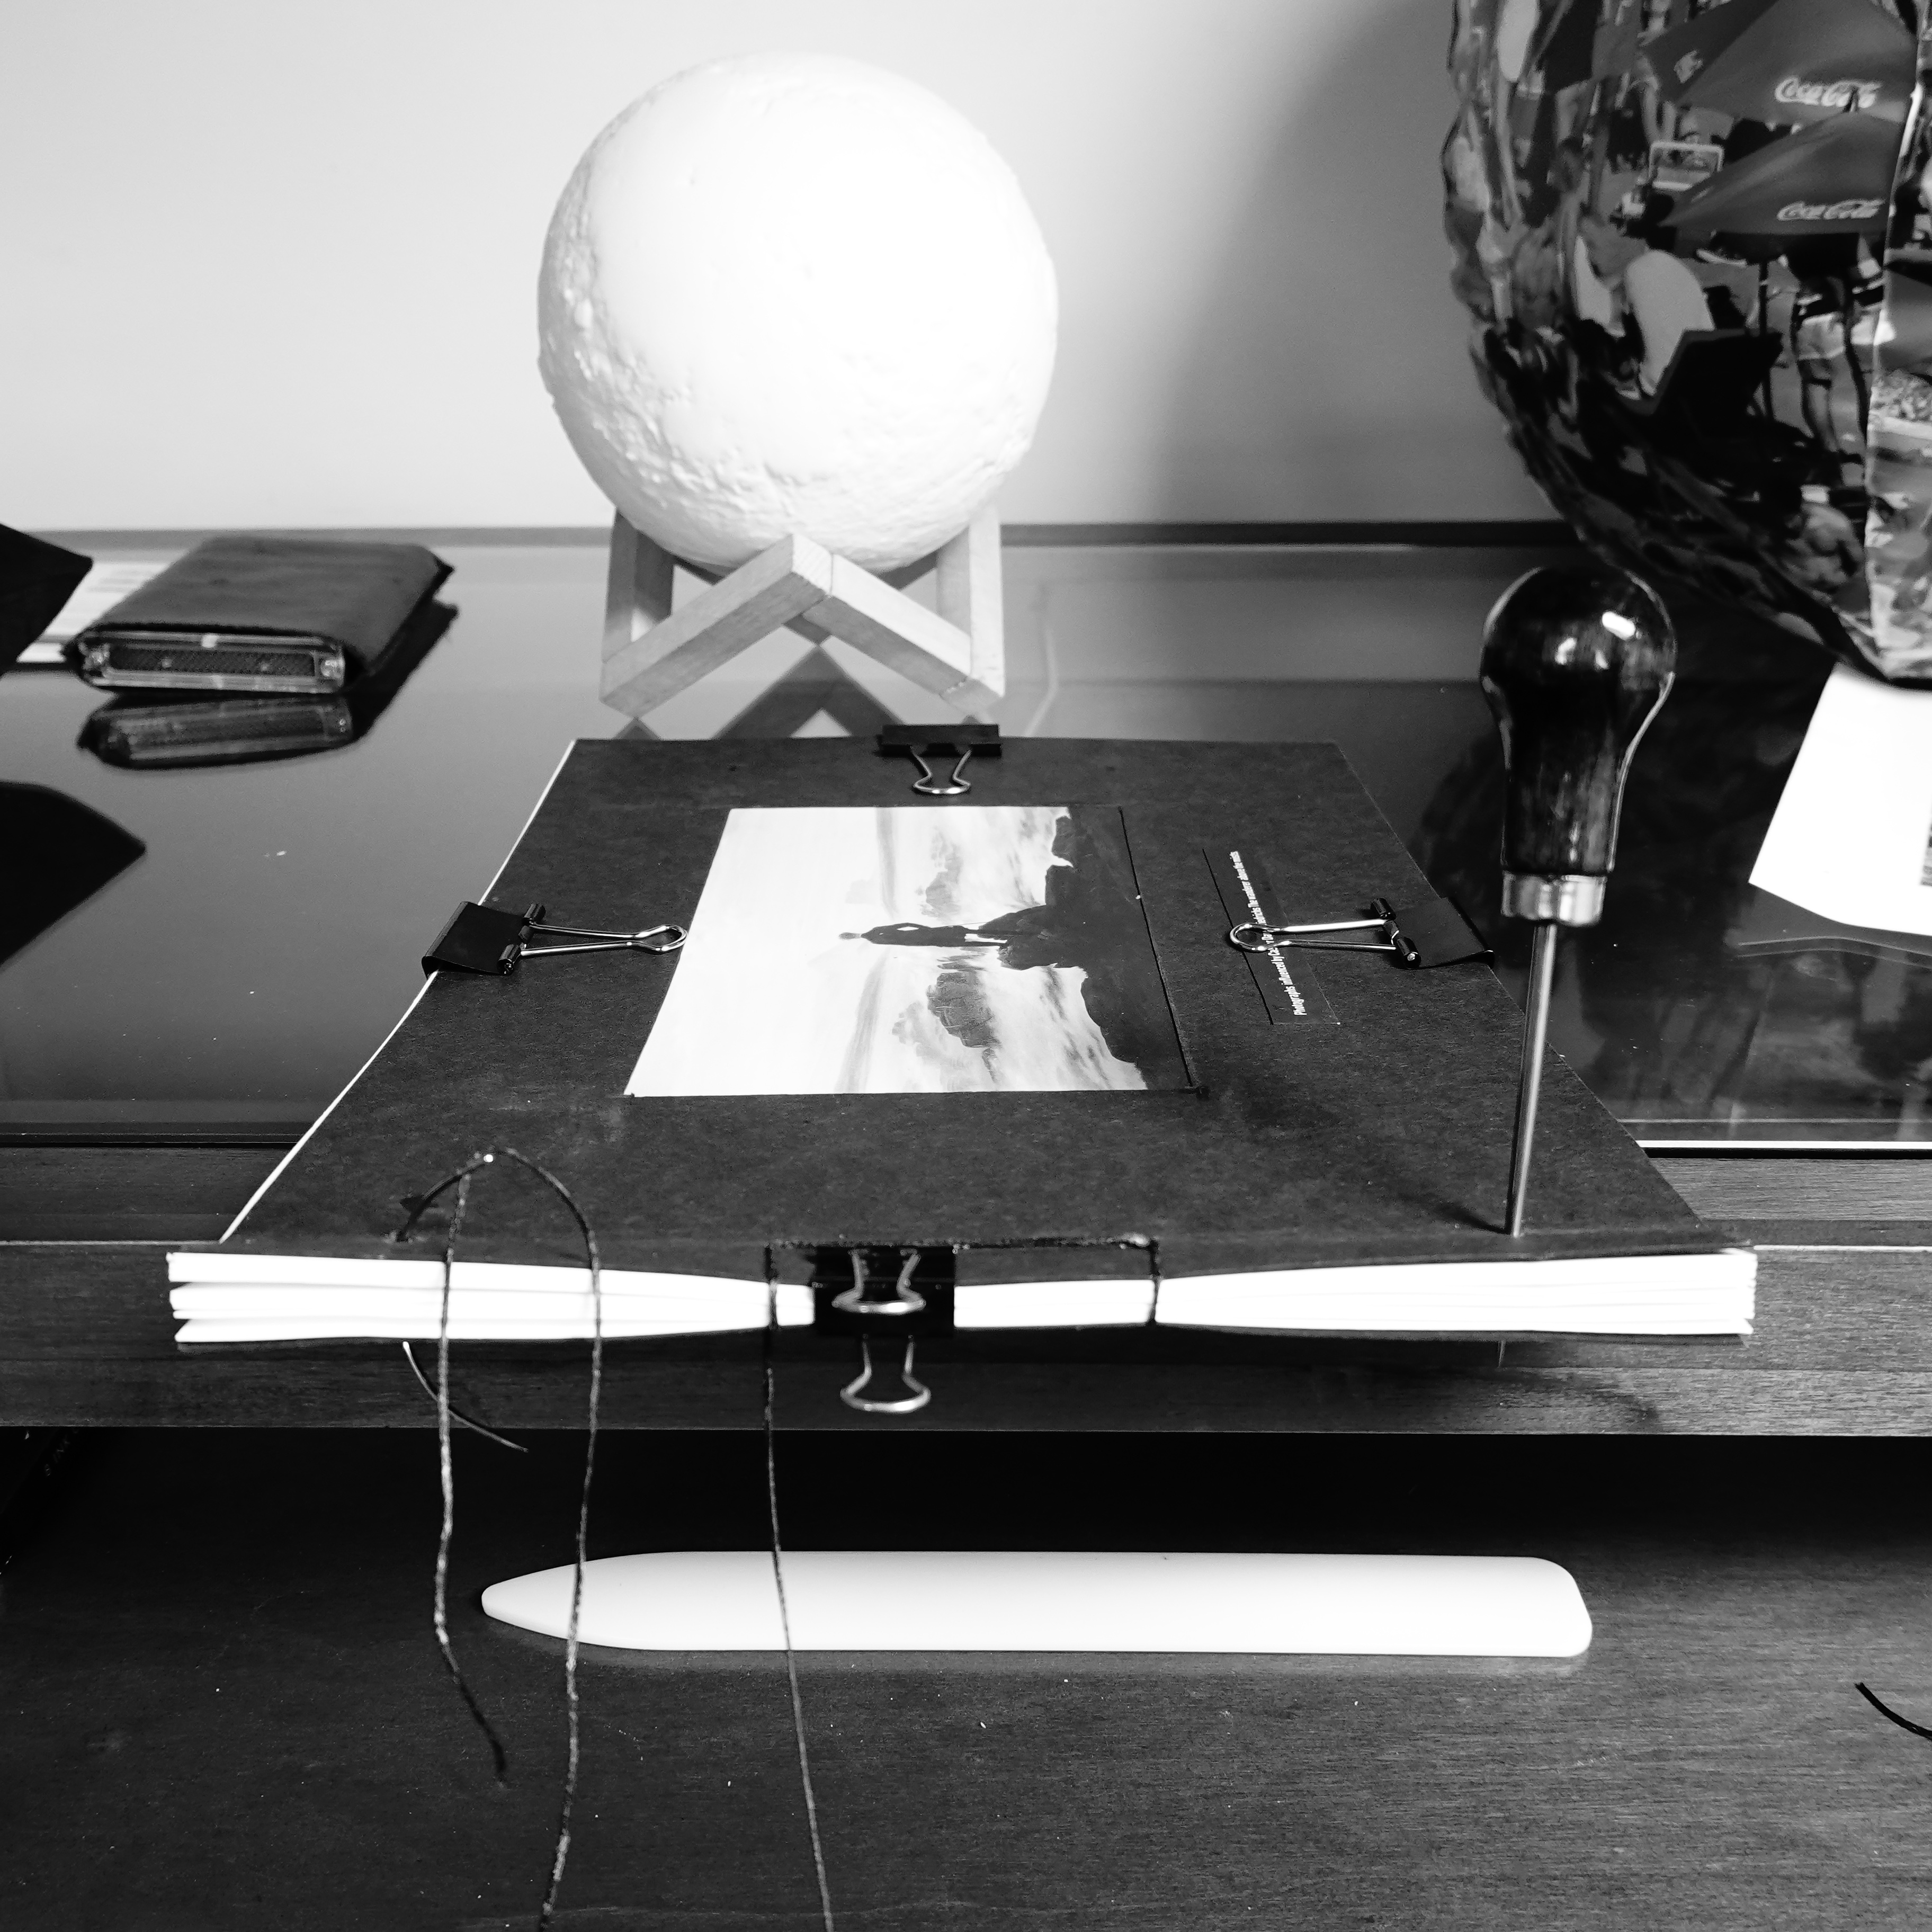
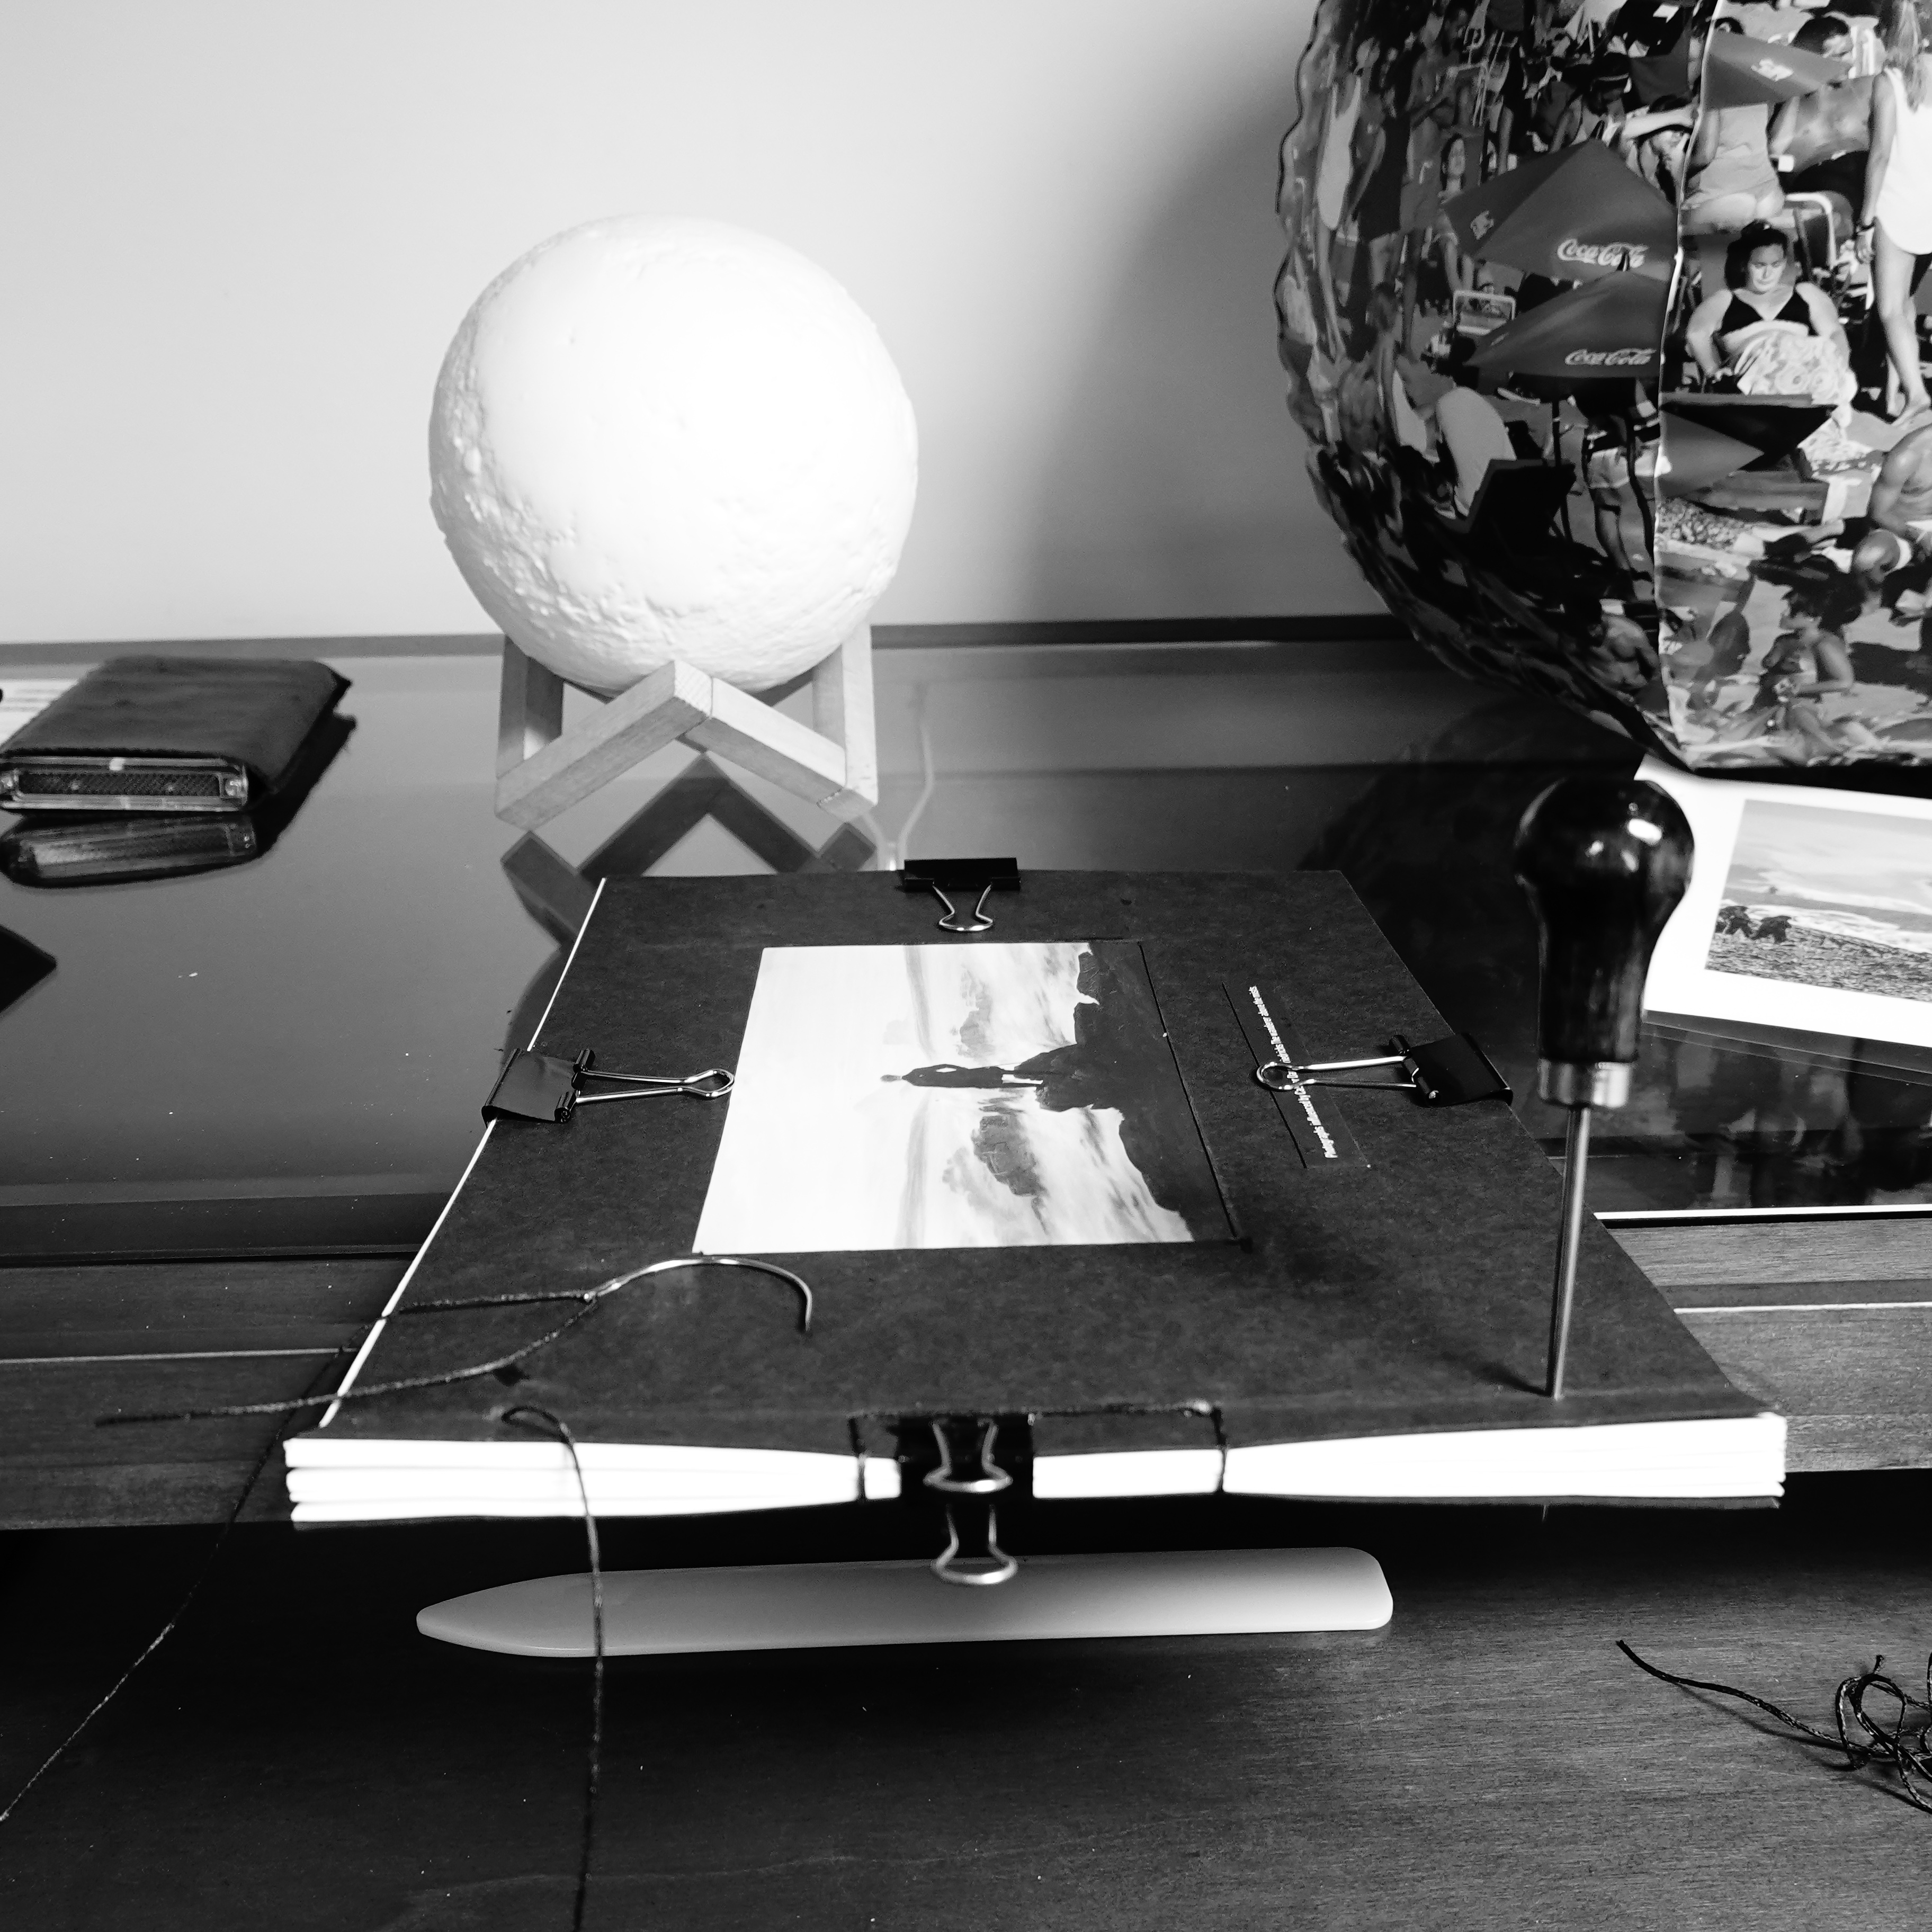
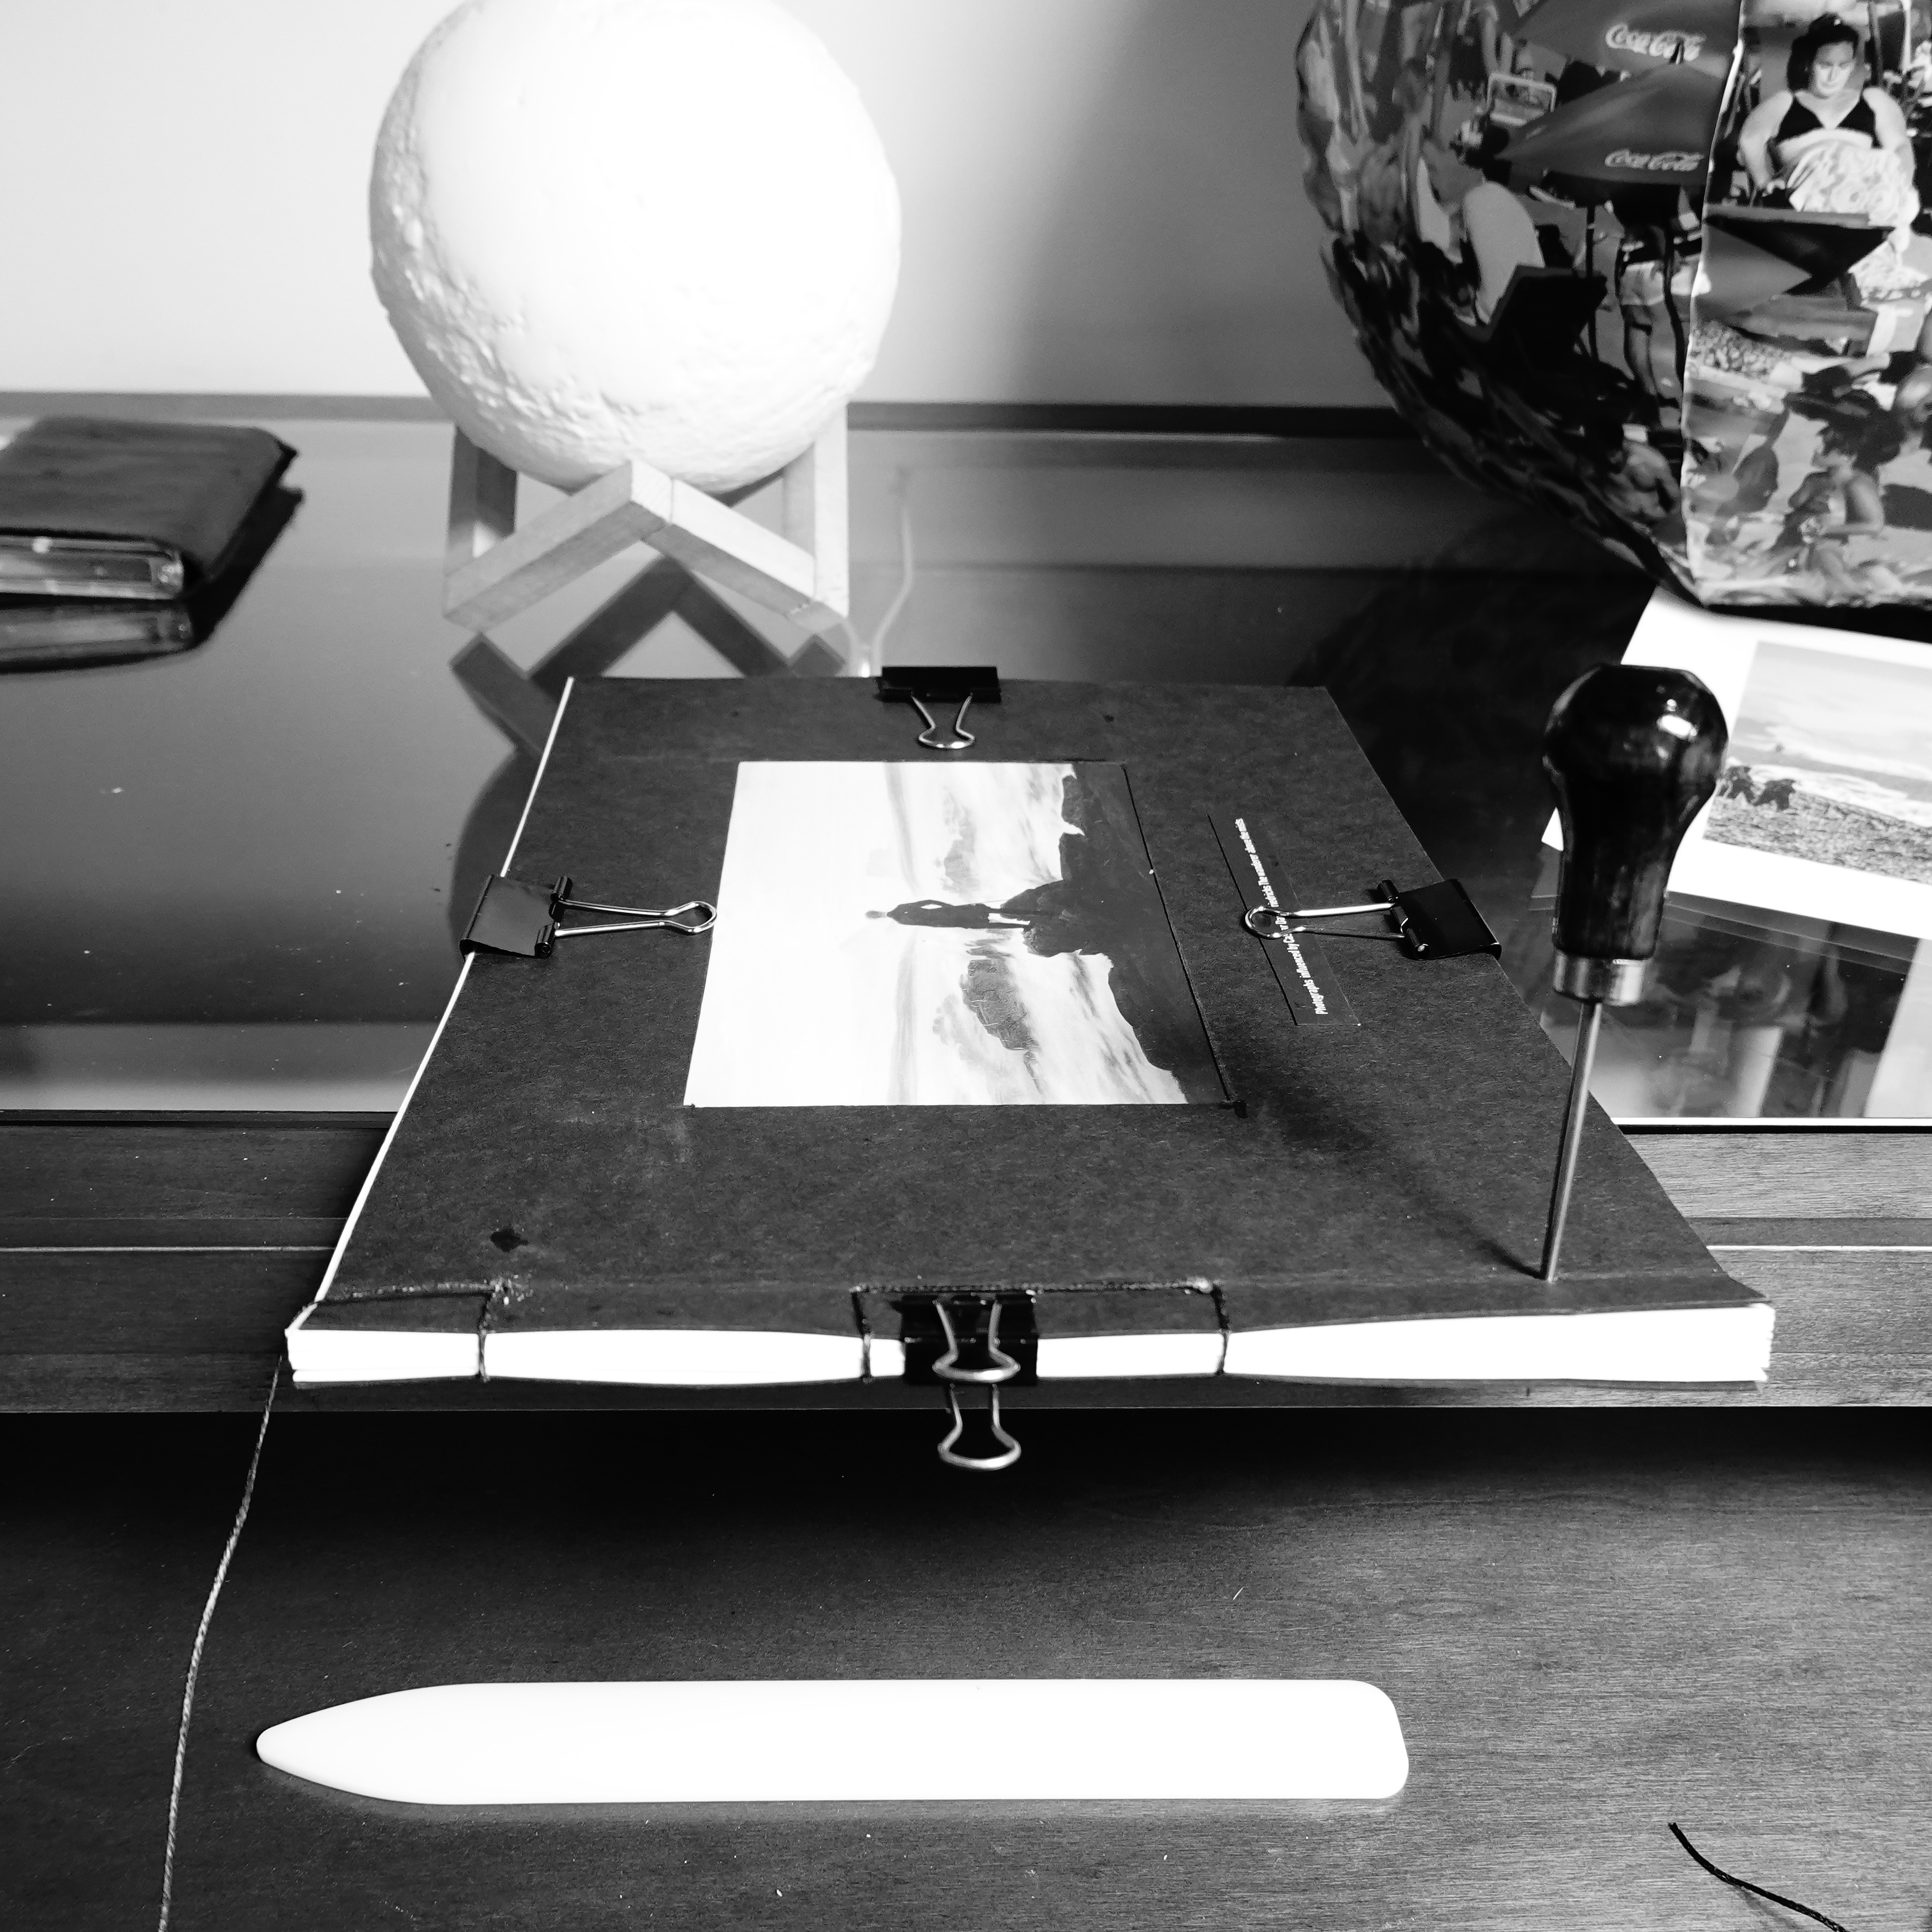

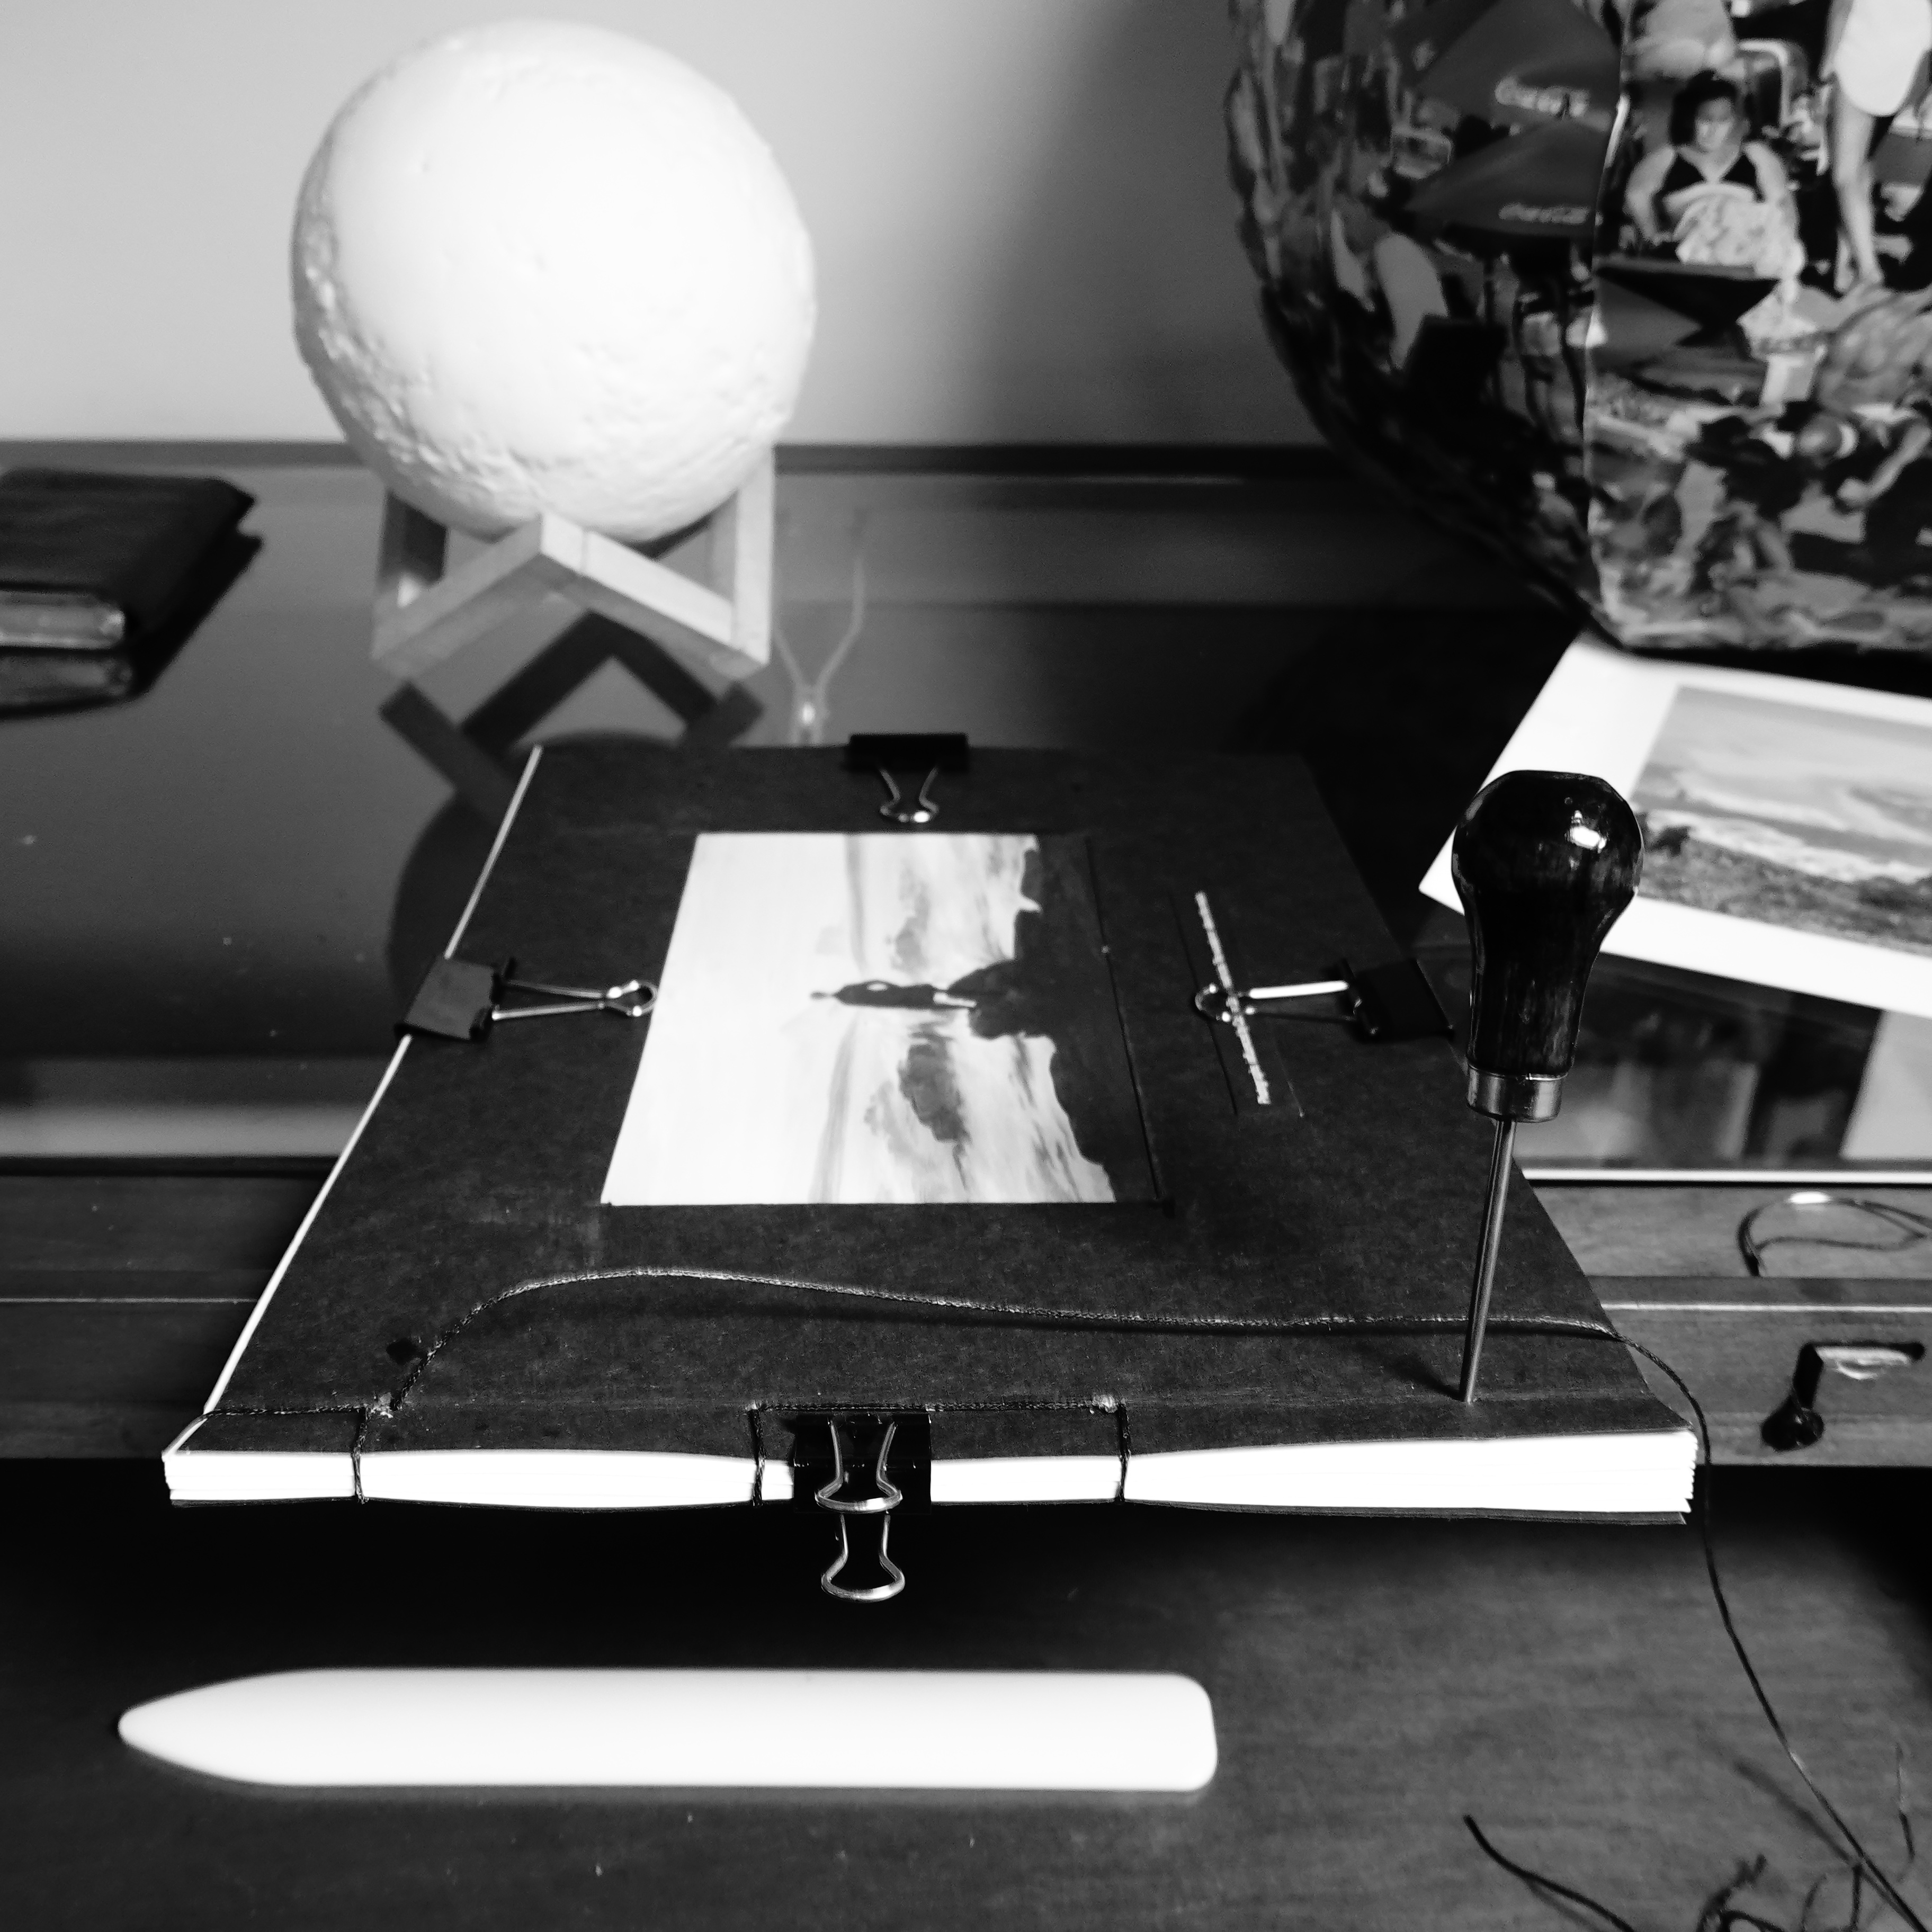
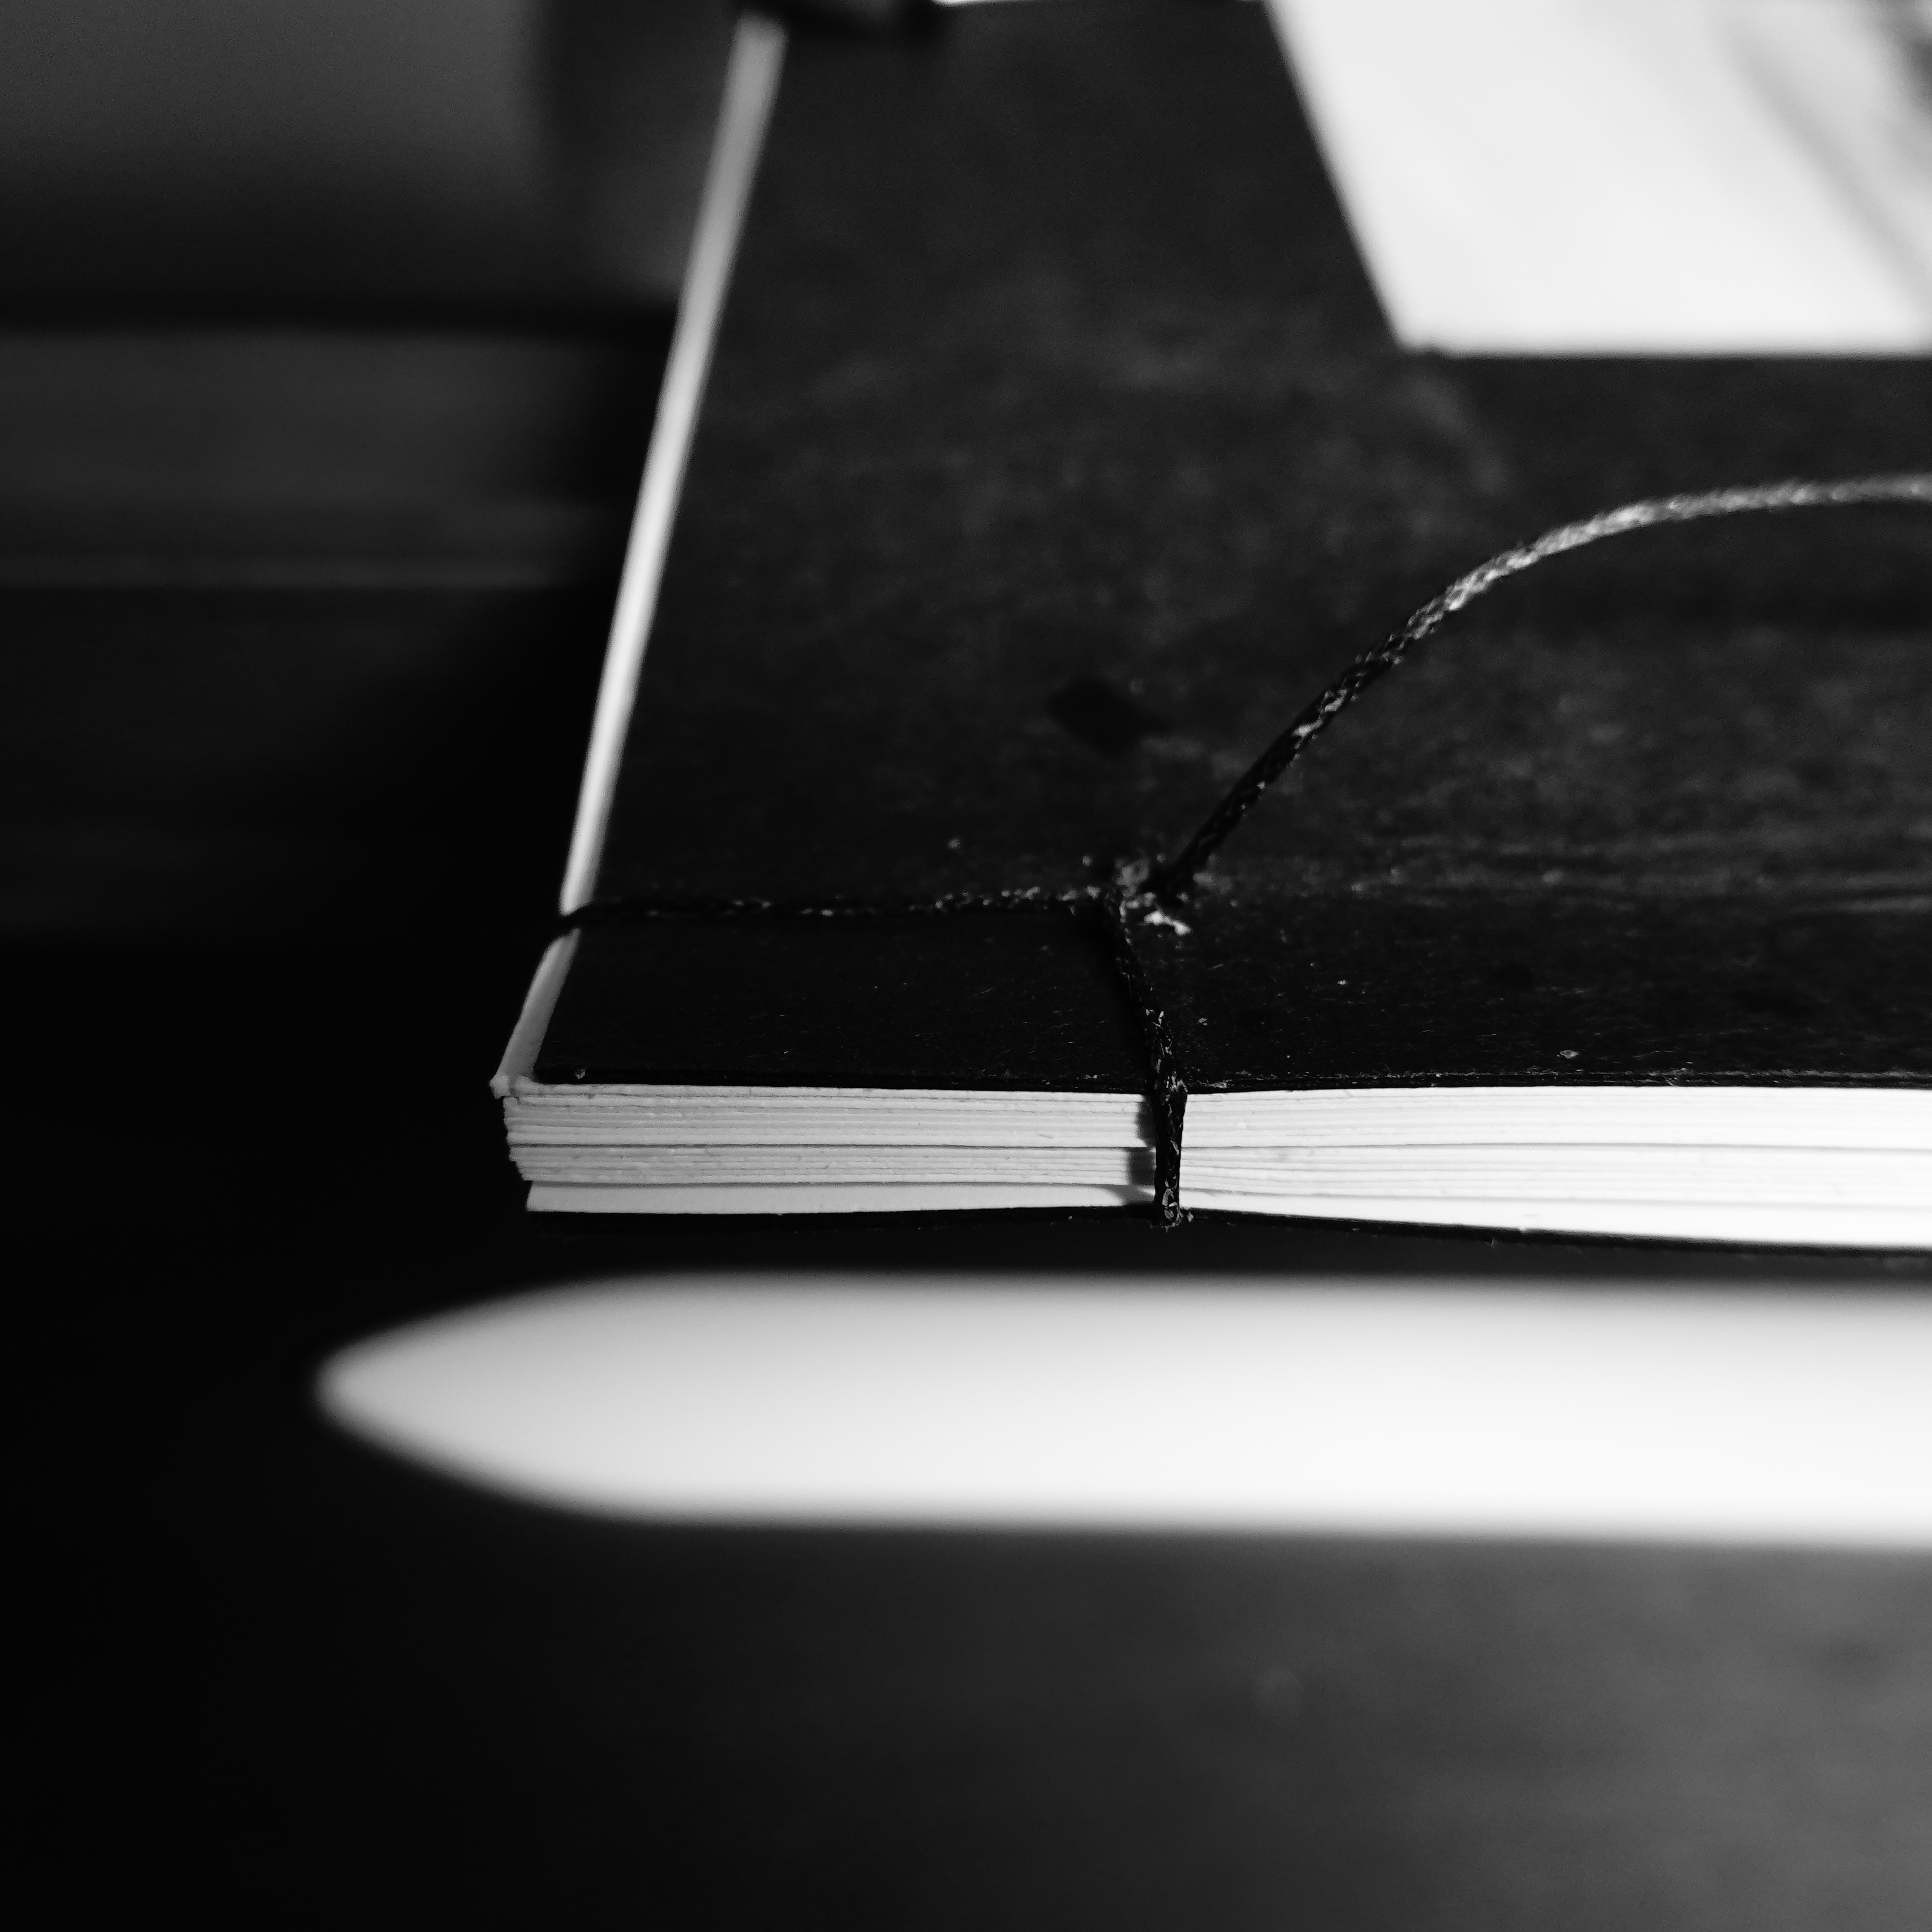
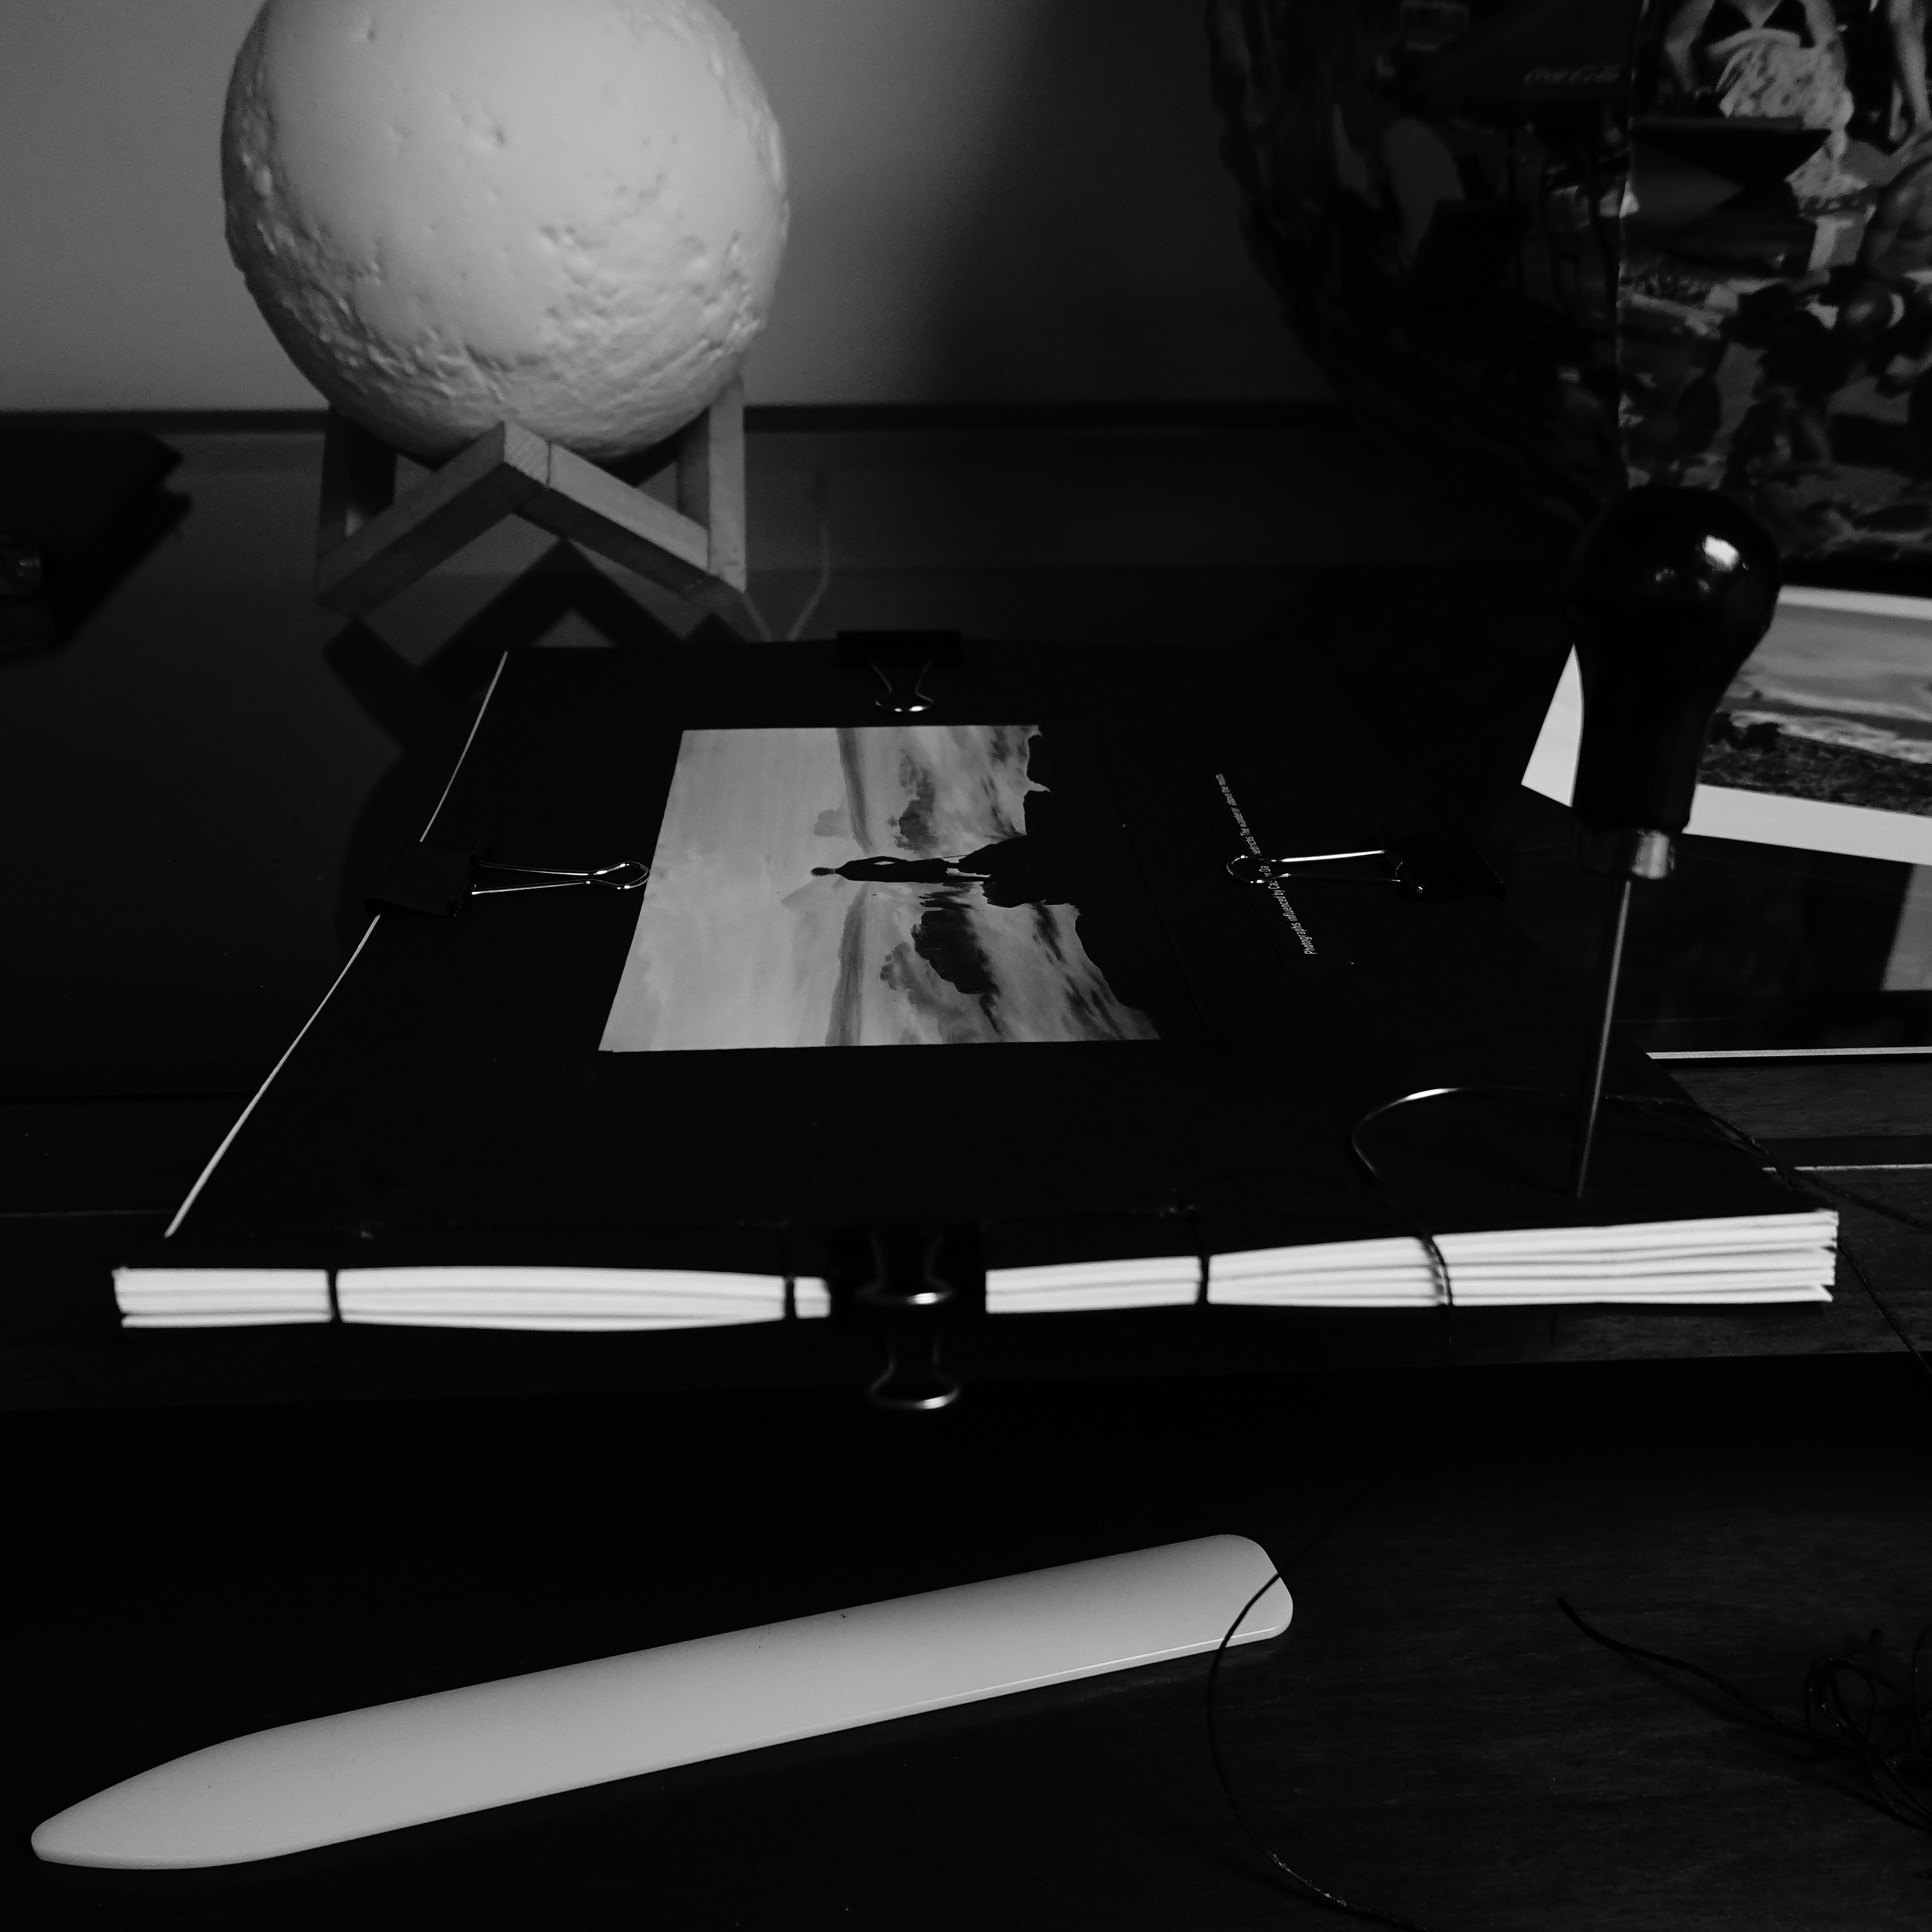
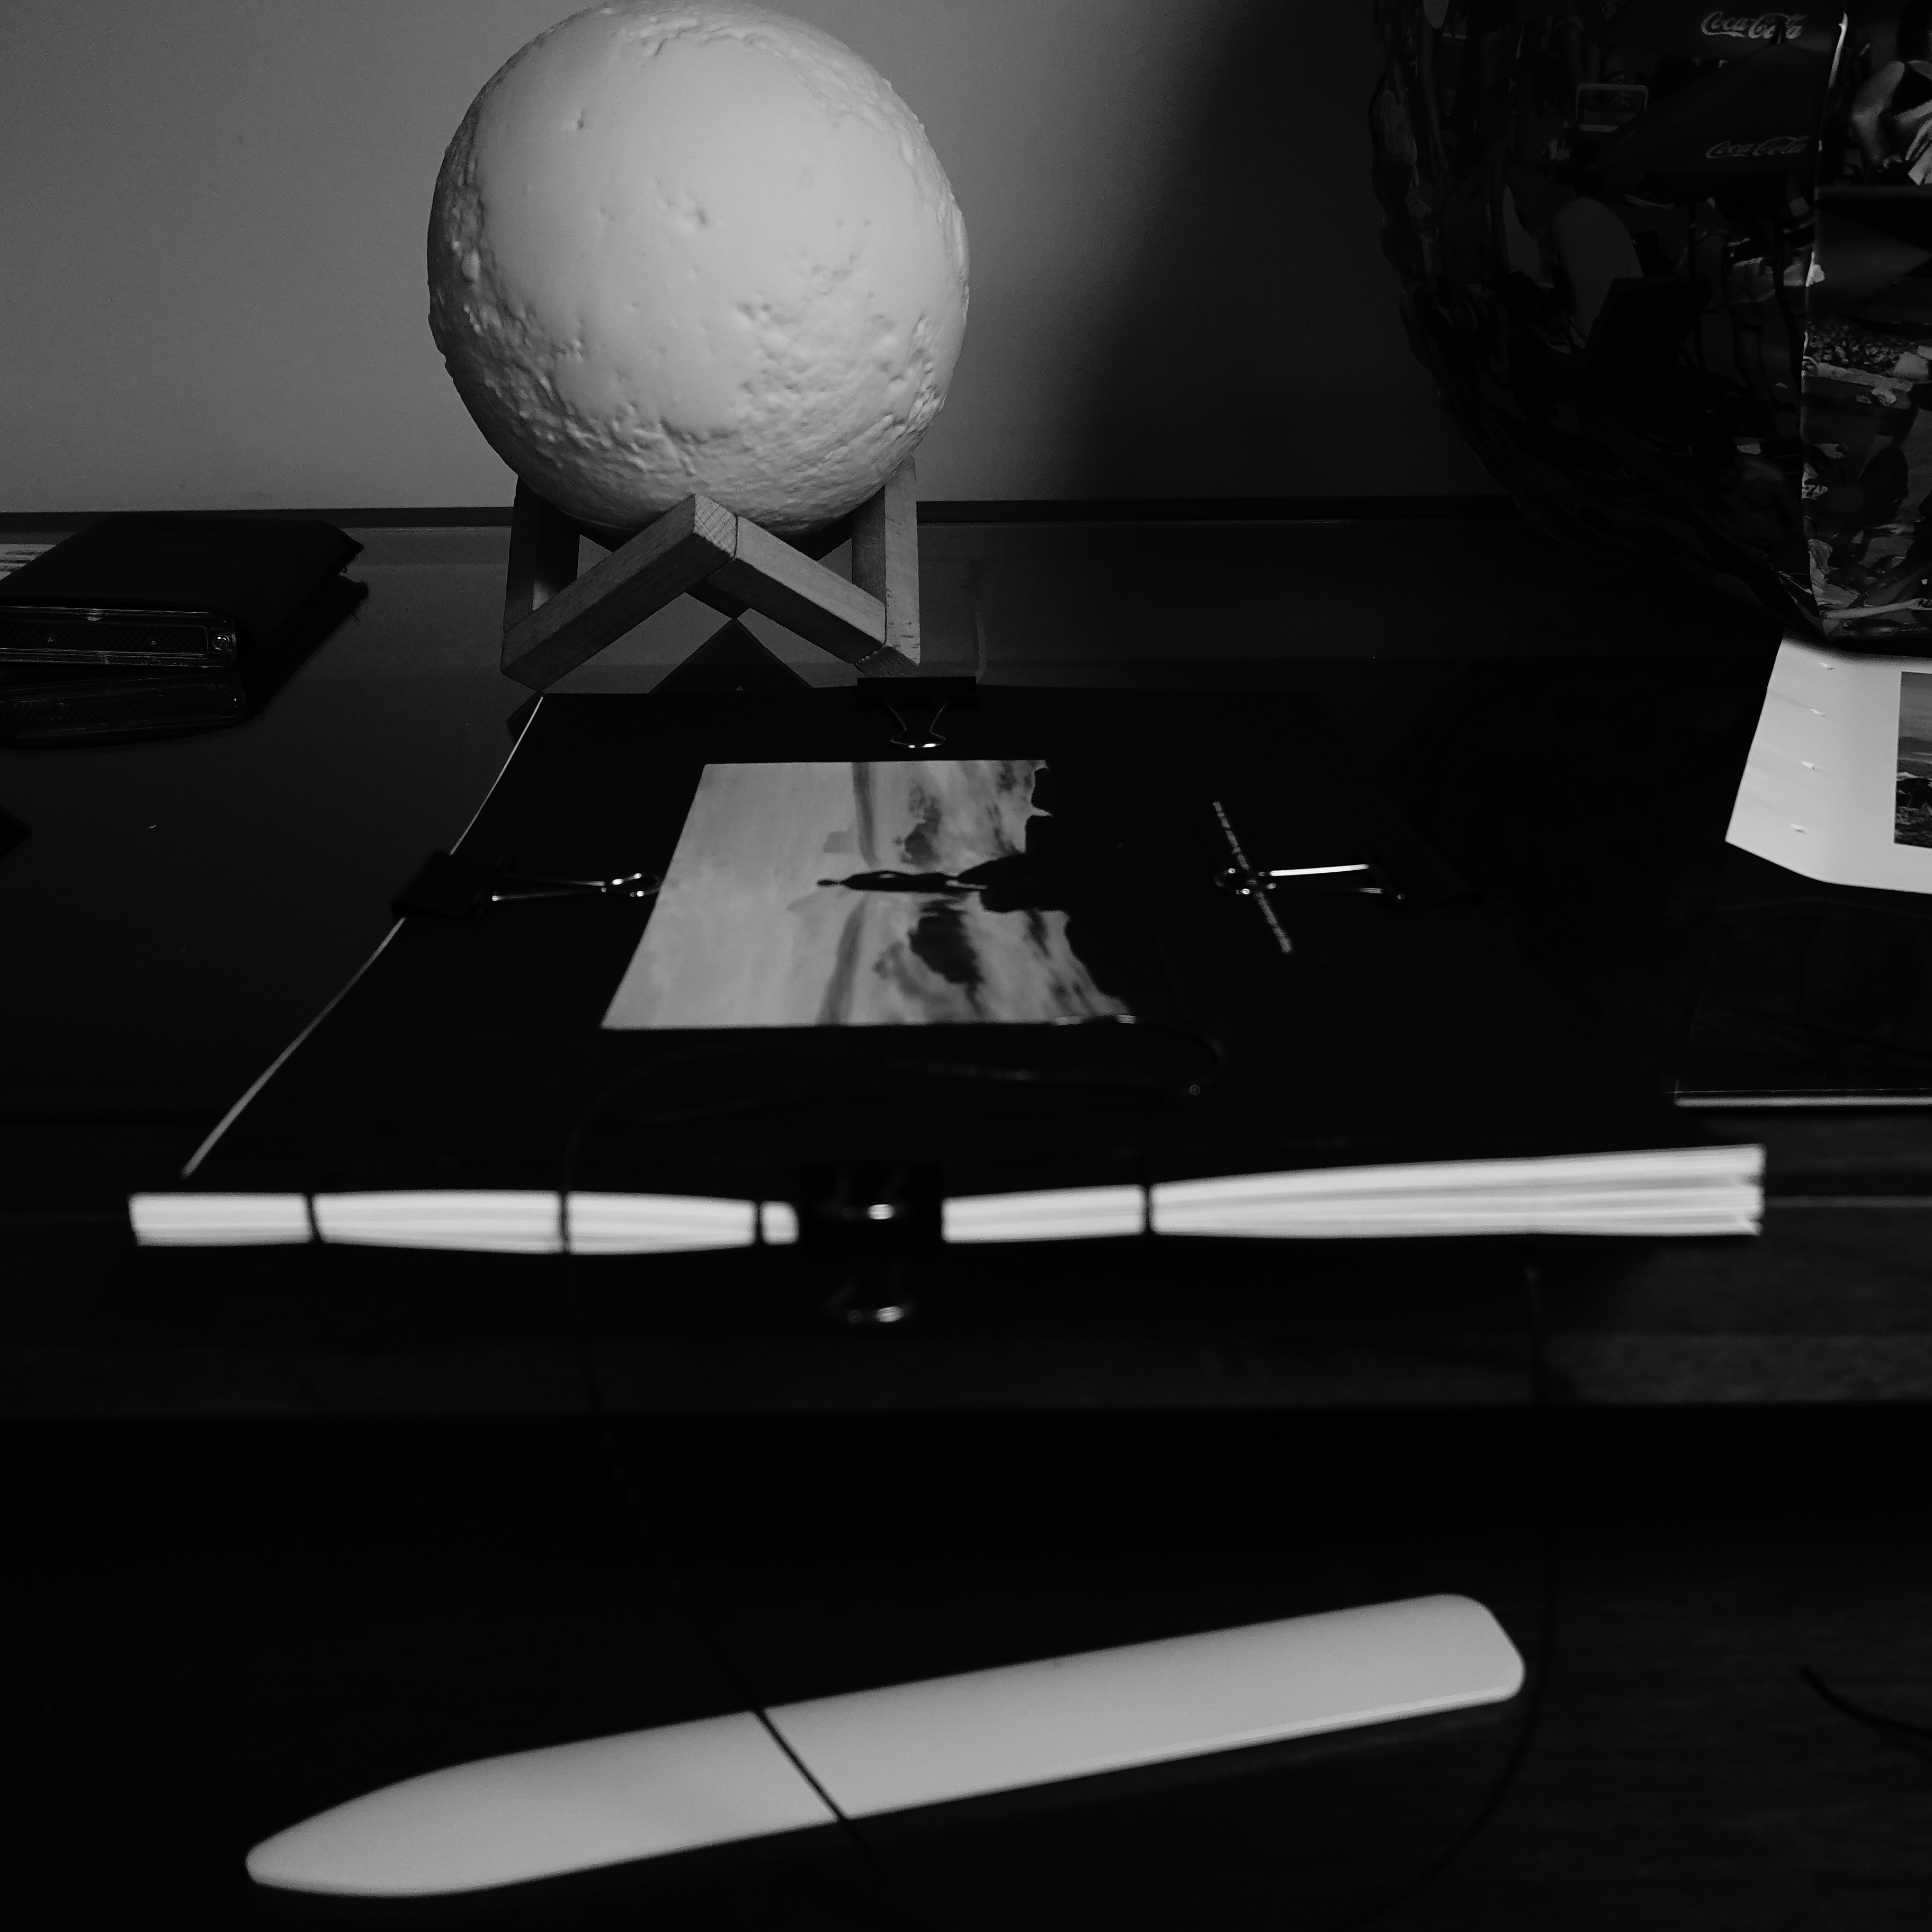

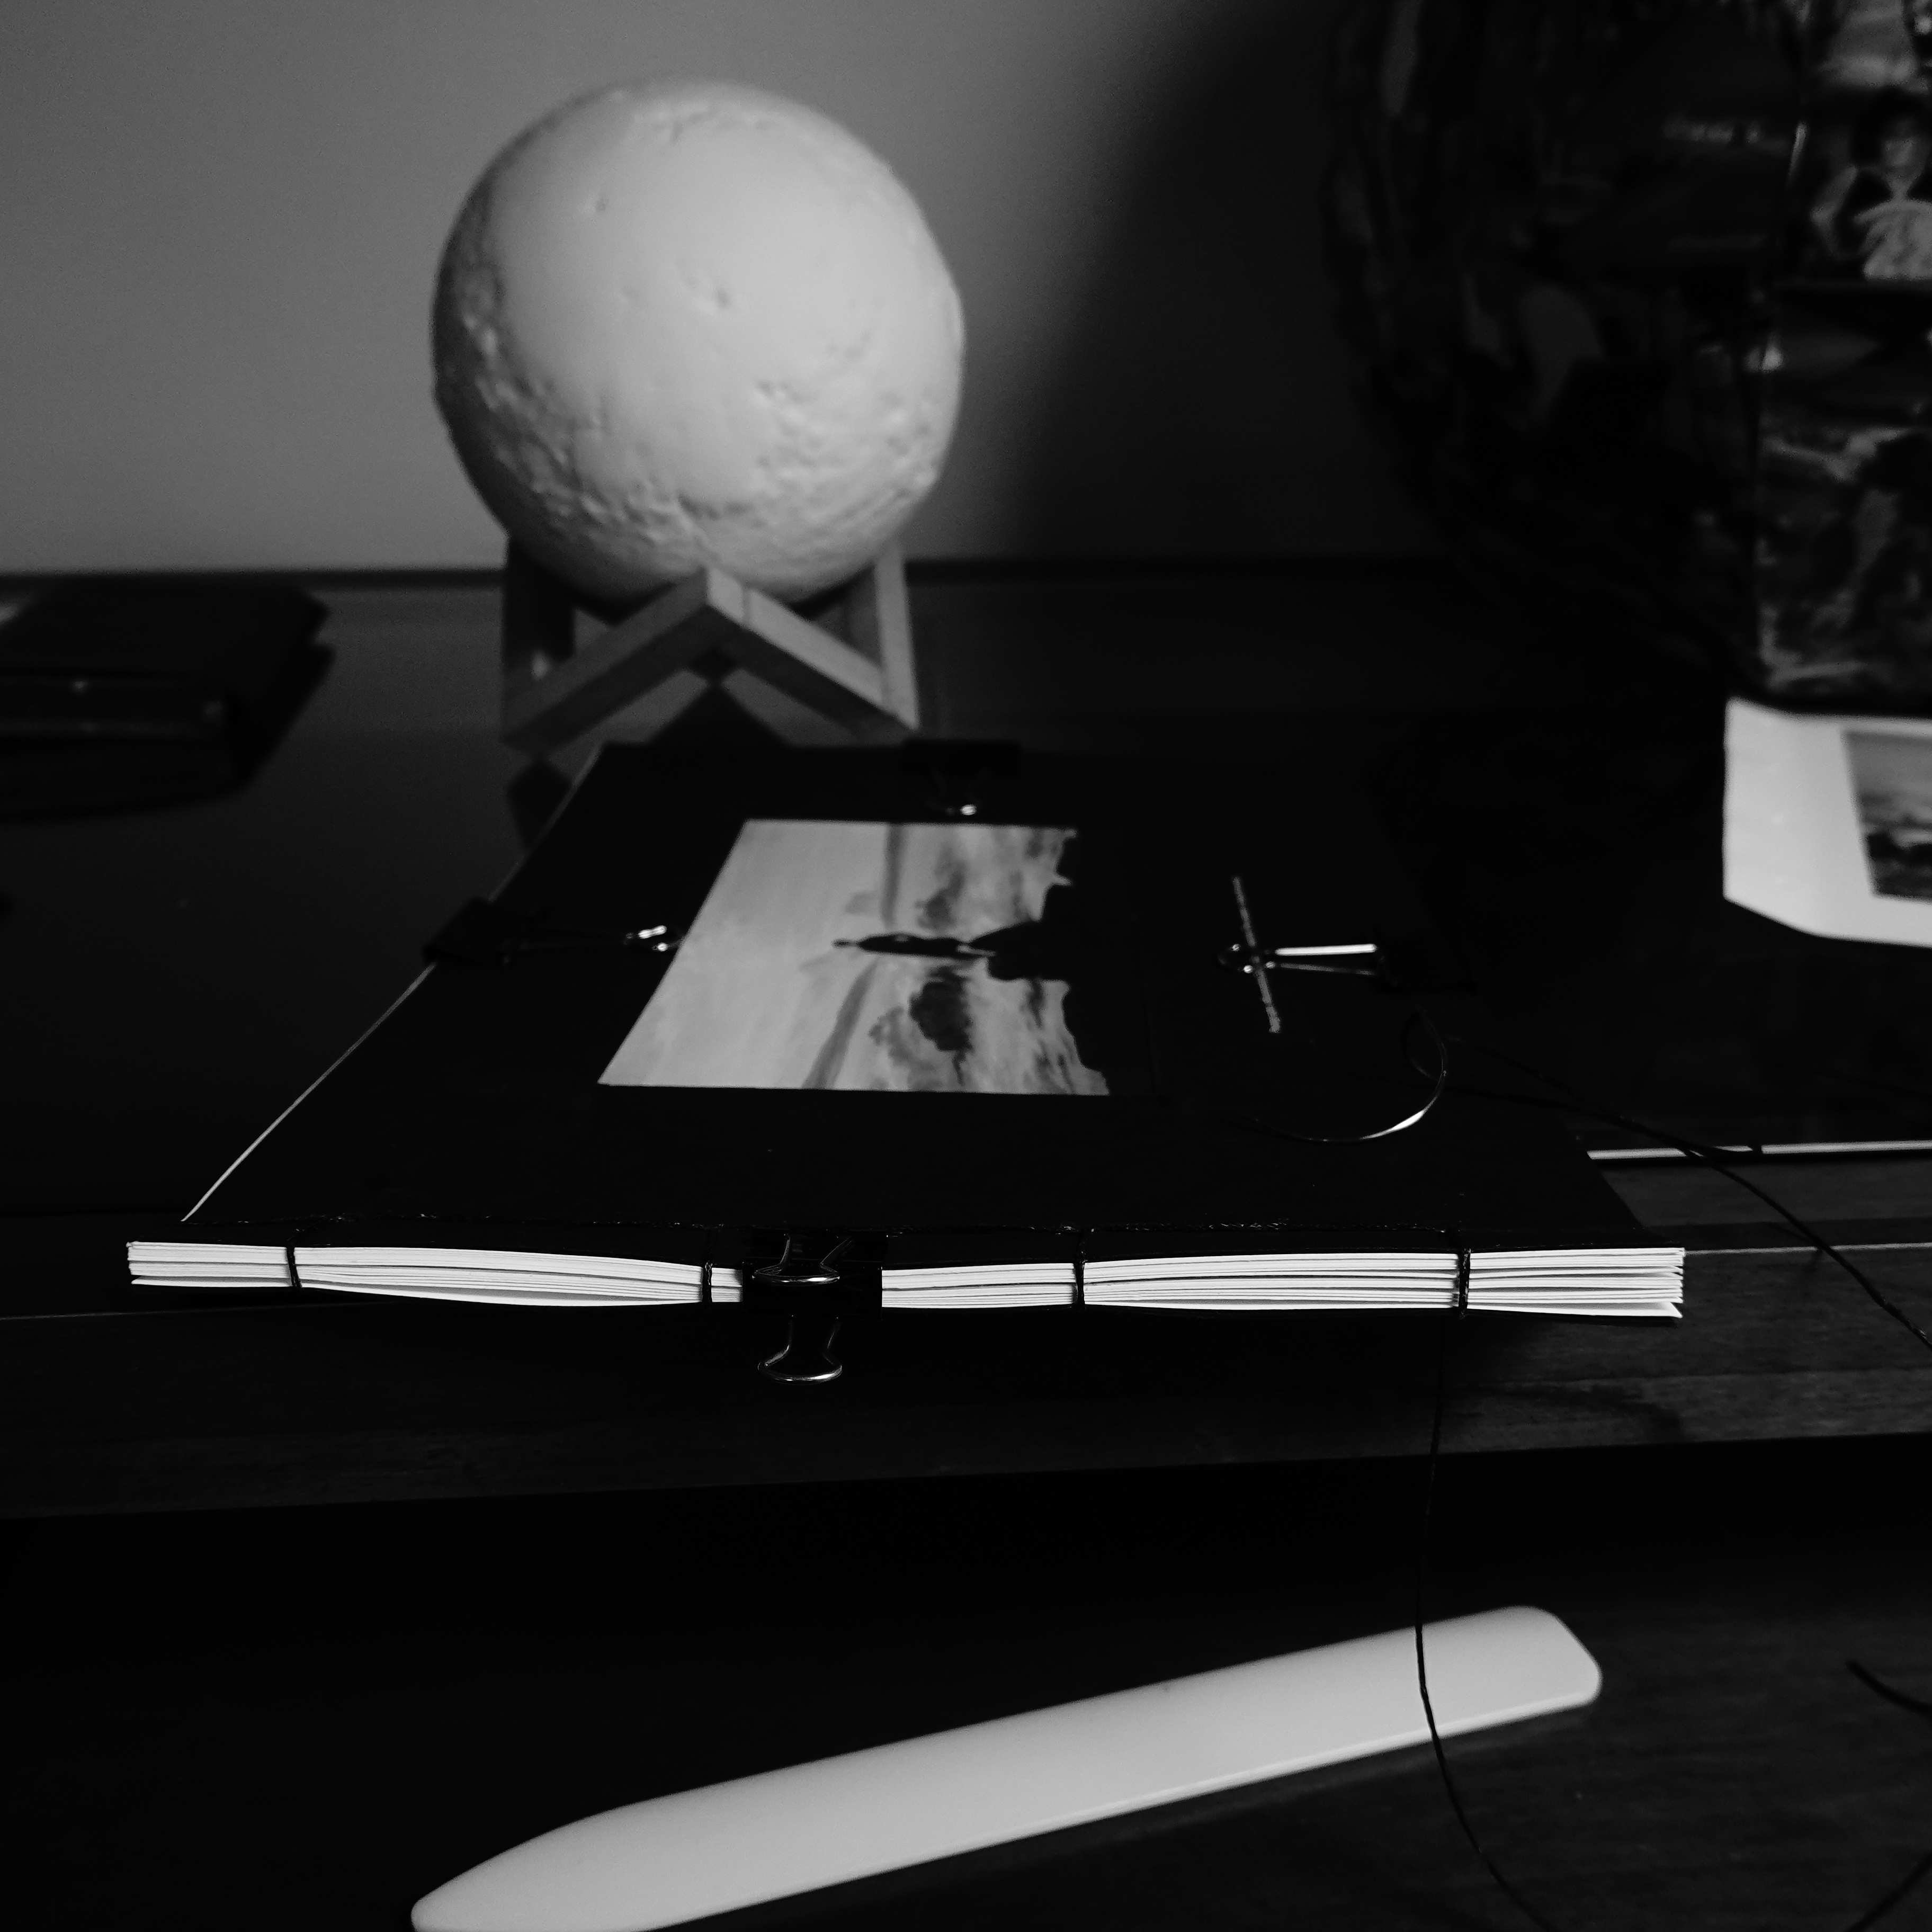
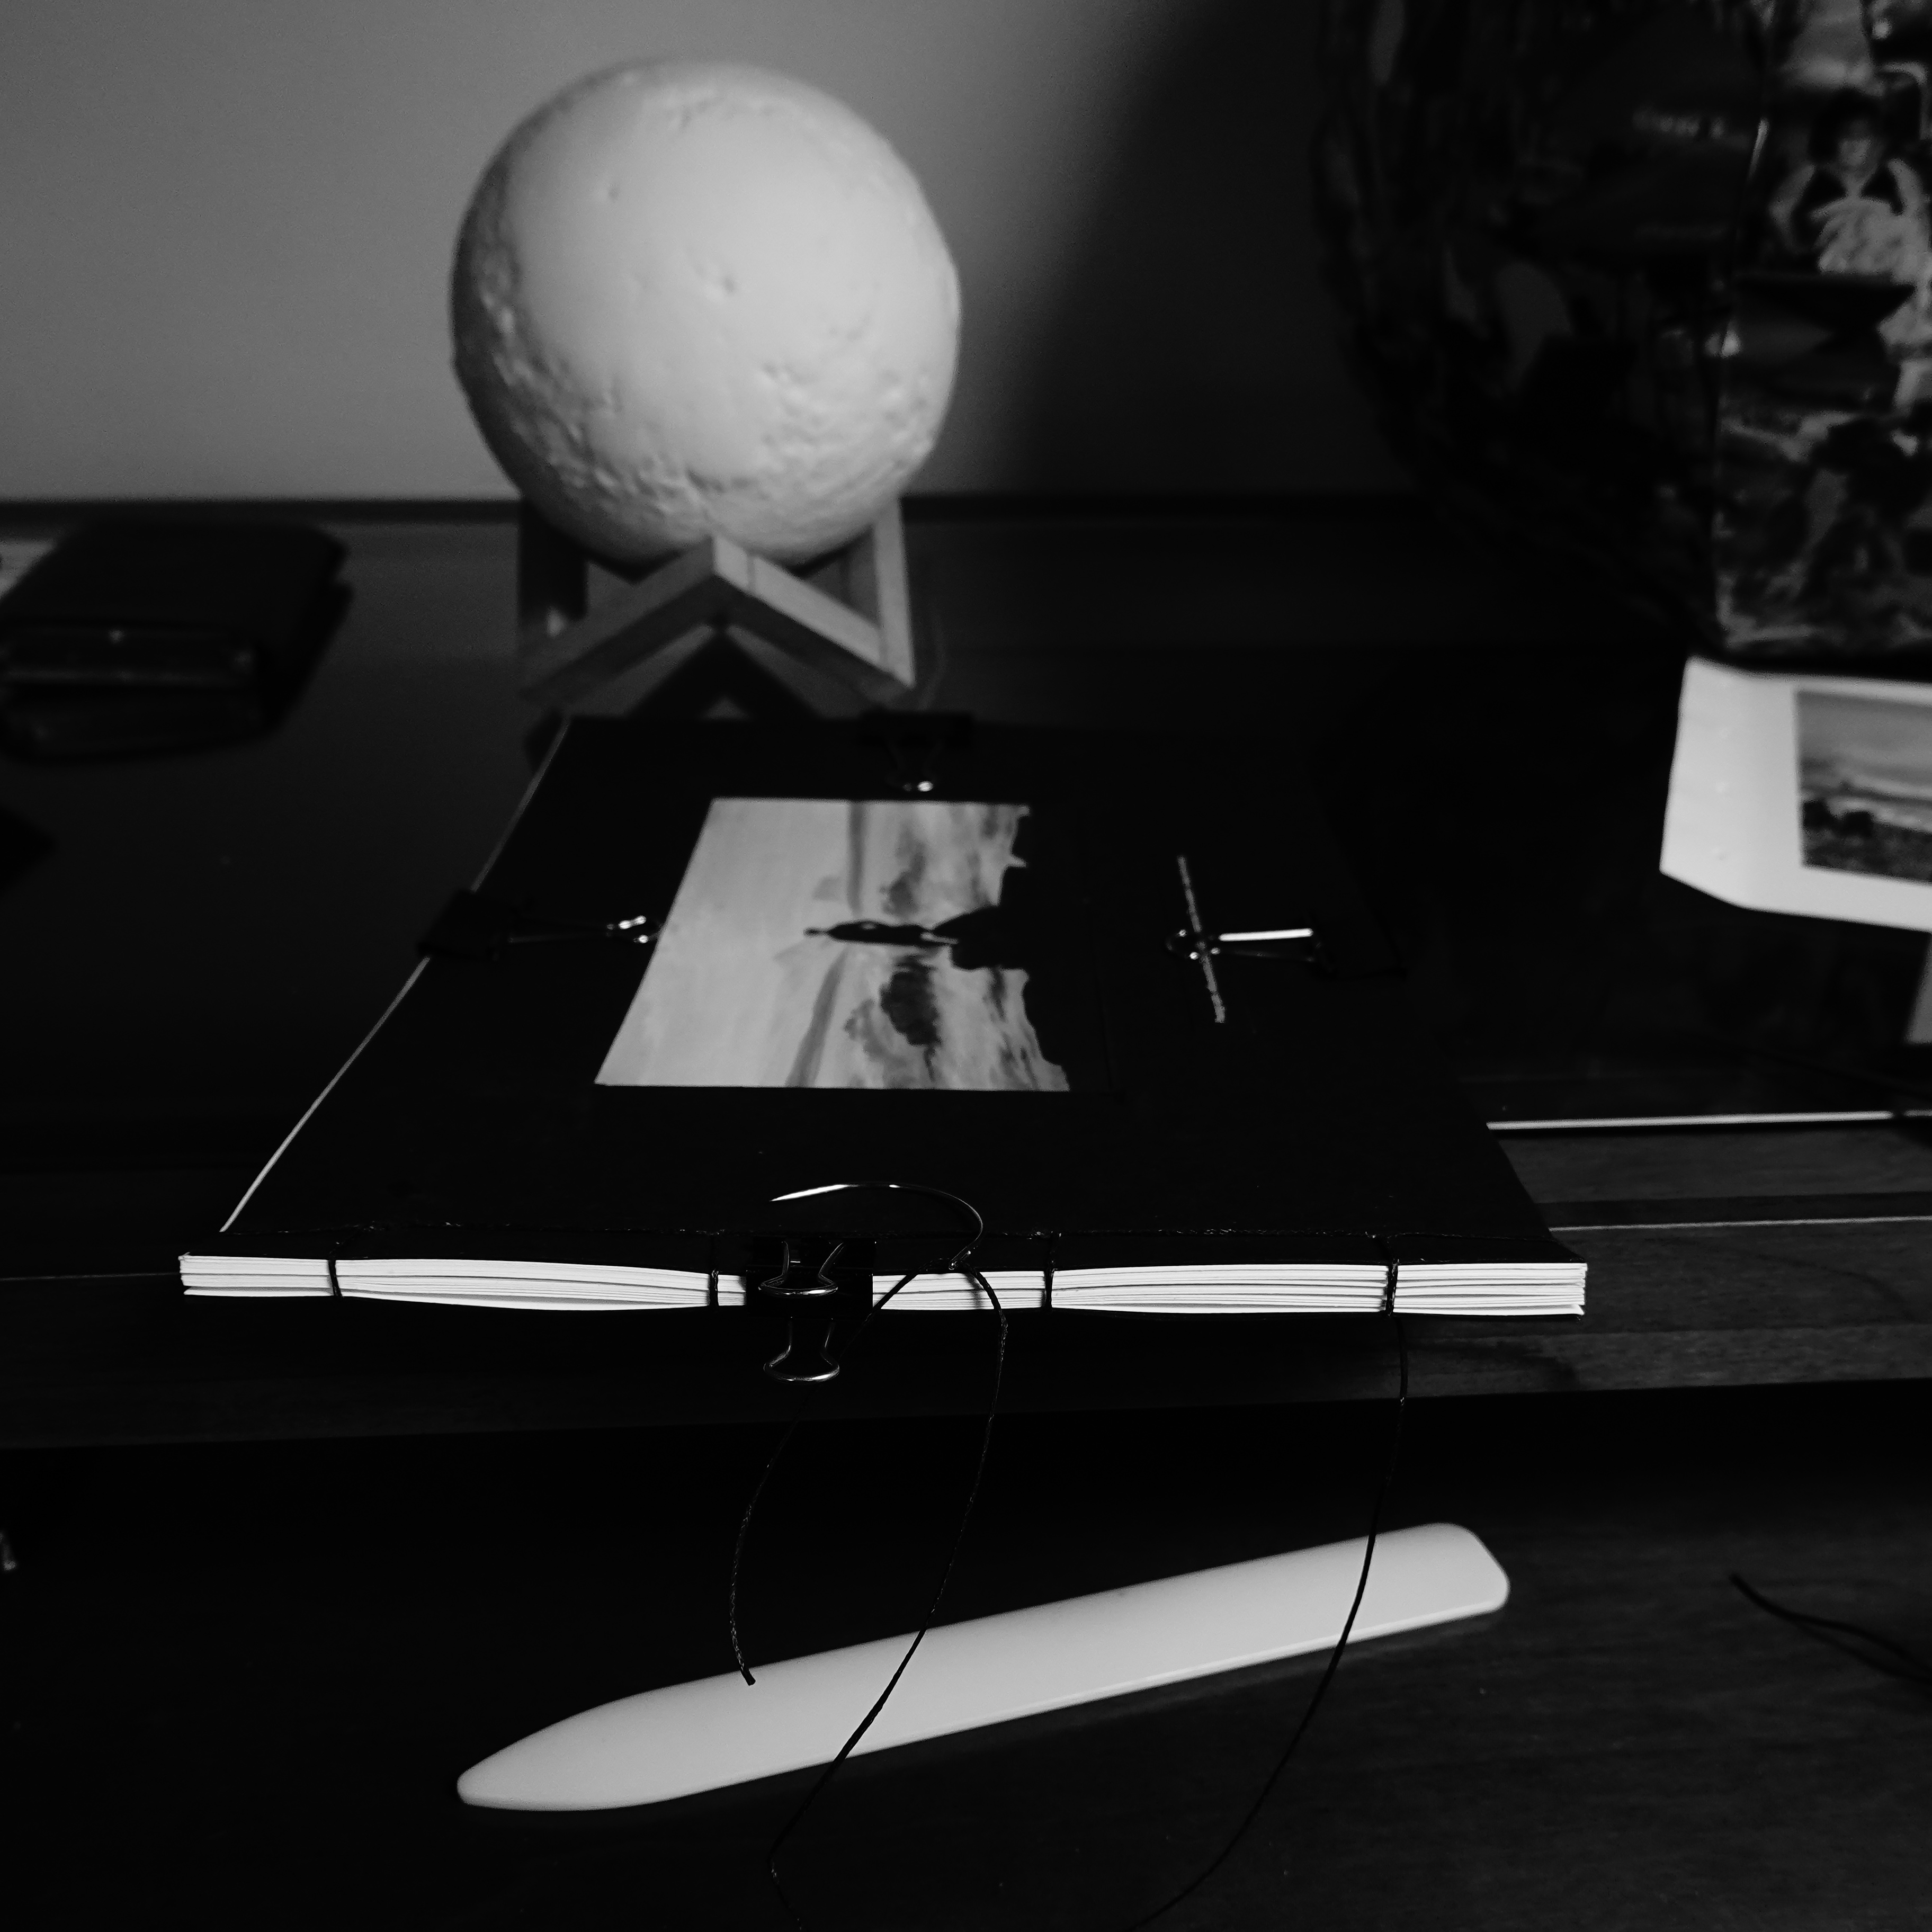
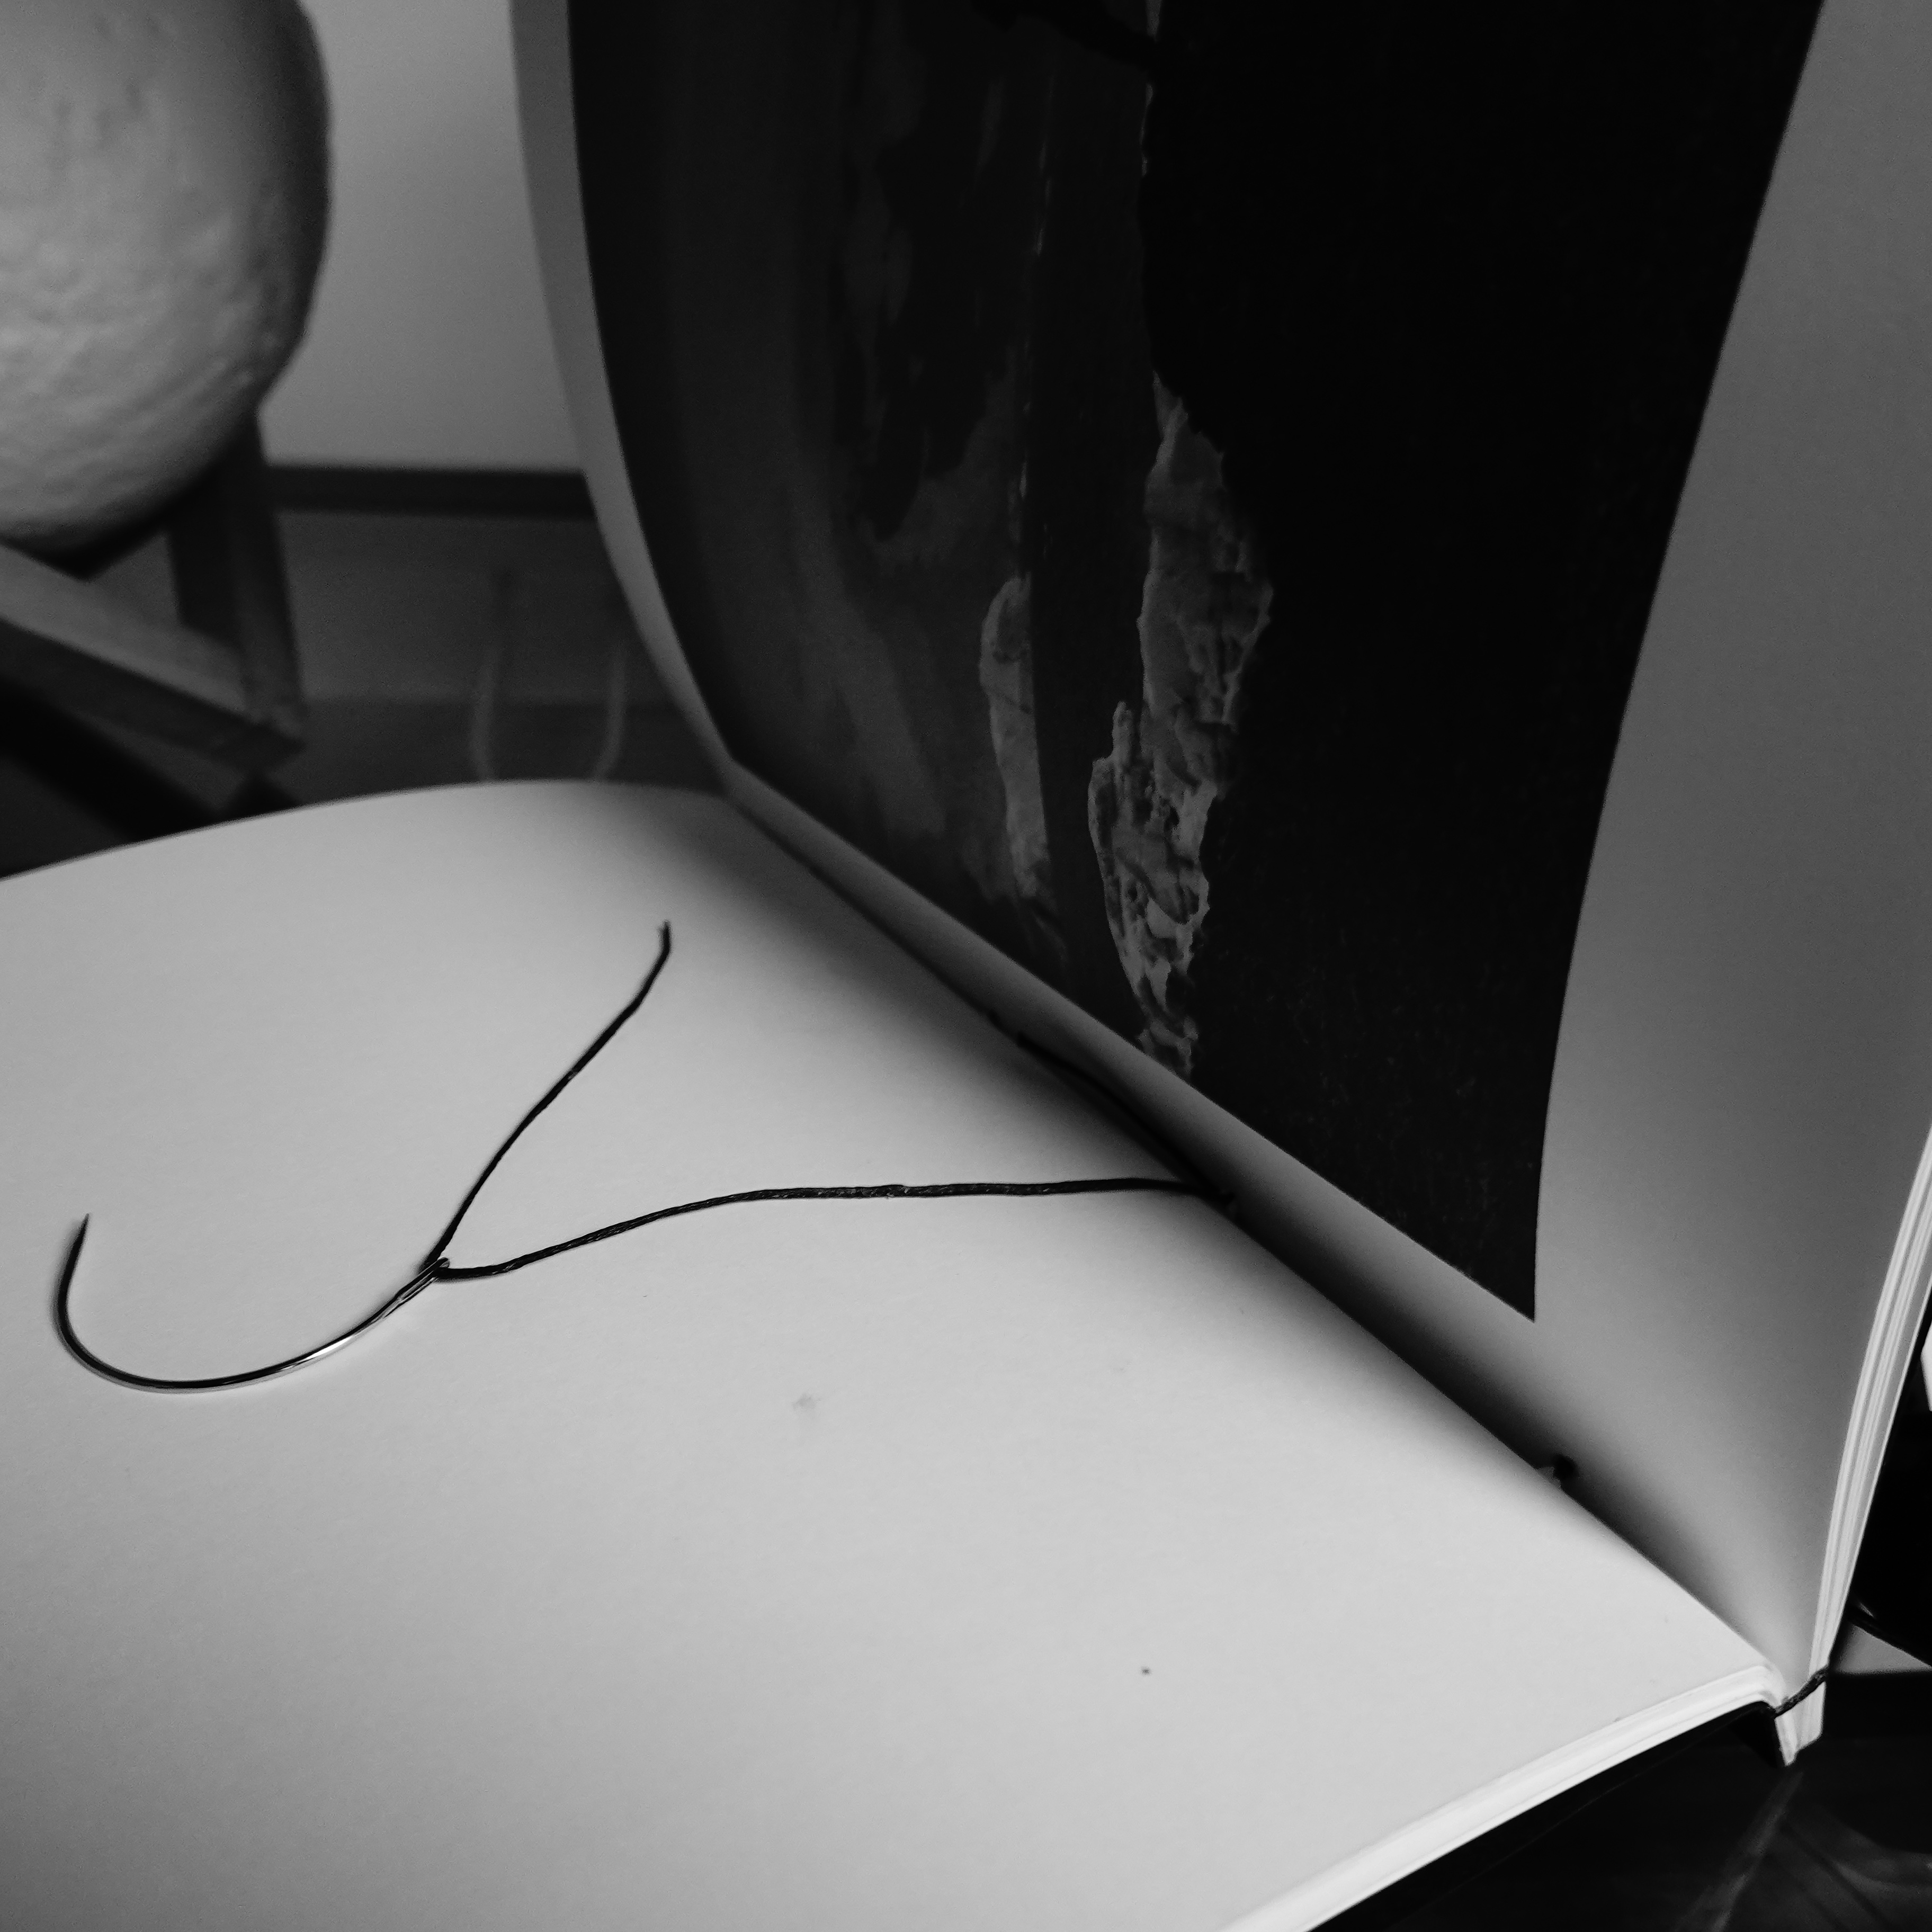
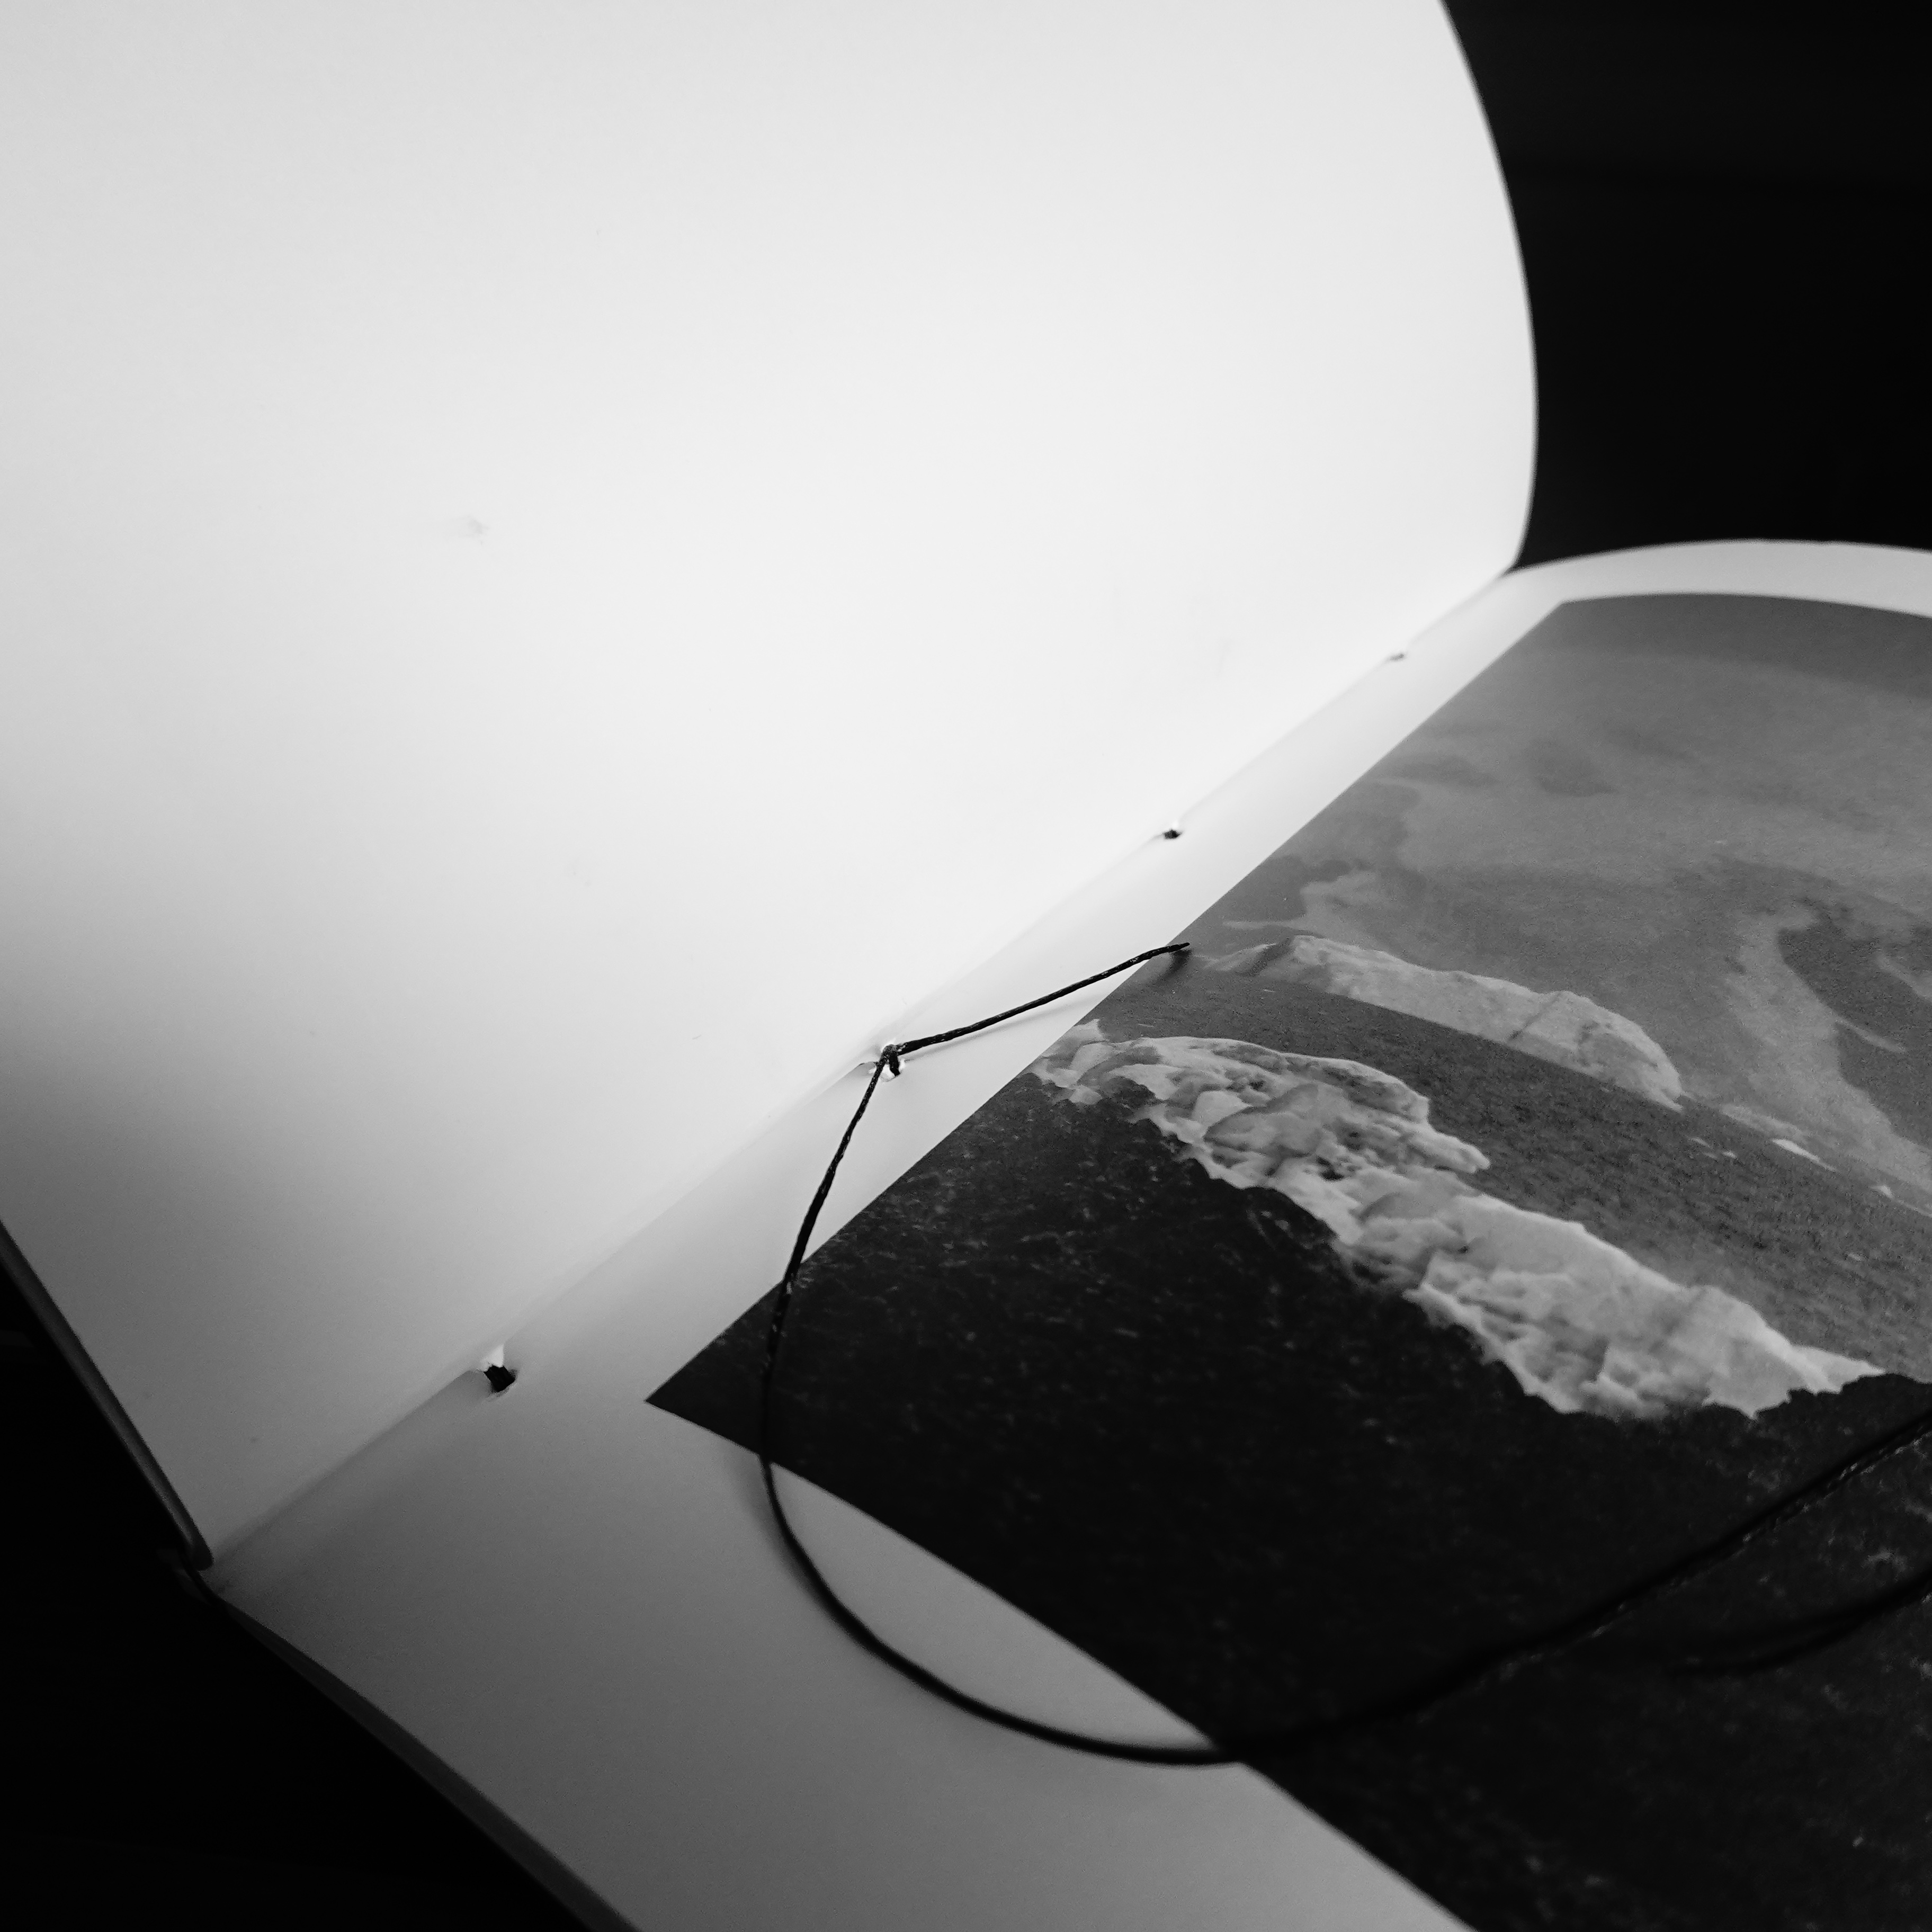
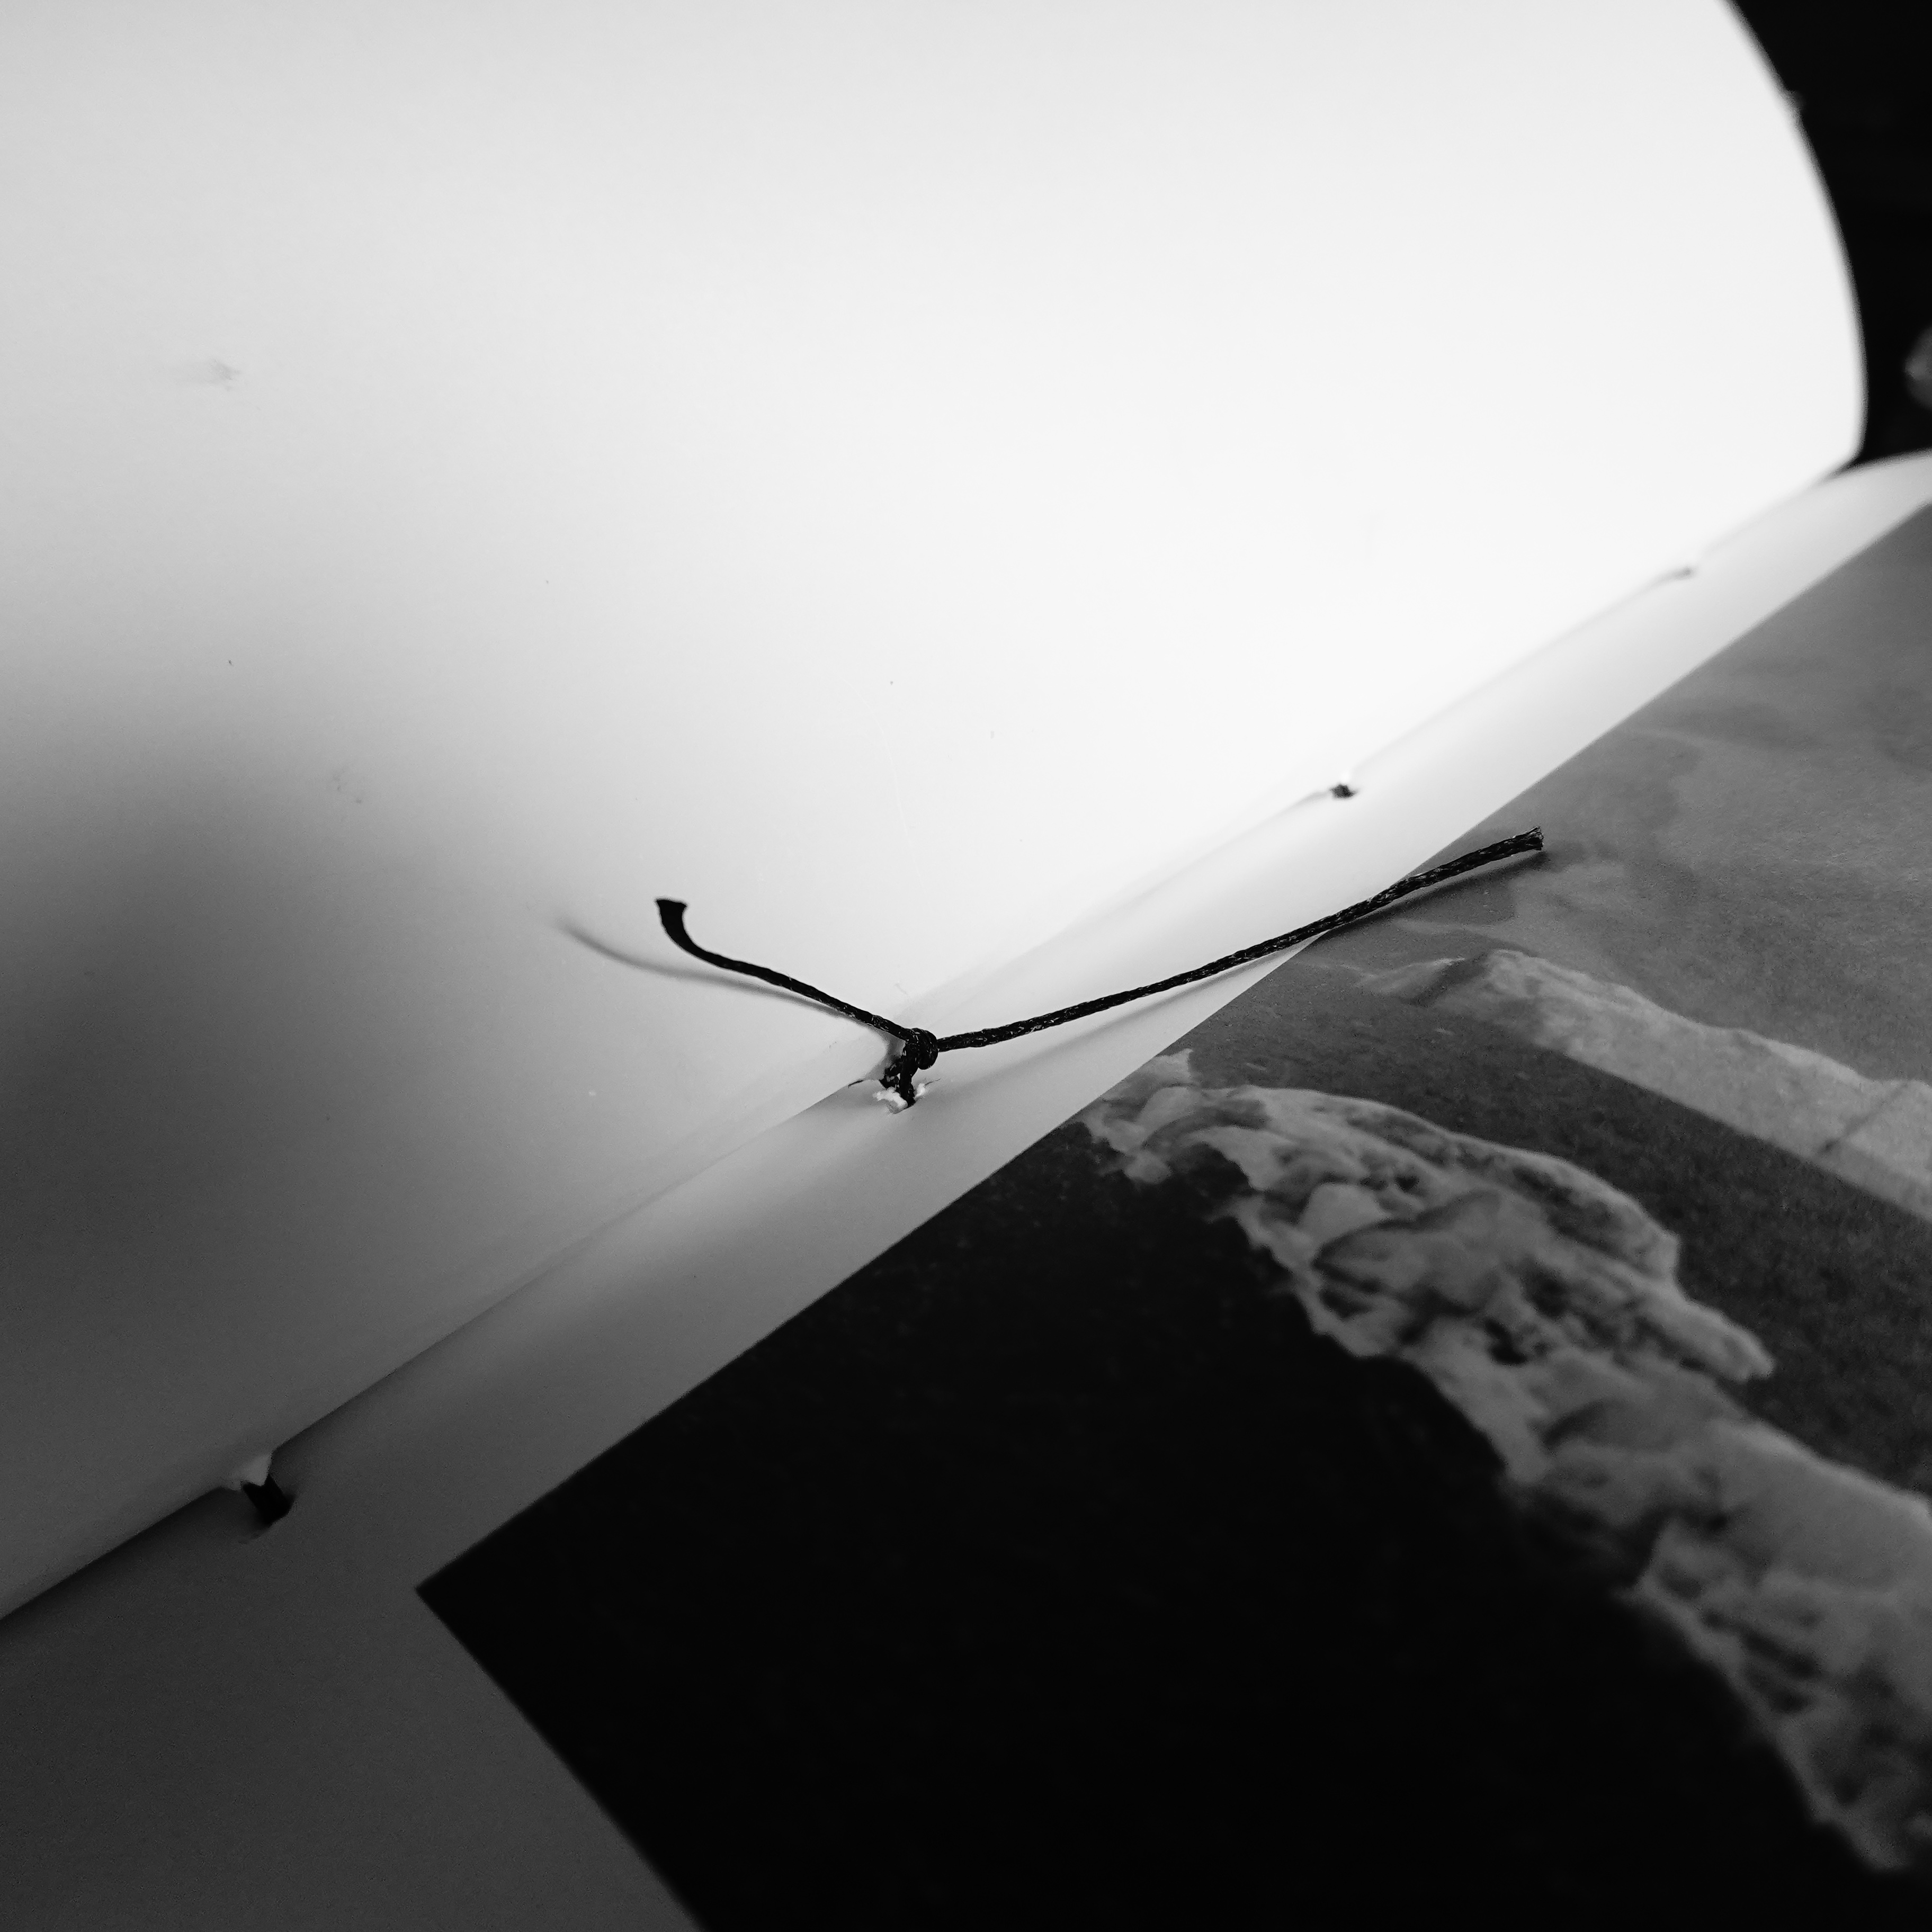

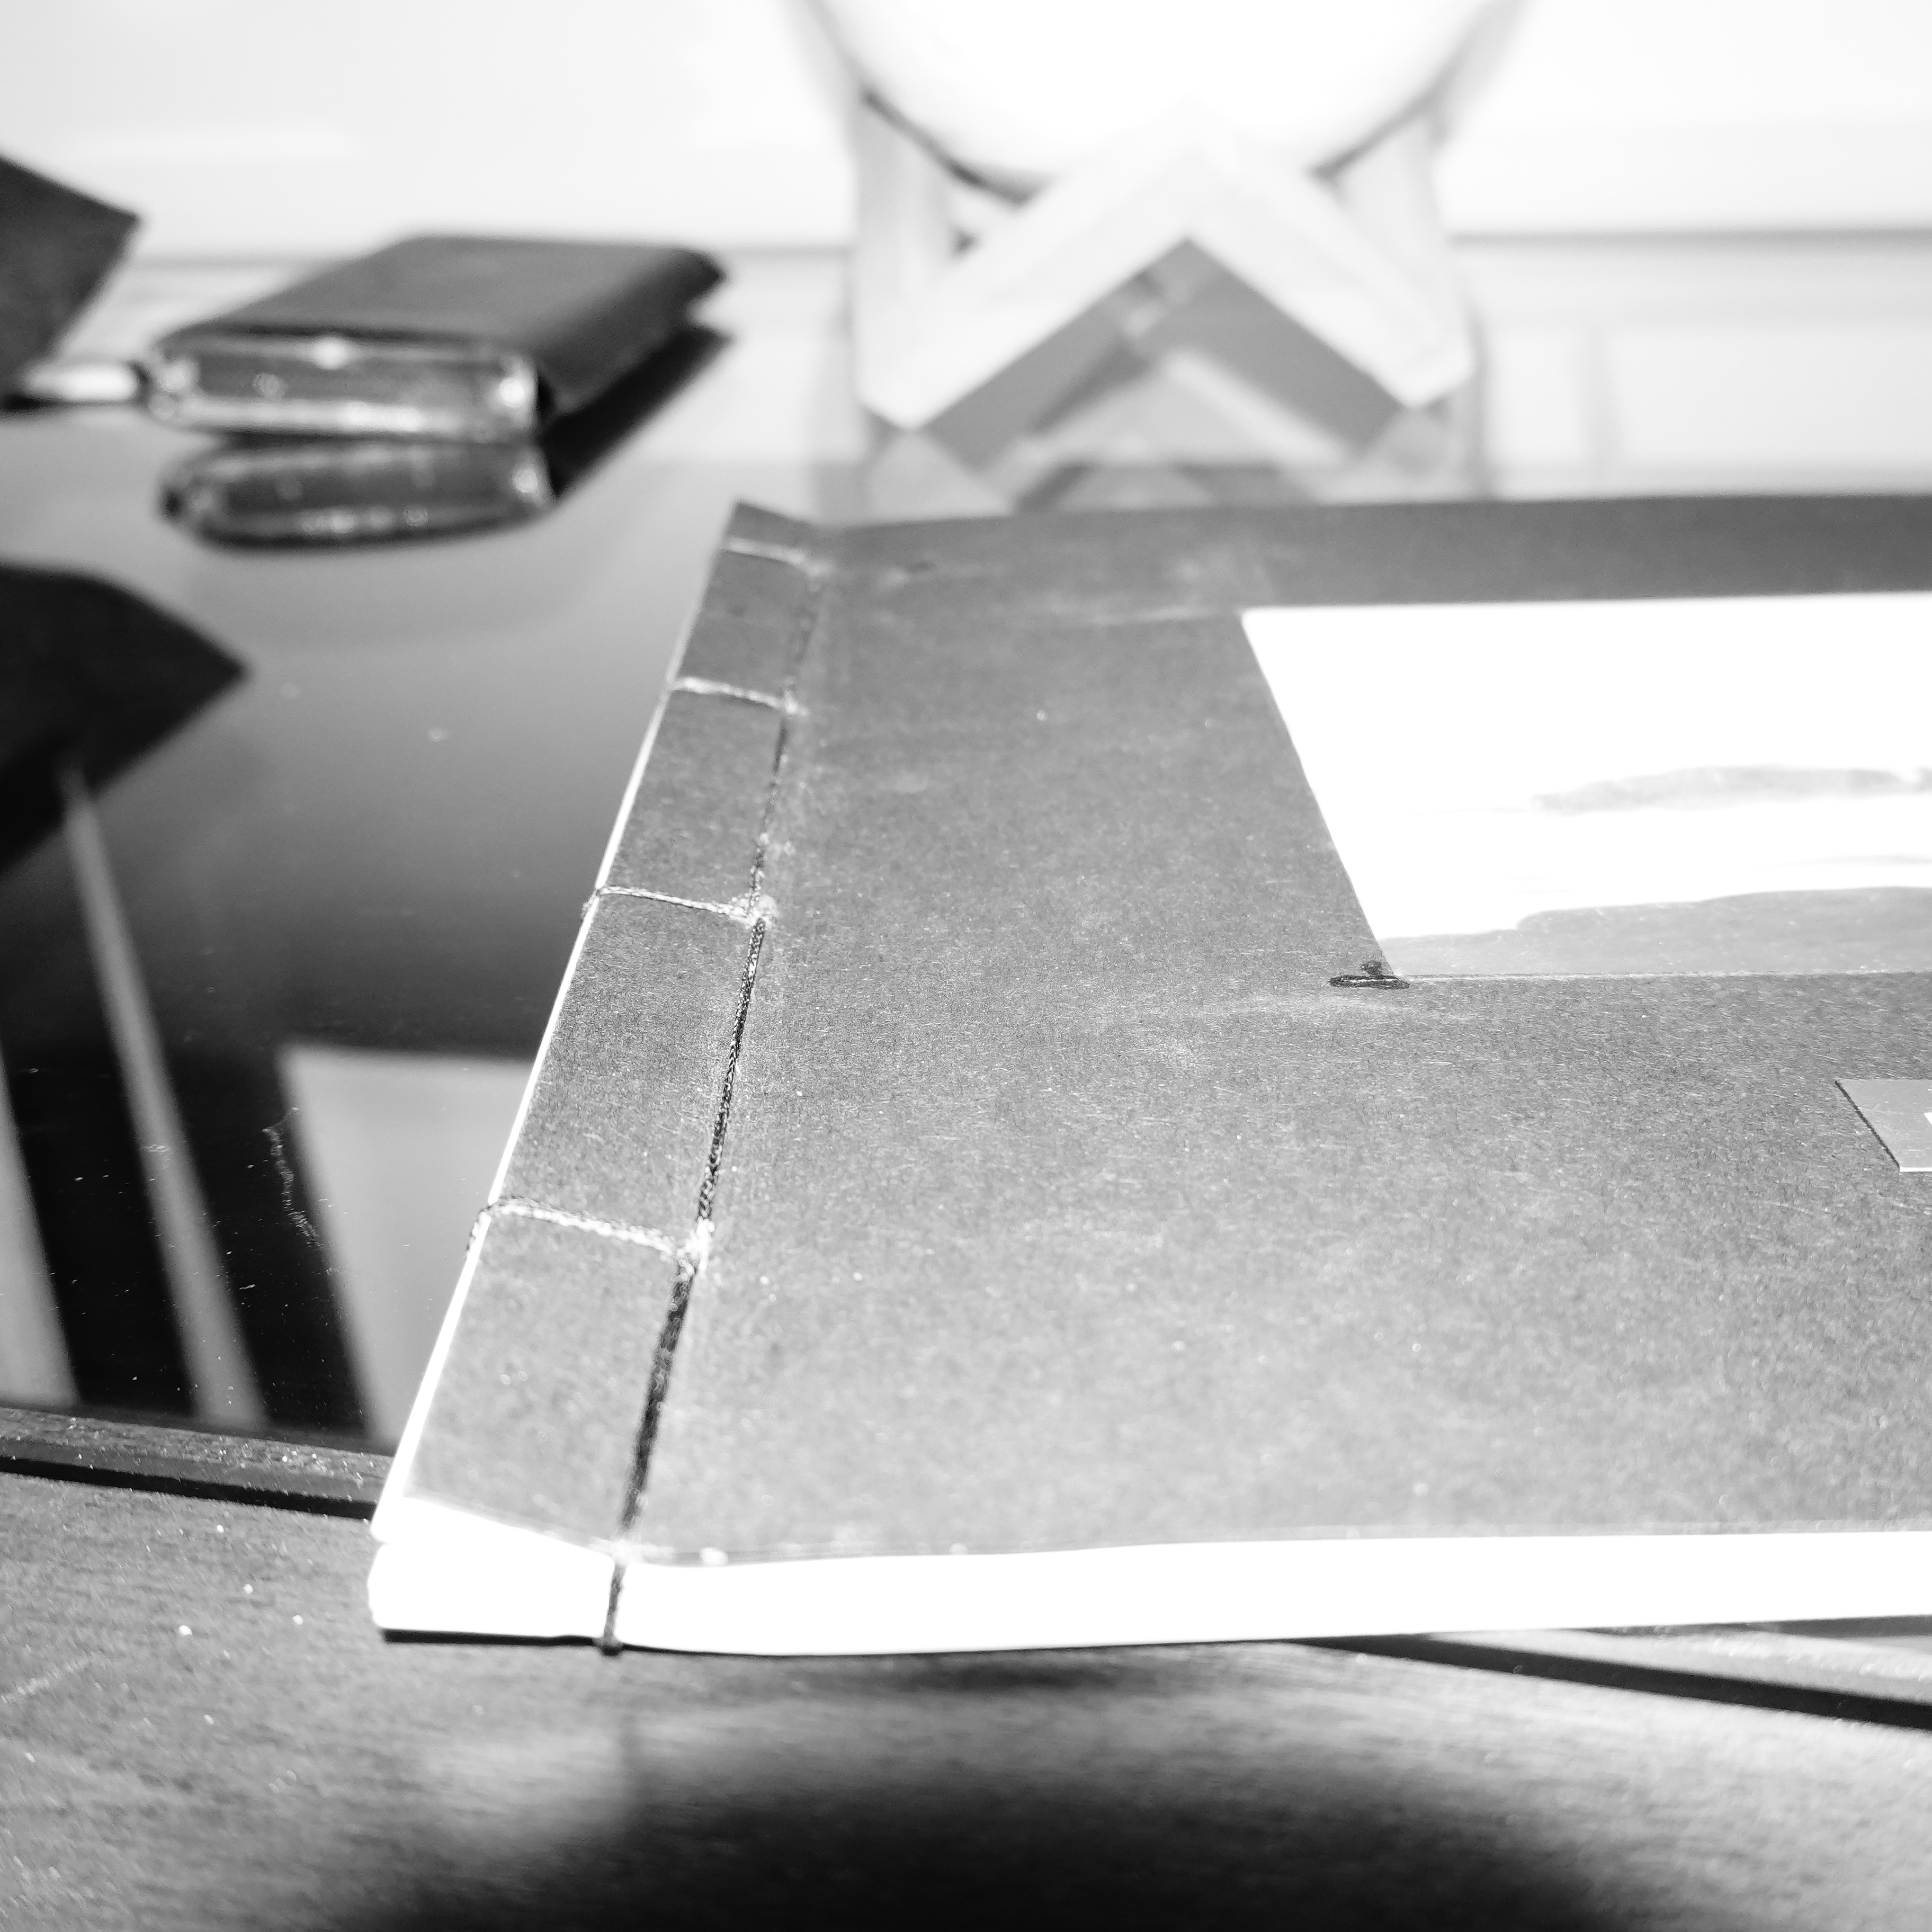
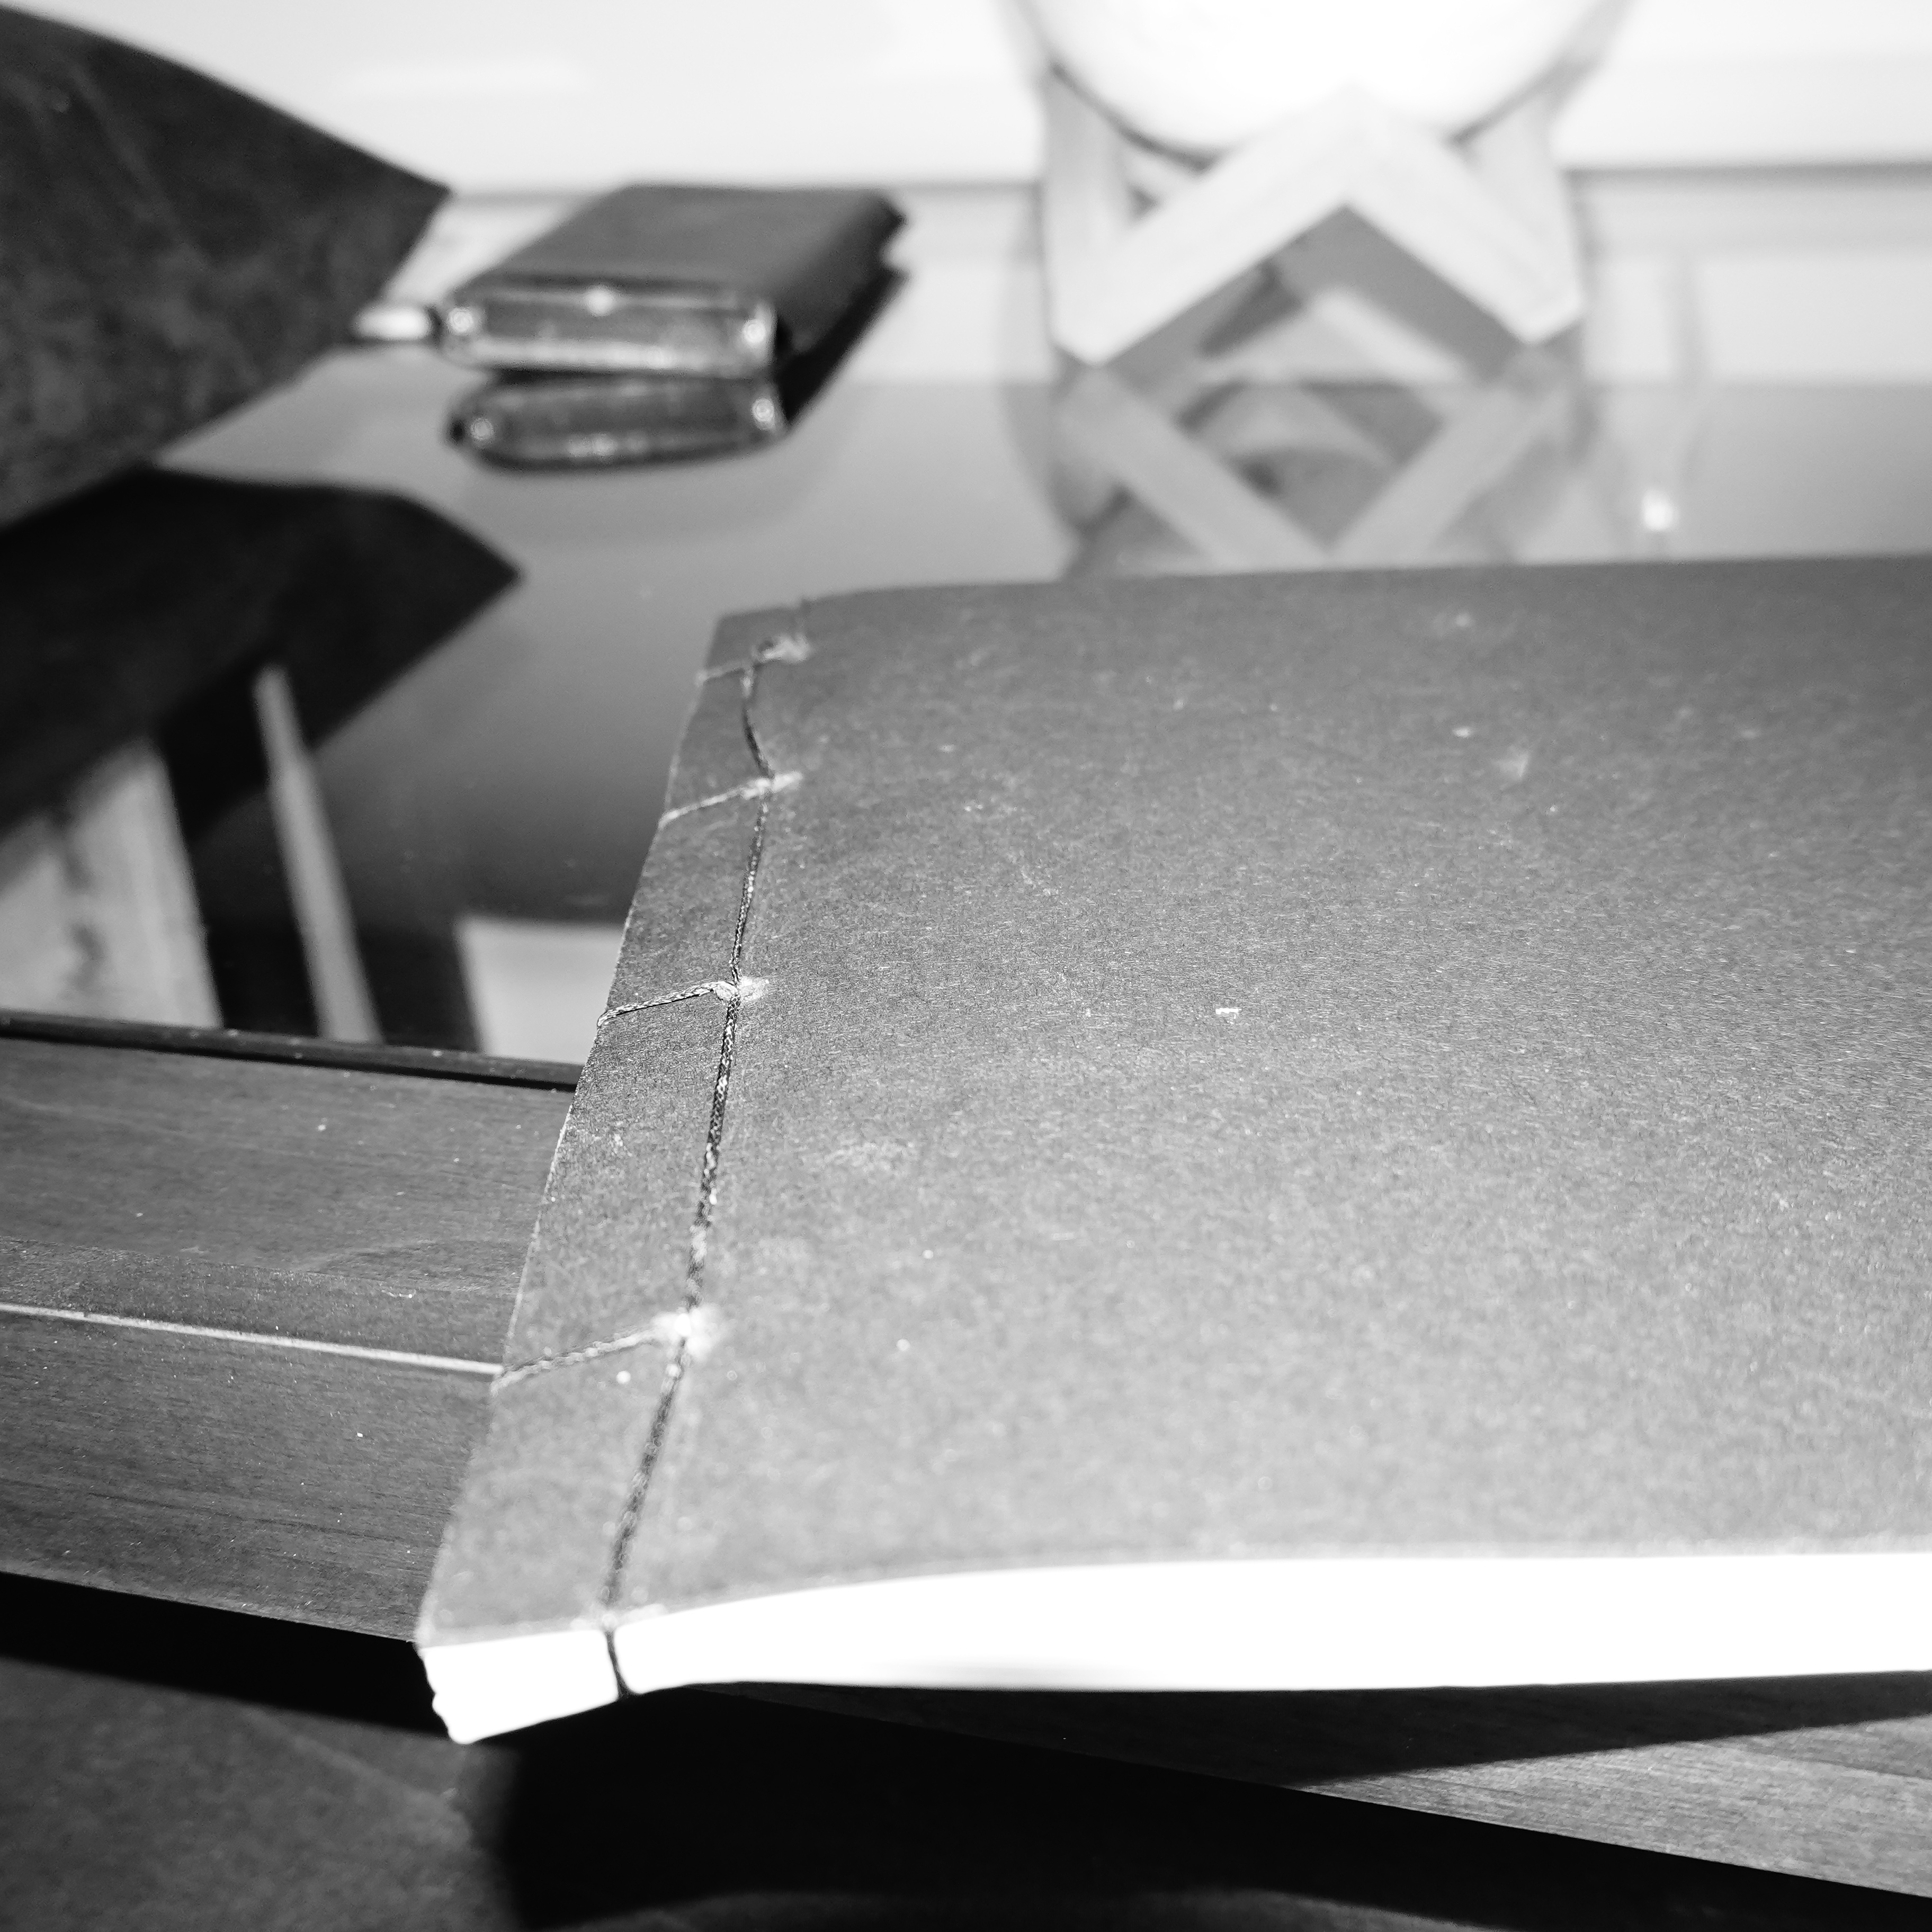
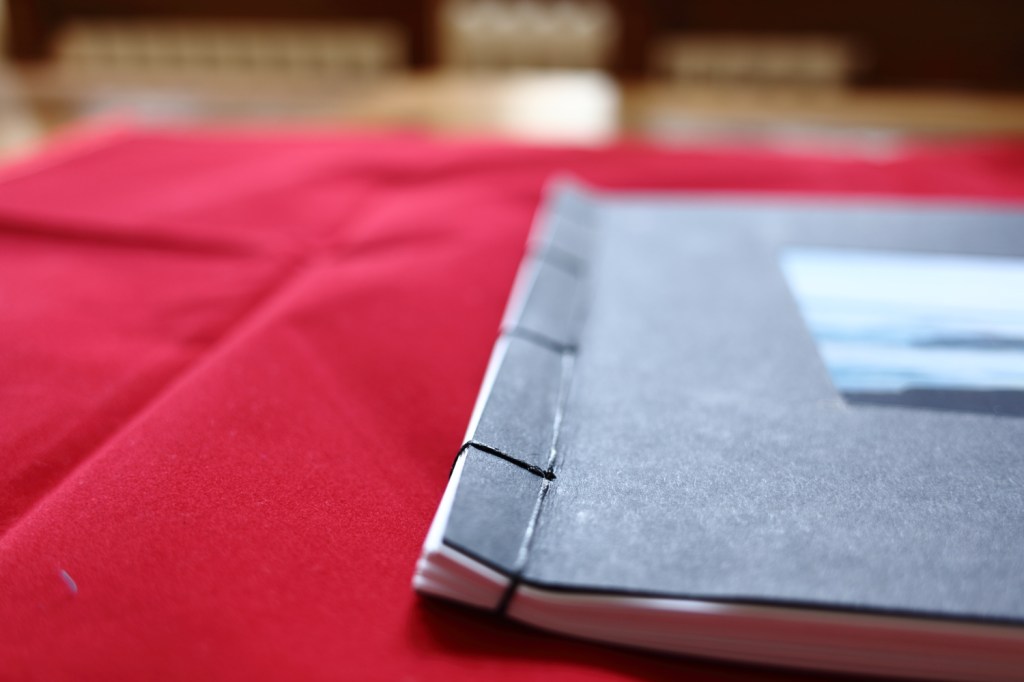
When the stitches were finished I used the bone tool from the kit to tuck the final knot tidily away within the inner pages out of sight.
Finishing with a bit of tidying up and gentle cleaning of scuffs the book is finished. I was nervous before starting but found the whole process rewarding. The final product is very satisfying, holding the book, and looking at the pictures is wonderful.
Works Cited
Batey, J. (2014, December 7th). Portsmouth Illustration Bookbinding Tutorials. Retrieved May 26th, 2020, from University of Portsmouth: https://bookbindingtutorials.wordpress.com/2014/12/07/japanese-stab-binding-4-hole/
