The most important thing I have learnt through completing this work is not to cram too much into the assignment. Keep it simple was great advice from my tutor.
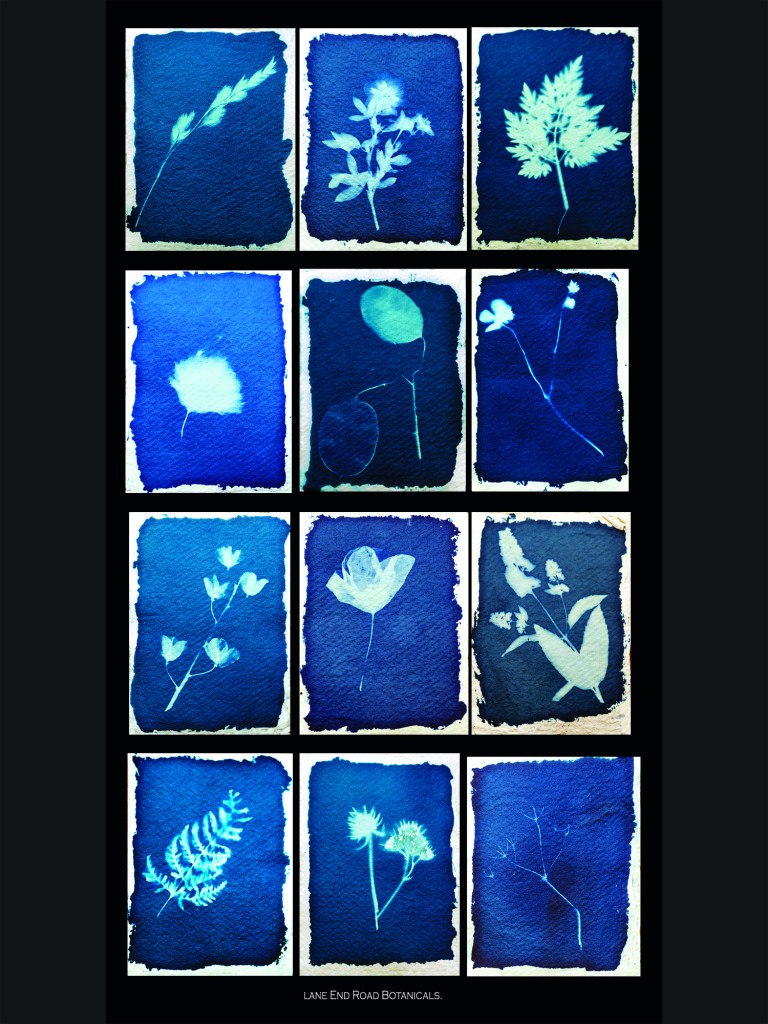
He wanted me to discuss a little more of the technicalities in producing this work. I started by making paper which involved using a blender to pulp fibres from wood and old drawing paper until it was a smooth paste. then I placed this onto a frame with fine filter mesh stretched taut. I then let this air dry before lifting the paper with a scalpel. One out of three sheets failed and were re-pulped to form the next batch. I didn’t bleach or stain the paper it came out the colour I wanted. This method produced paper strong enough to survive the rigours of the washing process later.
I used a metal ruler and rough tore the paper to the size I wanted for my Cyanotypes.
For the solutions I mixed two solutions mix A is 10g of Potassium Ferricyanide which is mixed in 100ml of distilled water.
Solution B is 25g of Ferric Ammonium Citrate with 100ml of distilled water.
These two solutions are kept separate in brown bottles in a cool dark place till I want to coat the paper. Kept like this they will keep for several months.
Next when I want to coat my paper with sensitizer I mix equal quantities of the solution in dim light, Taking care to only mix the amount I will need in the clean mixing bottle. When the two solutions are mixed the resulting solution is light sensitive and has an intense yellow colour. (1)I used the recipe from Thames and Hudsons Book Experimental Photography A Handbook of Techniques.
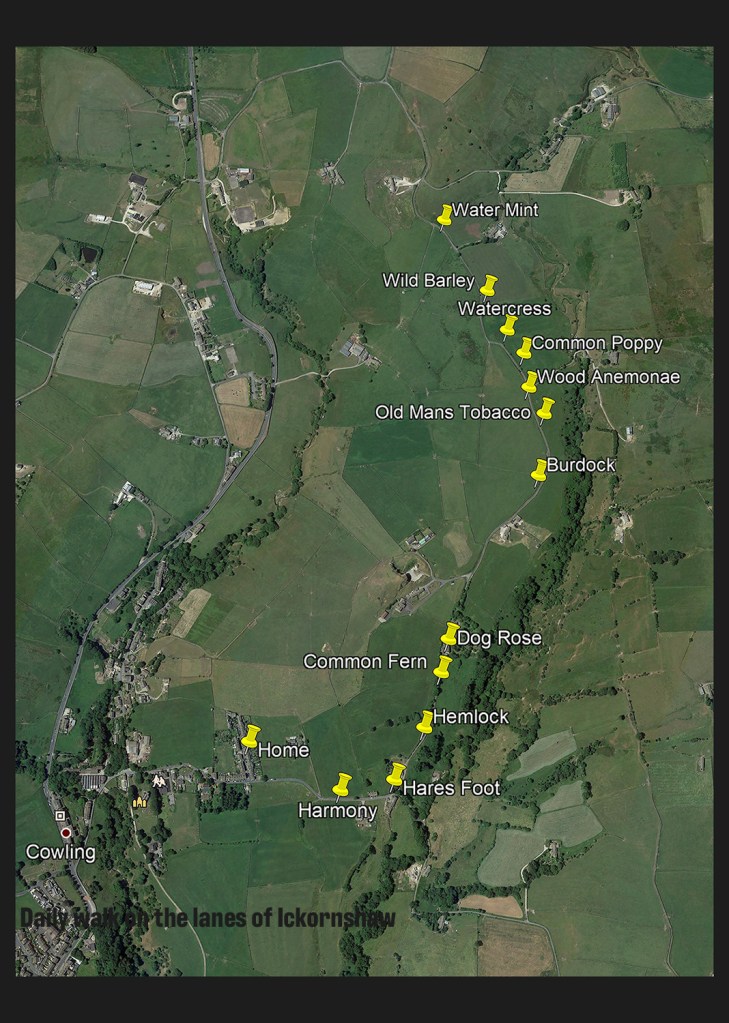
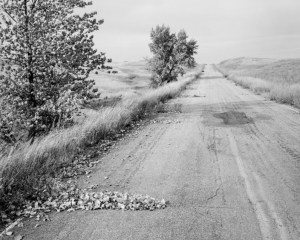
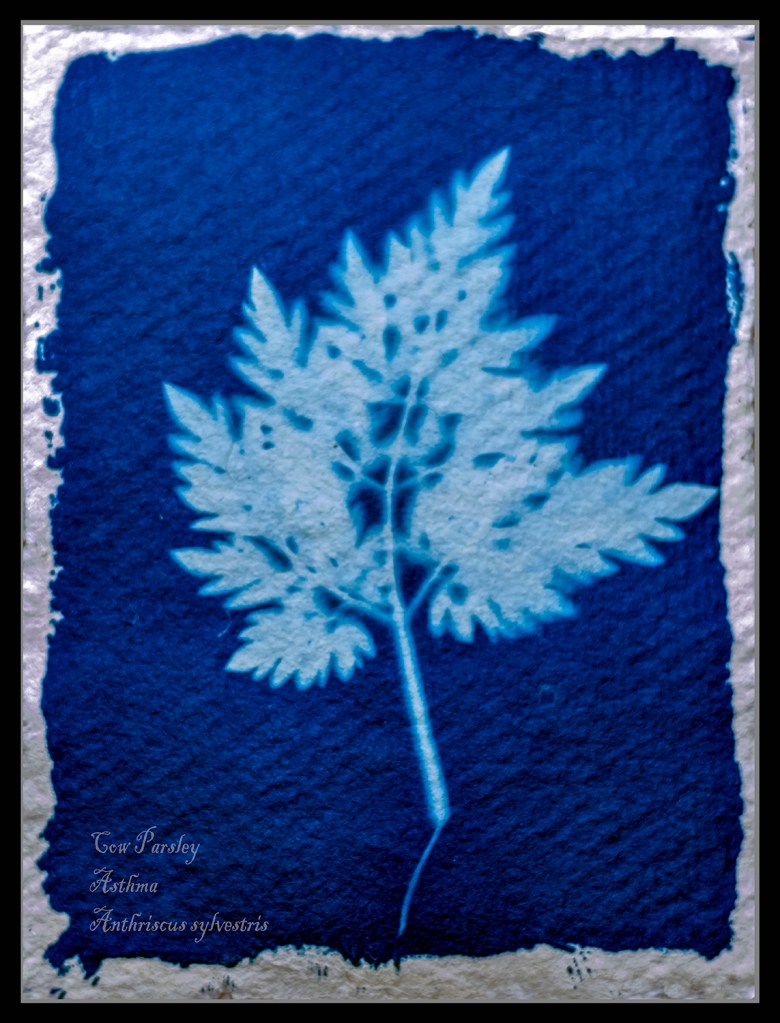
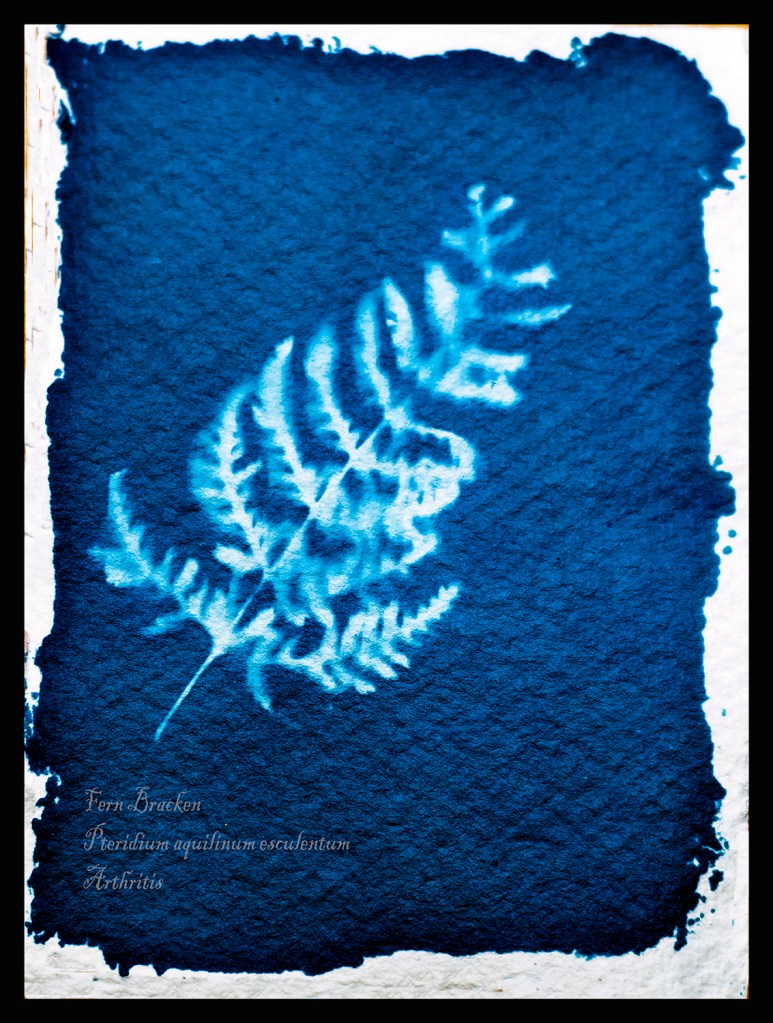
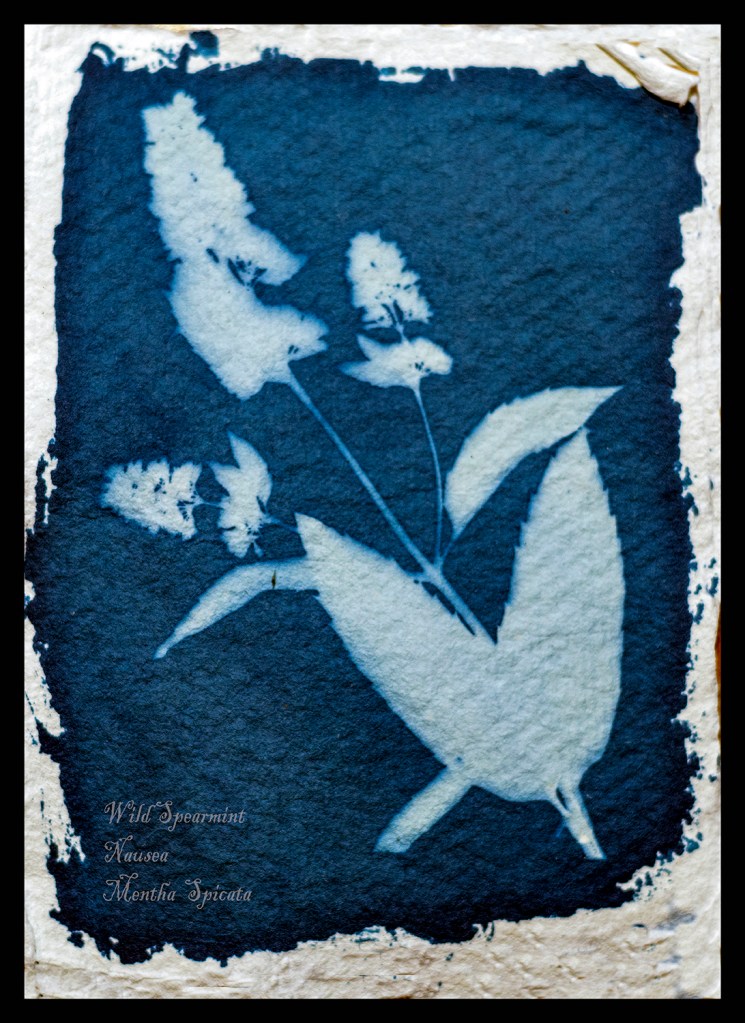
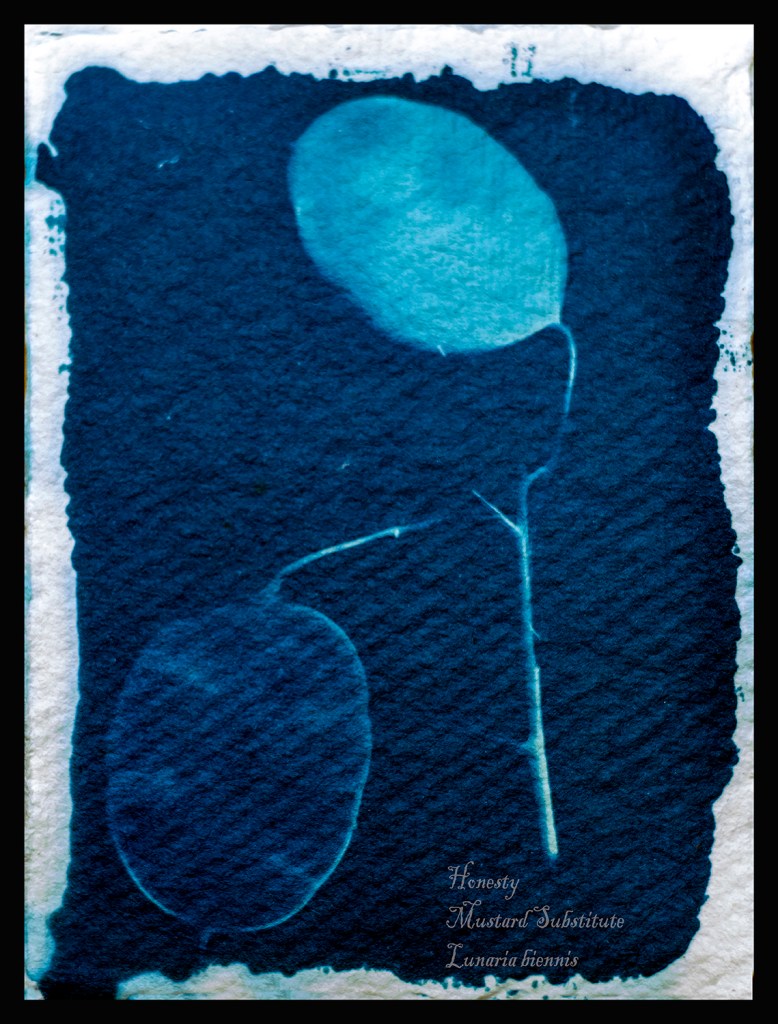
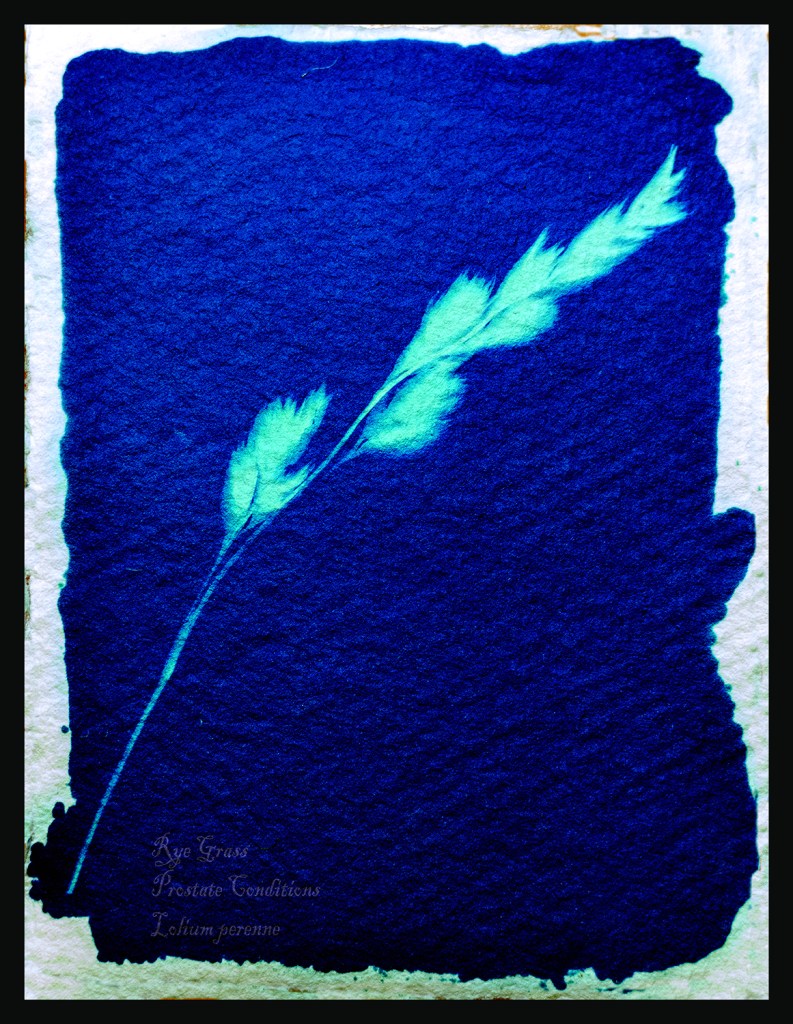
Next I chose my subjects on my walks along the lane at the back of my home. It was always in the back of my mind that I was in the shadow of Pendle Hill and if it were the 1600s I would be in danger of being called a witch and burnt at the stake.
To make the exposure I placed the sensitized paper on top of a card and then placed a clear piece of Perspex on top of the subject securing with bulldog clips to keep everything tight and in place. The exposure time varied from 5 to 20 minutes depending on the strength of the sunlight. I read my tutors comments about striving for continuity and will do more of this in future. However I agree that as this is more organic work I should leave as is.
Finally I placed the exposed paper in a tray to wash the paper however I rinsed each for three minutes in gently running cold water to start the cleaning process. Then I hung them to dry in air, the cyanotypes change as they dry and in fact continue to dry for several weeks after as they react with the air.
Whilst the process is lengthy it is extremely rewarding and I plan to experiment with larger versions and prints in the coming months.
I read the methods to colour match in Photoshop and experimented with them. I am pleased with the results and the finished results are a nearer colour to the original work. I also read and carried out work to frame the work, thinking about how to present it to a viewer.
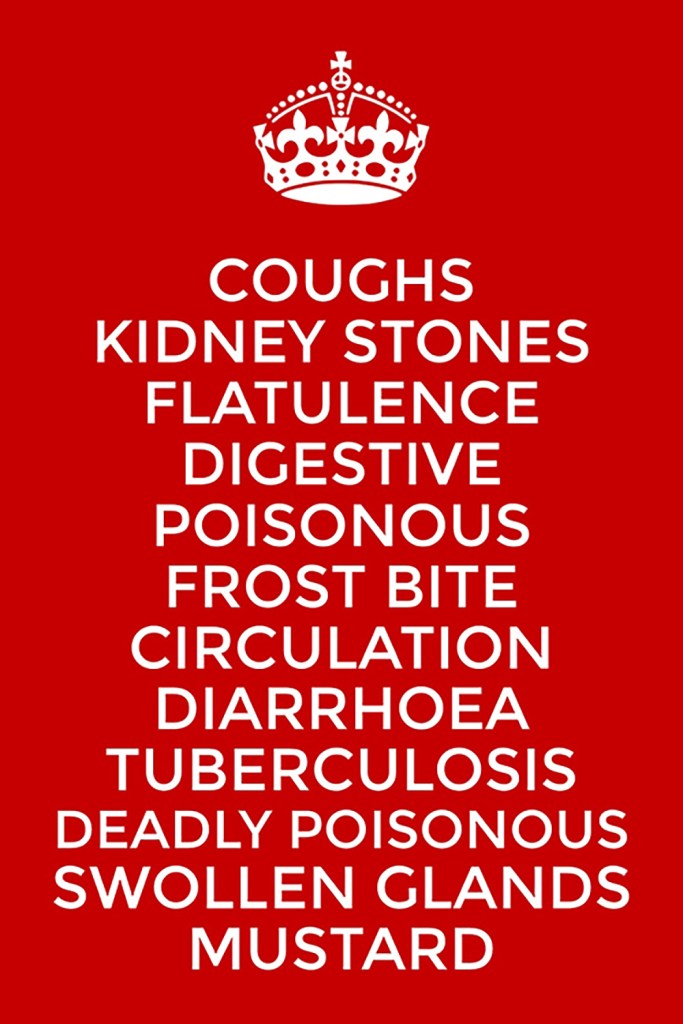
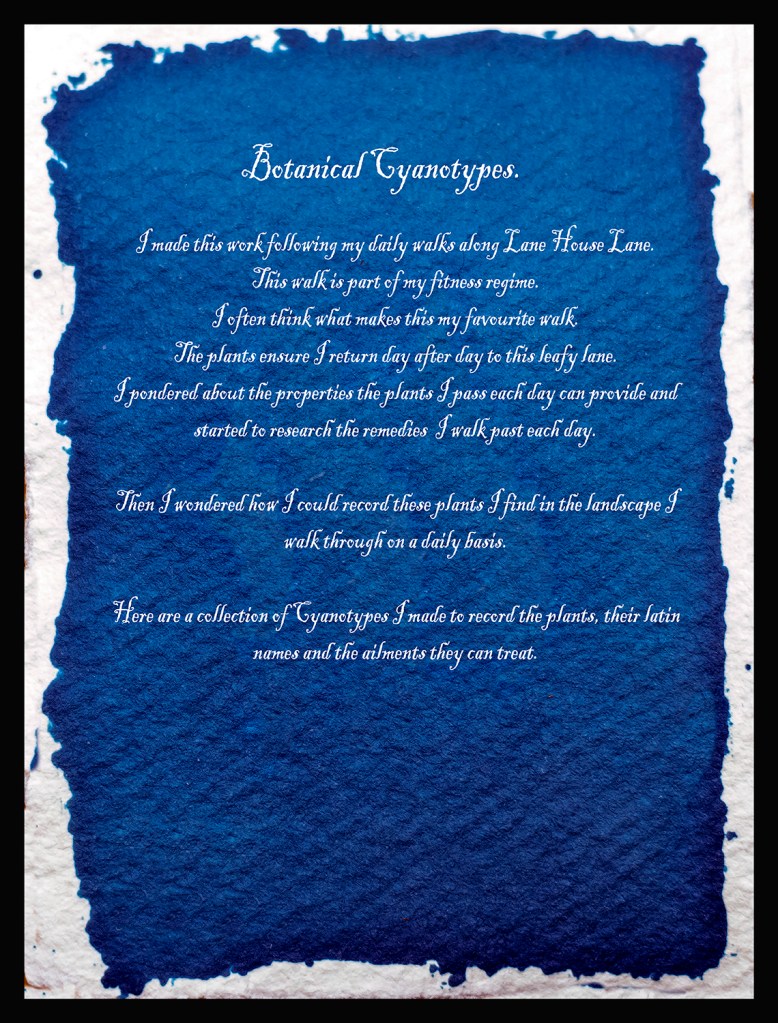
I think the work needs a starting point to set the scene. However a poster, map and description is just too much. I have narrowed this down to a one page description of why I completed the work.
I have started to read about critical writing and will add sections to my posts in the near future. I also looked at the suggested work by Laurie Snyder and Liz Nicol.
(2)Snyders work is more precise than mine and makes me realise I must use this process more to master it to her high standards. I plan to make some very large prints of full plants in the near future. However I am pleased with this work as an early starting point. (3)Liz Nicols work with Rubber Bands her daughter found dropped by the postman. This word made me think of a future body of using cyanotypes give a feeling of some part of this landscape others effect.
I have reworked my Cyanotypes and have dropped the Poster and the Map to replace them with a brief description of why I made this work. This is presented in the style of a cyanotype although I manipulated an existing cyanotype in Photoshop. I see them now on a white wall in a gallery next to each other in a level straight line so that each image is equal.
(1)Gomez, Anthonini Minniti, and Lunganella Bendandi. Experimental Photography. London: Thames and Hudson, 2015.
(2)Snyder, Laurie. “Ferns.” Laurie Snyder.com. WWW.Laurie.Snyder.com. Chicago, 1997.
(3)Nicolls, Liz. “The Rubber Band Project.” Liz Nicolls .com. London, 1997..